SCAMP Boom:
- The Boom for the Argo is built from two 4/4" thick (25mm) Sitka Spruce boards epoxied together.
- The boards I bought were rough sawn, so I started by ripping down two pieces that were 2 1/2" wide x about 140" long (57mm x 3560mm)
- Then I surface planed one side, so I had two pieces that were 15/16" thick (24mm)
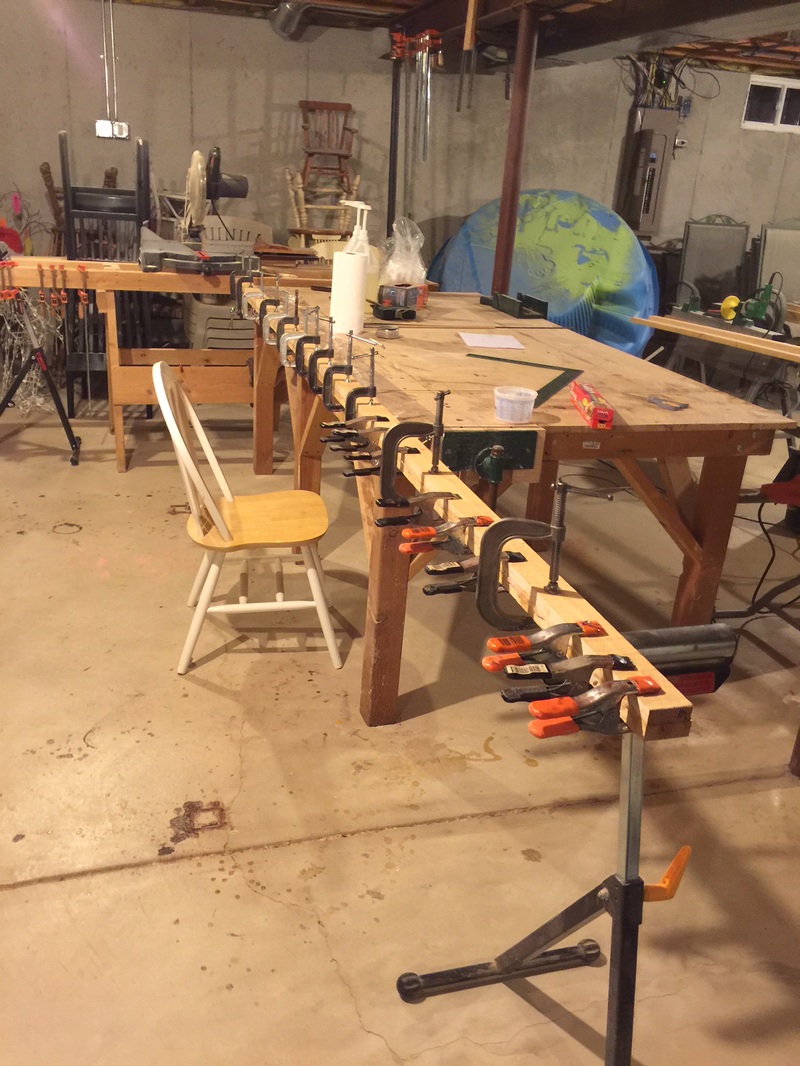
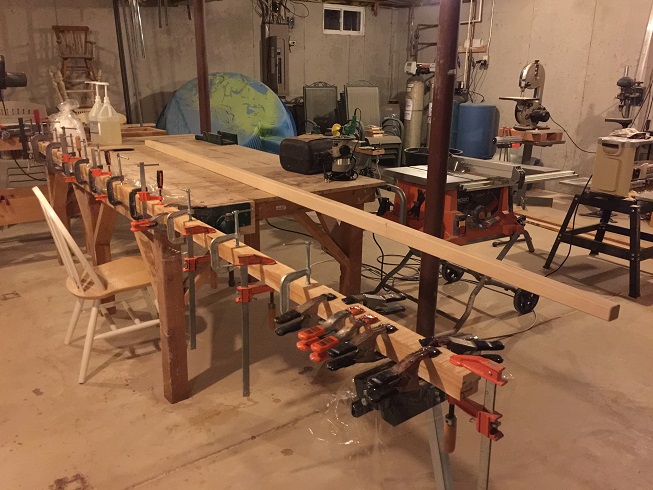
- I then thickened epoxy with collodial sicila and glued the planed surface of the two pieces together under medium clamping pressure. Epoxy does not require high clamping pressure. Make sure it is held level and without twist when it is being clamped.
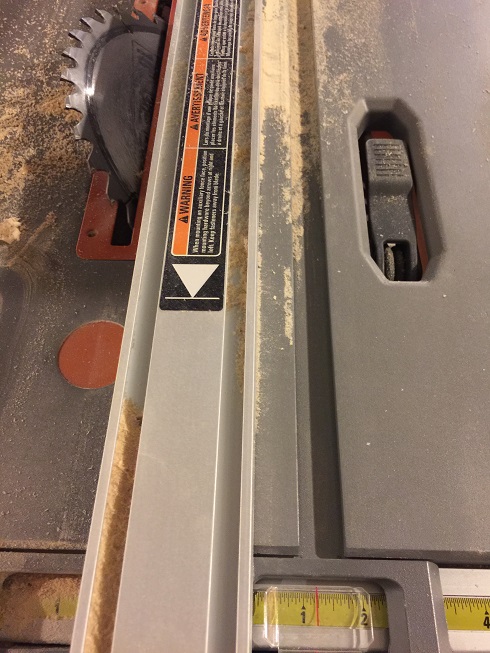
- After the epoxy fully cured, I flushed-up/squared up one of the glued edges and then used the thickness planer to plane the boom to 1.5"x2.25" (38mmx57mm)
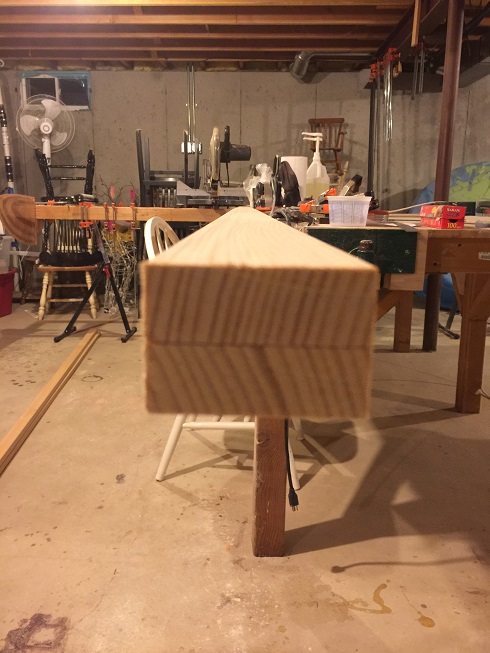
- I then marked out the tapers on all three sides, then planed the wood to the lines. Note that the top of the boom is level along the sail, and the tapers are all on the bottom of the boom.
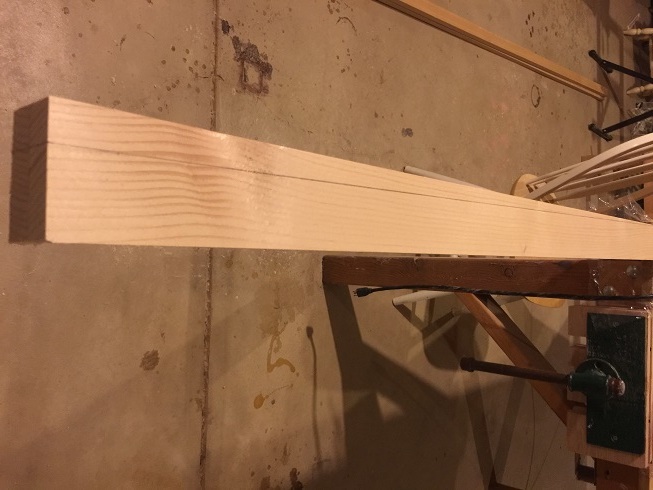
- Then routered a 1/4" rounded edge around all the edges of the boom
- 3 coats epoxy and 3 coats Epifanes Spar Varnish
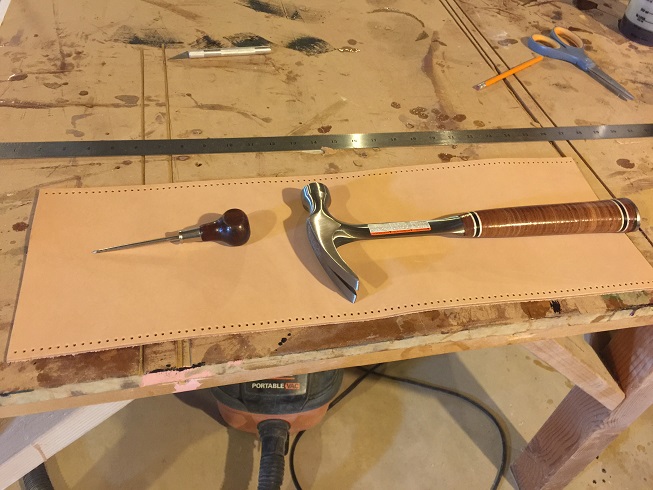
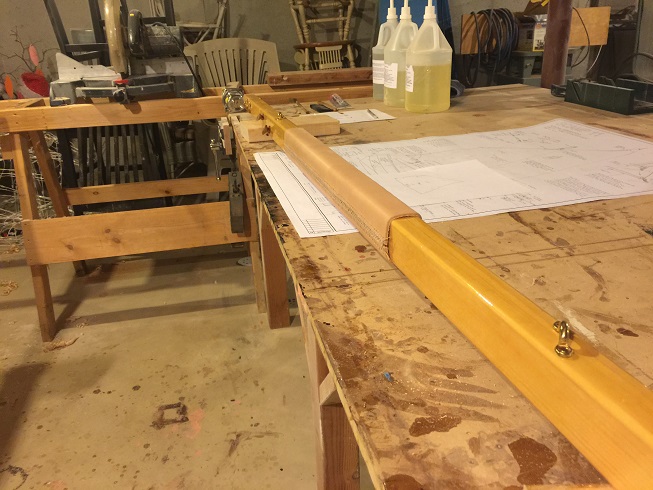
Thick, 8-9oz vegetable tanned leather, 24" long piece. Pre-punched holes 1/4" from the edge, 1/4" spacing between holes. Stitched onto the boom using a baseball stitch with 3 strand prewaxed .8mm sail thread. This 24" long leathering is installed starting 26.5" form the fore of the boom.
Hardware Installation on SCAMP Boom:
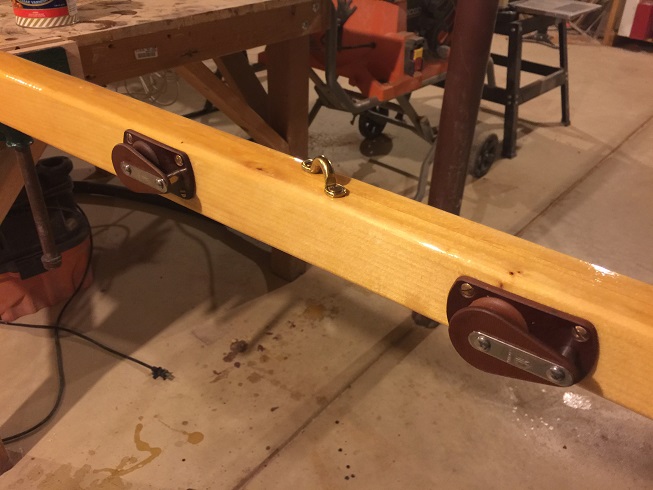
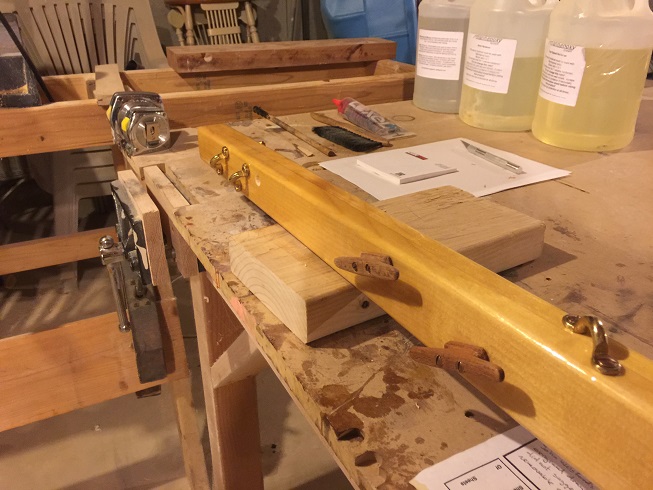
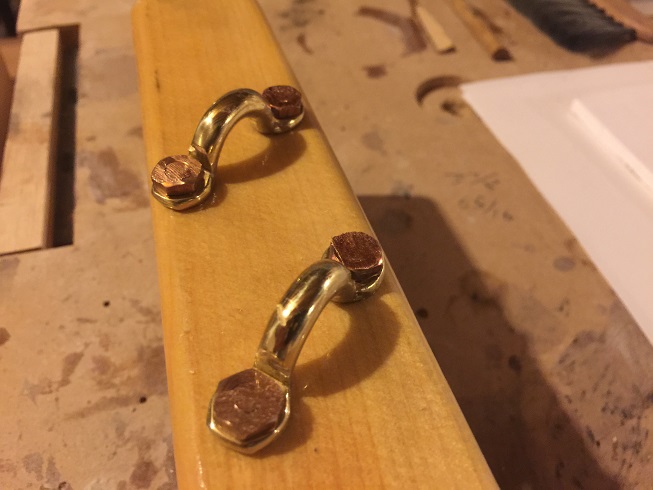
- Lastly, fastened the hardware to the boom using silicon bronze wood screws and machine screws, following the layout on the original plans. I selected Tufnol blocks, and used homemade mahogany cleats on the boom.
- On my sail, (Tanbark Neil Pryde SCAMP sail purchased from Small Craft Advisor), there are 3 reefs, I have 2 quick-reefs on the boom, so I will pick the 1st and 3rd reef to rig with the quick-reefing lines. I measured the sail and the horizontal (parallel to foot of the sail) distance between luff and leech gromments on my sail are as follows:
- Along the foot of the sail: 118.5"
- 1st reef: 112"
- 2nd reef: 109"
- 3rd reef: 104"
- For the spacing between the reefing eye-straps at the fore of the boom and the reefing cheek blocks aft, I added 2" to these distances between grommets; to provide for a horizontal stretch force as the reef lines are pulled. Thus, on my boom the distance between the 1st-reef eye-strap and the back of the 1st reef pulley is 114", and the distance between the 3rd-reef eye-strap and the back of the 3rd reef pulley is 106". I also decided to drill the hole for the mounting of the outhaul block horizontally rather than vertically.
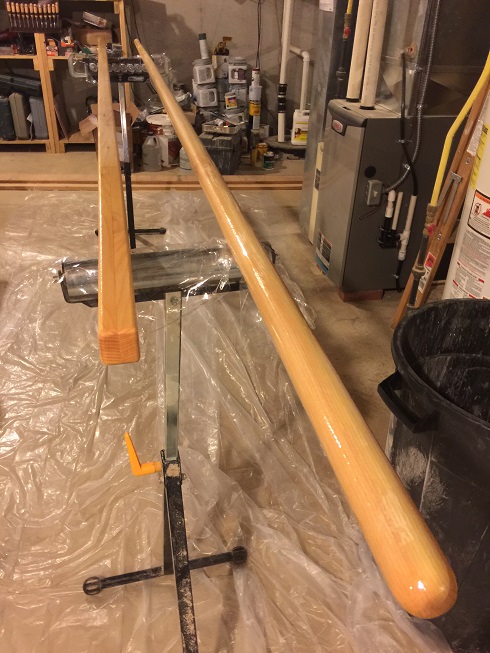
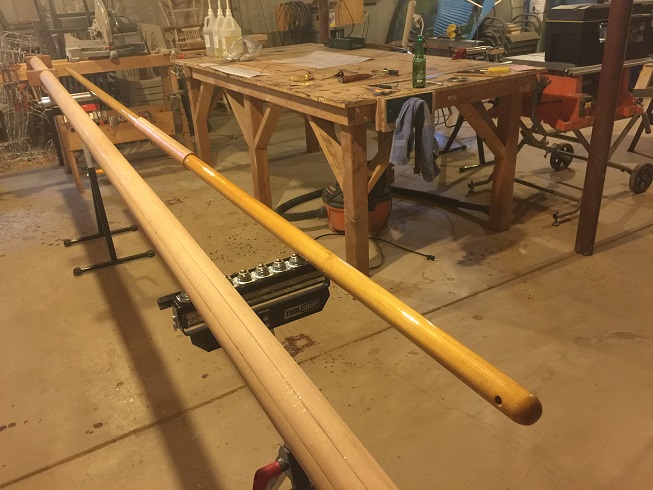
- Photo's of the finished boom are below.


Finished SCAMP Boom, Yard, Oars, Centerboard, Rudder Foil, and Tiller
SCAMP Yard:
- The Yard for the Argo is built from two 4/4" thick (25mm) Sitka Spruce boards epoxied together.
- The boards I bought were rough sawn, so I started by ripping down two pieces that were 2" wide x about 155" long (50mm x 3935mm)
- Then I surface planed one side, so I had two pieces that were 15/16" thick (24mm)
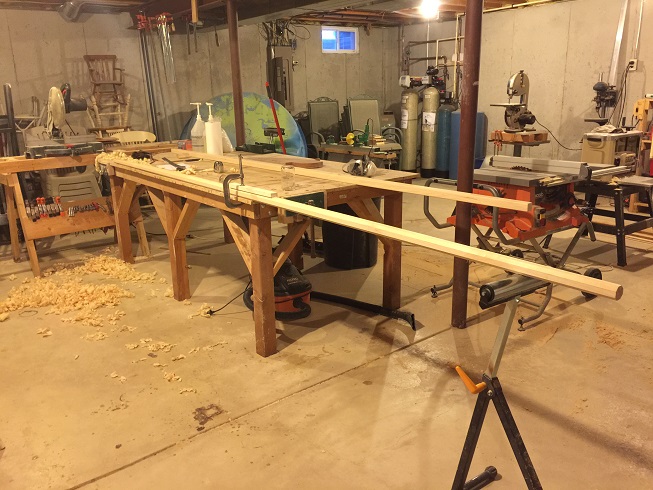
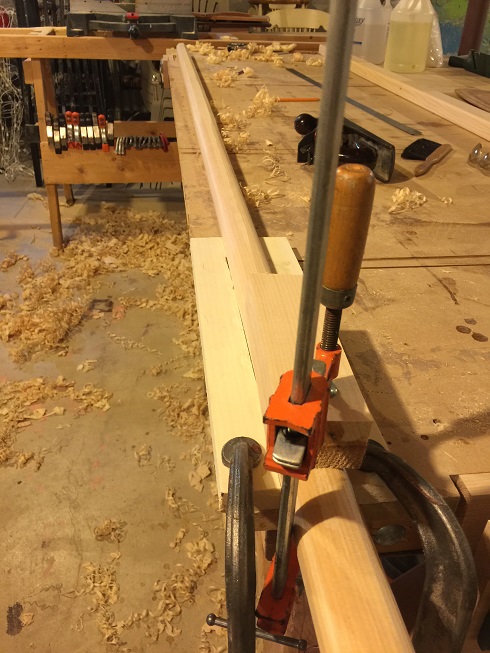
- I then thickened epoxy with collodial sicila and glued the planed surface of the two pieces together under medium clamping pressure. Epoxy does not require high clamping pressure. Make sure it is held level and without twist when it is being clamped. Glued-up Yard below, next to rough-finished Boom.
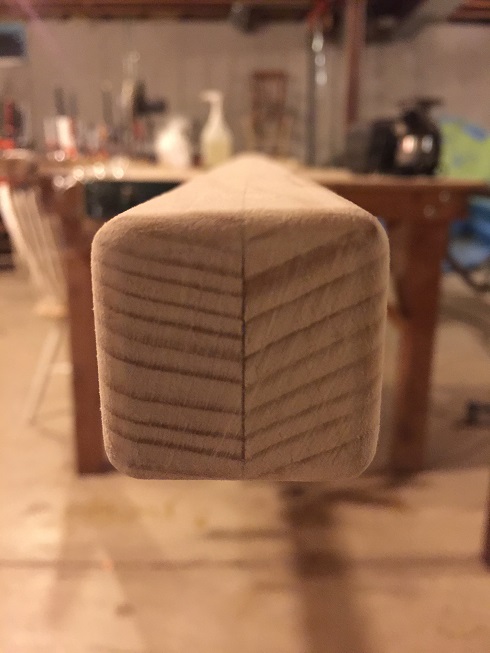
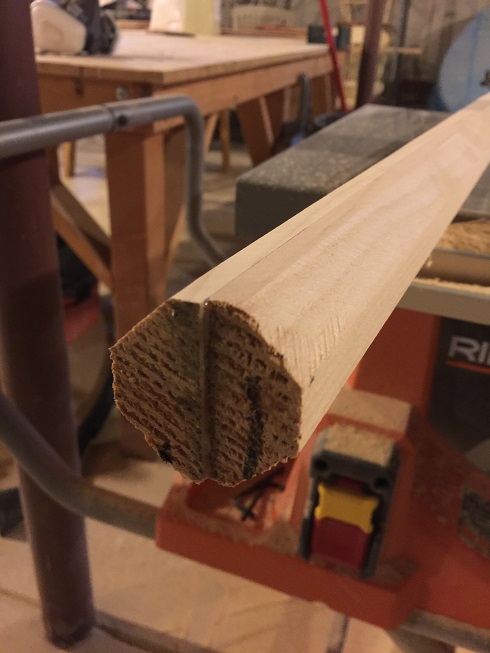
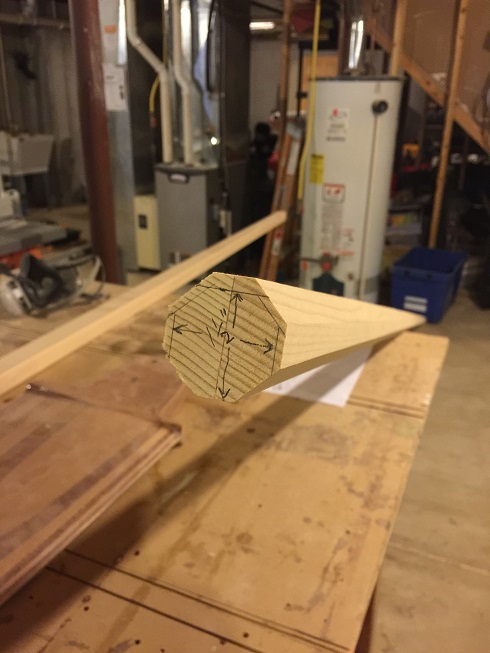
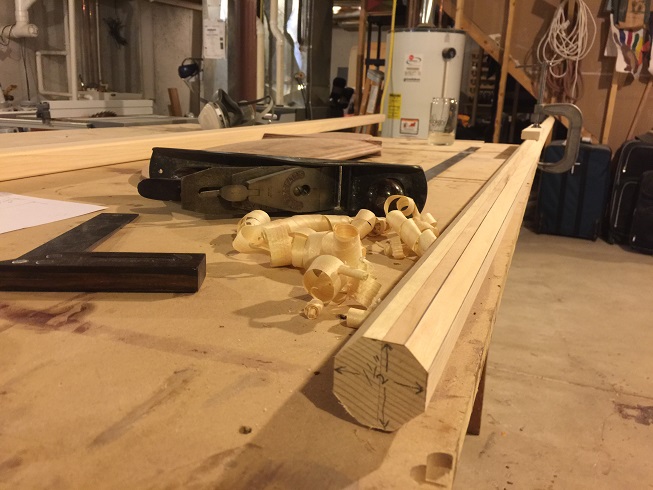
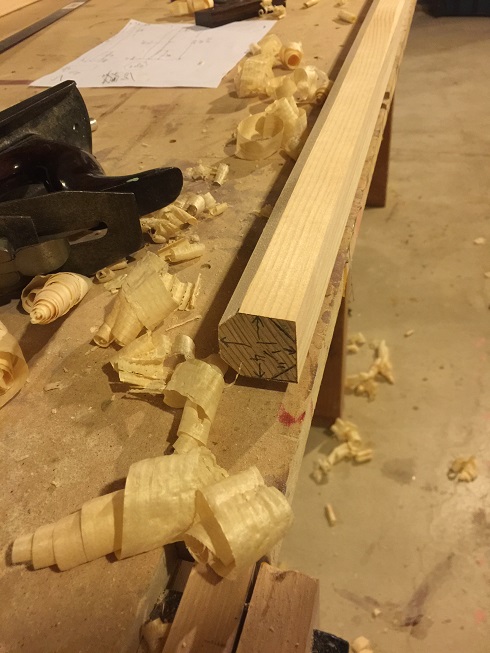
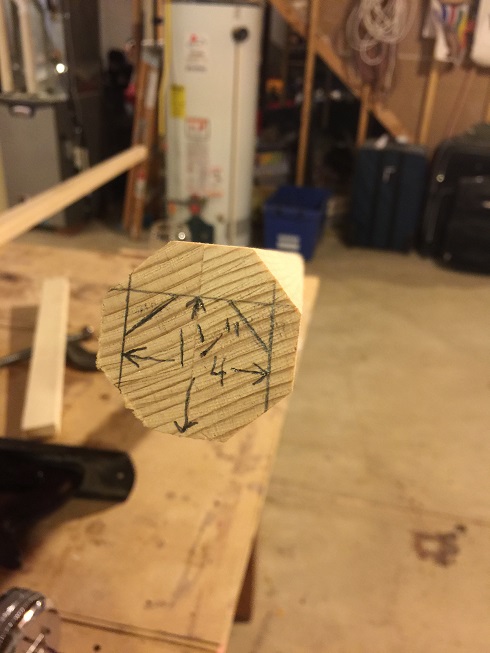
- Used a table saw to create a 1.75" x 1.75" blank. Then angled the table saw to 45, and set it at about 1.25" and made the cross section octagonal.
|
|
- Then I marked out the tapers, one is longer and skinnier than than the one on the other end. Note, that as with the boom, the edge of the spar that is along the sail was left straight: the taper was made along the top of the yard. I am not 100% sure that this is the right way to do it, but the drawing shows the taper only on the top edge of the yard so that's how I made it. It is circular in cross section along the whole length.
|
|
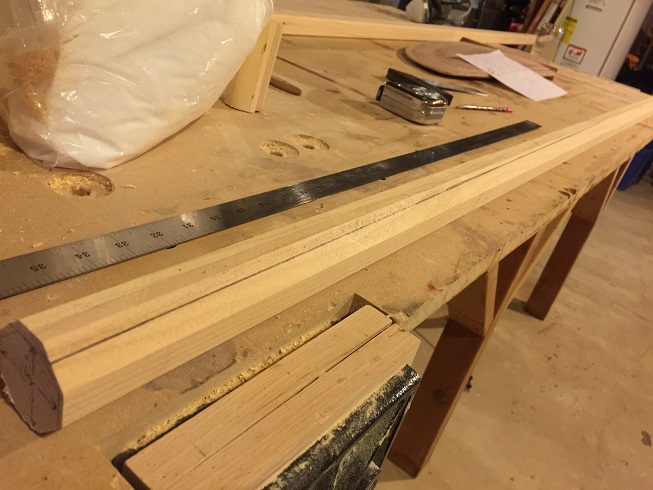
- Hand planed the tapers in. Kept the cross section octagonal including the tapers at this point. Followed the same procedure for the skinnier longer taper.
|
|
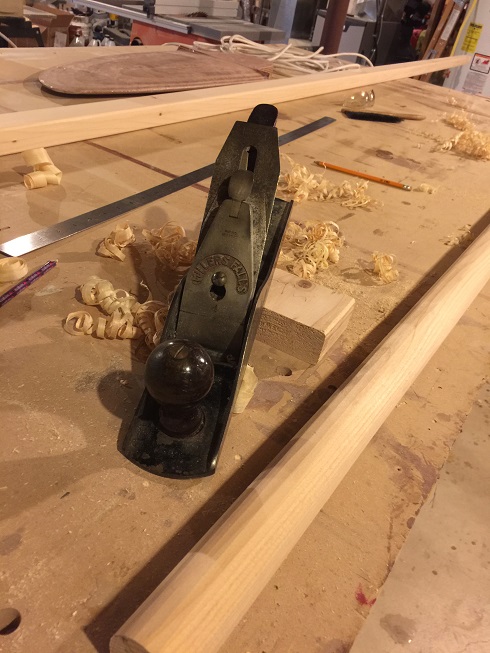
- Planed the yard round. Millers Falls #14 plane did an outstanding job. Then sanded round and rounded ends with a rasp and sandpaper:
- 3 coats epoxy and 3 coats Epifanes Spar Varnish in progress will post final photos when complete.


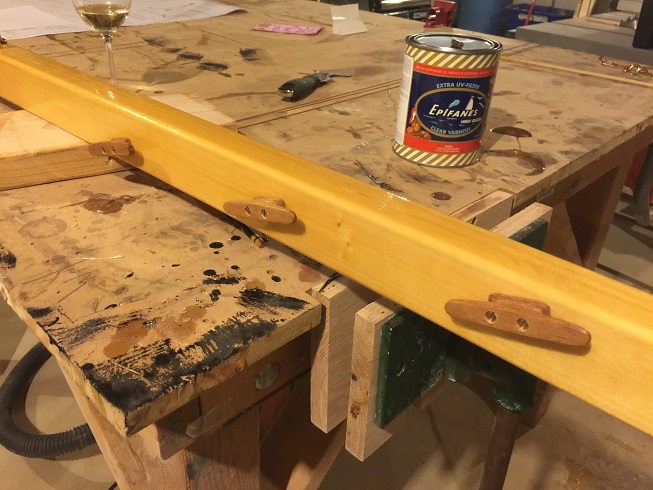
Note the small pad-eye attached about 12" up from the hole at the bottom end of the yard. This padeye will be used when lashing on the sail. The padeye is to be mounted on the TOP edge of the yard.
Leathering SCAMP Yard
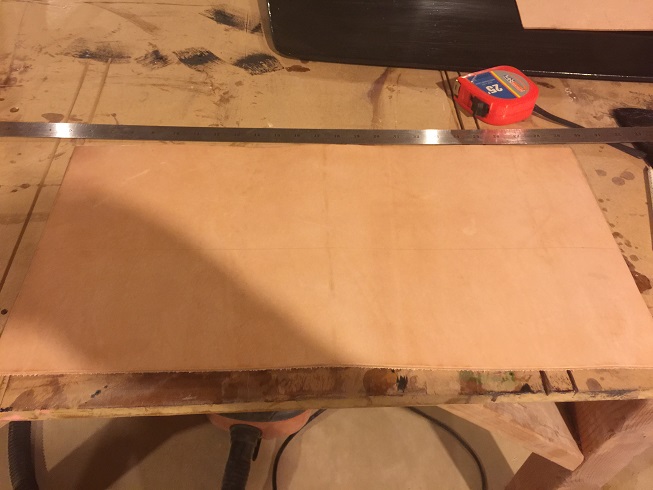
I used 8-9oz vegetable tanned leather, almost 1/4" thick. The leather on the yard for my SCAMP is 24" long and starts 50" from the low end of the yard. First, cut the piece to length and width with a razor. If you are using thick leather, such as I used, do not cut the width of the leather to match the exact OD of the spar. Taking into consideration the thickness of the leather, the OD of the leather will be quite a bit bigger than the OD of the spar, and if you cut the leather width to the OD circumference of the spar, your leather will be too narrow and won't wrap all the way around the spar. Once you have the leather cut to dimension, you can punch the holes and start stitching. I used heavy waxed sail thread, a sail-makers palm, and a heavy sail needle to get the job done. This would be a quicker and easier job with lighter leather, but I went for pretty thick leather.
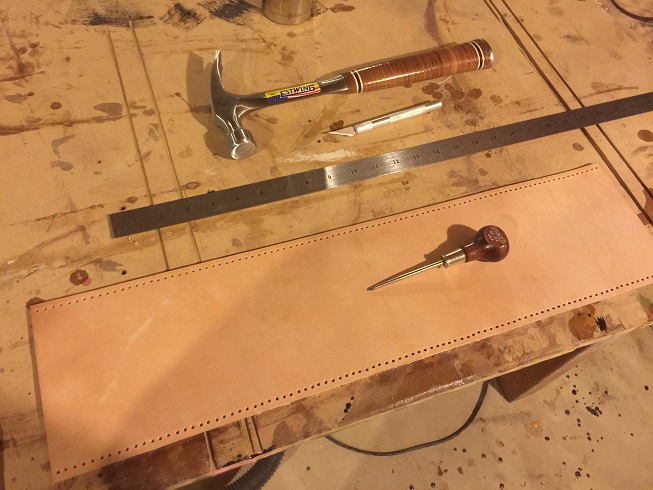
Holes punched in leather for SCAMP yard. Holes are 1/4" from the edge and 1/4" apart. Used a hammer and awl.
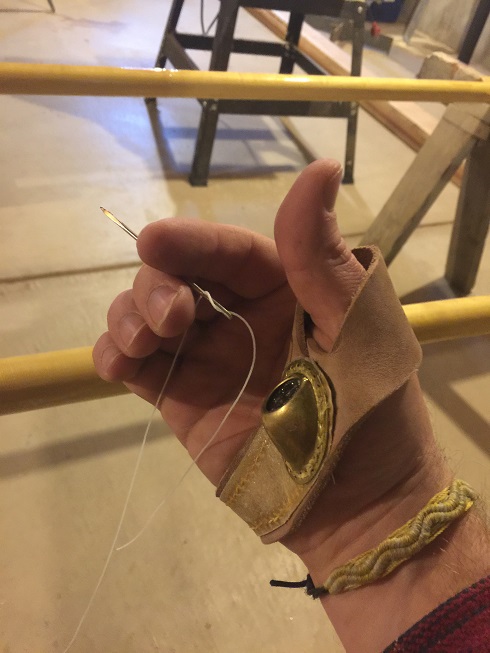
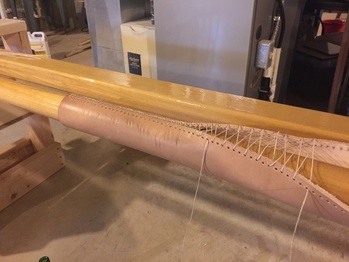
Leathering of SCAMP Yard in process, I used a "baseball" type stitch.
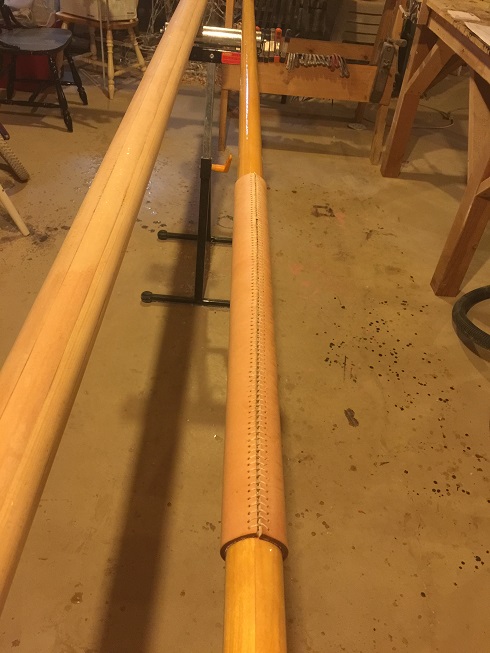
Finished leathering of SCAMP yard
Completed Yard for the SCAMP ARGO, with leather and 3/8' holes at each end. Varnished the hole I.D.s, and broke the sharp surface-edges of the holes with a round file.