Making wooden cleats is very simple, enjoyable and rewarding.
Below are illustrated steps and drawings to make:
- Classic 3" horned cleat
- Jam cleat
- 5" Palo Santo horned cleat (shown in photo above)
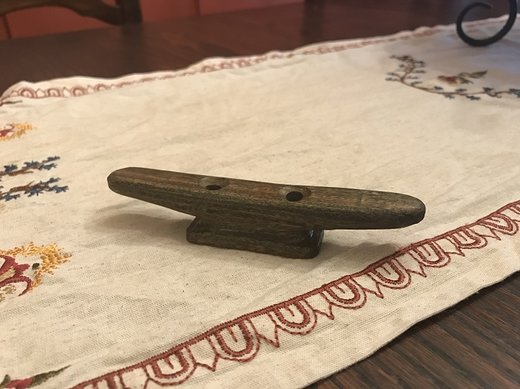
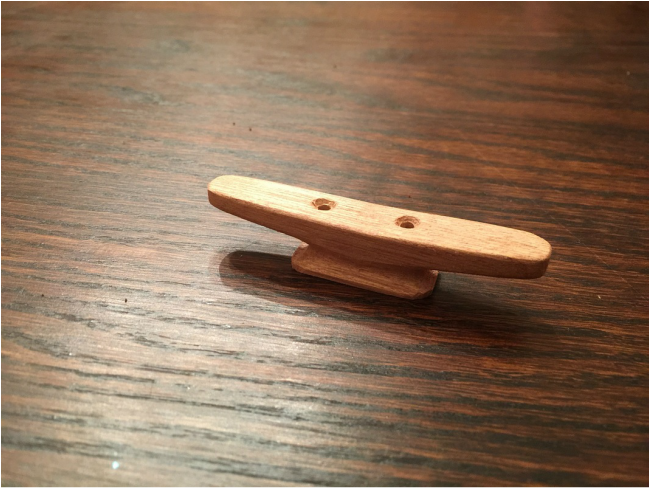
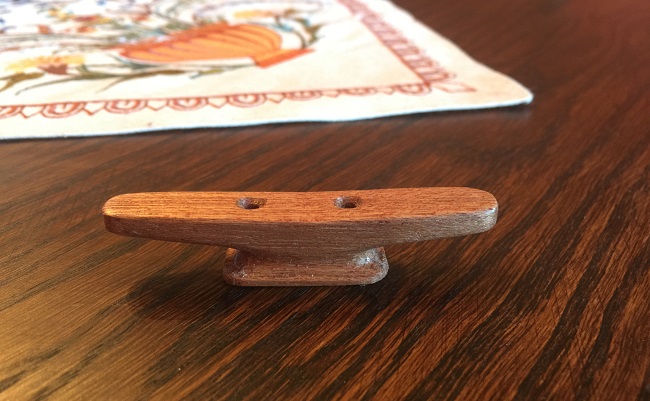
Finished 5" Wooden Cleat
Wooden cleats look classic and feature higher friction than metal cleats. They are straight forward, and rewarding, to make. I will be using the 3" wooden cleats below on the SCAMP reefing lines on the boom. The jam cleats will be mounted on the tiller, for the rudder uphaul and downhaul lines. The 5" Palo Santo cleats will be used for the mainsheet. I will be using some bronze cleats for the deck-mounted cleats on the SCAMP.
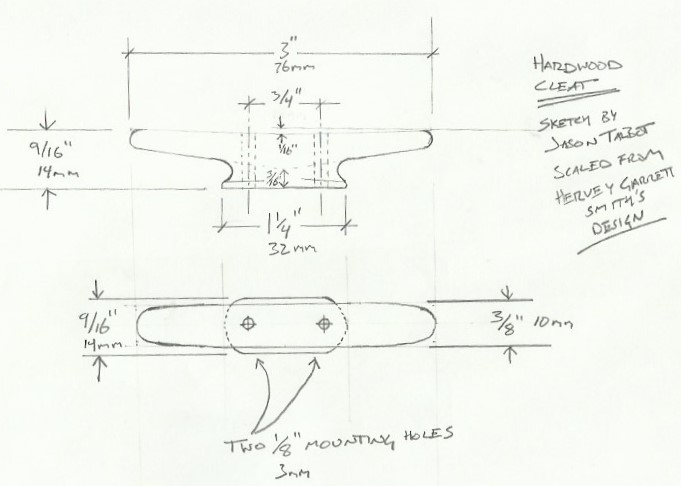
- The drawing below is based on the design for wooden cleats from Hervey Garrett Smith's fine book "The Arts of the Sailor" (Sketch below is a scaled down version of the 8" cleat in his book). The 3" cleat below is sized to work with 3/16" reefing lines.
- Saw the rough blank from suitable tight-straight-grained, knot-free wood. Hardwood is recommended, and they say Lignum Vitae and Locust are best. I used Mahagony. The grain must run the long way along the cleat.
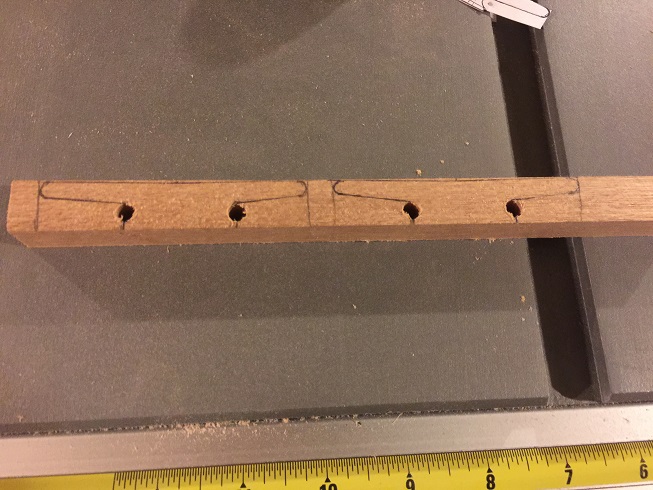
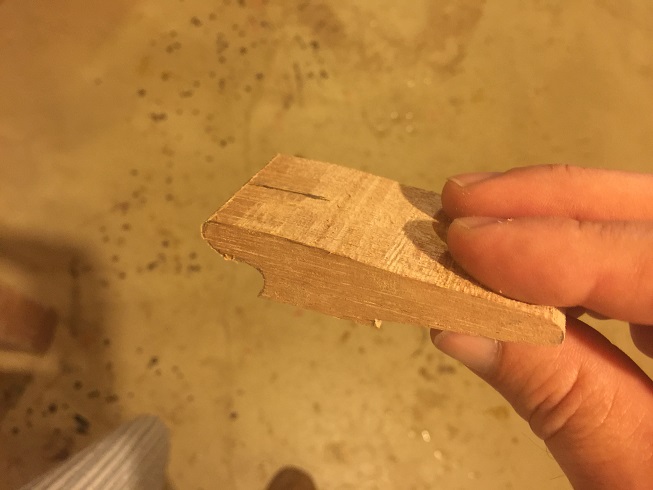
- Draw the cleat onto the rough blank. Drill holes to form the tight curves at the base of the horns.
- Use a bandsaw to rough-out the shape of the cleat
- Use chisels, rasps, sandpaper, carving tools/knives to shape the cleat
- Drill mounting holes with a drill press
- Finish with oil

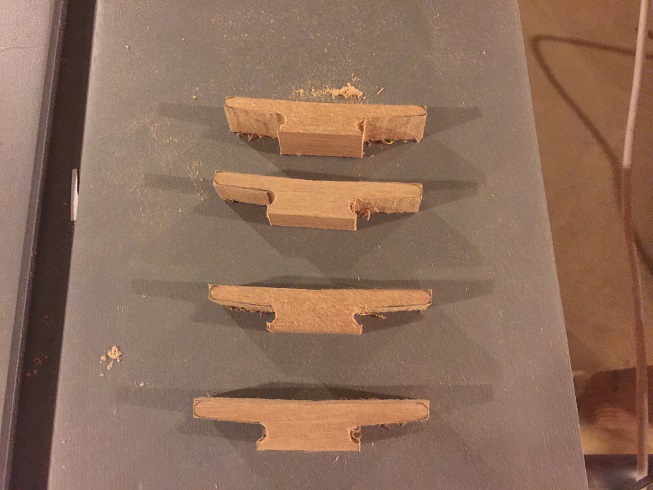
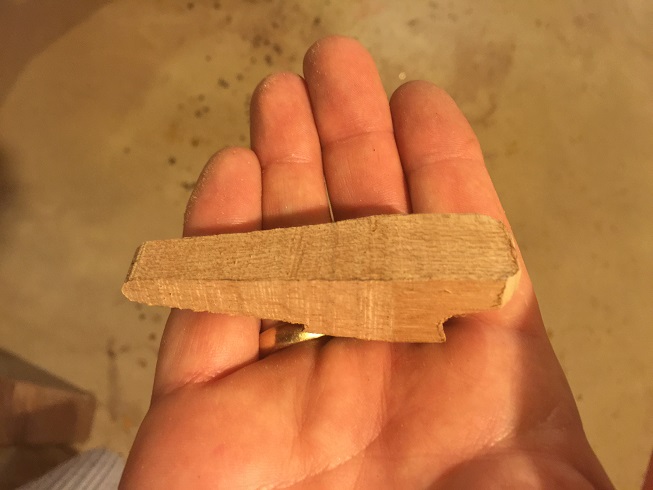
Narrowing the horns of the cleat and leaving the base wider.
|
|
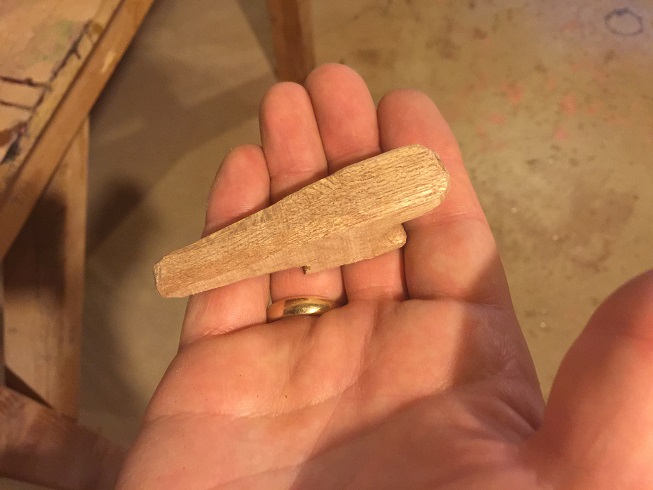
Sanded cleat, unfinished
Finished cleat, tung-oiled
Making Wooden Jam Cleats
I made these cleats to work with 3/16" rudder uphaul and downhaul lines, and they will be mounted to the tiller of the SCAMP sailboat that I am building. I did not start with a drawing for these, I just sketched what I thought they should look like onto the wood and made them. Suffice it to say that the overall size and horns should seem scaled to the rope that they will be used with, and the long "jam" end horn should have a shallow angle, should be relatively long when compared with the other horn, and should have a gap between it and the mounting surface that is less then the diameter of the rope you will be using....the compression of the rope between this horn and the mounting surface is what makes this a jam cleat.
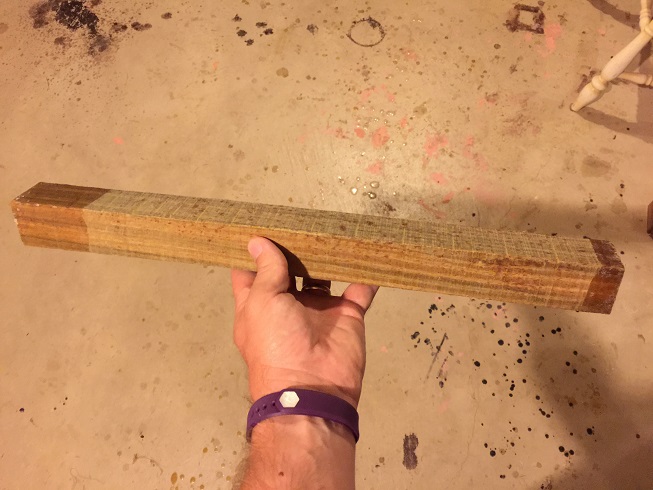
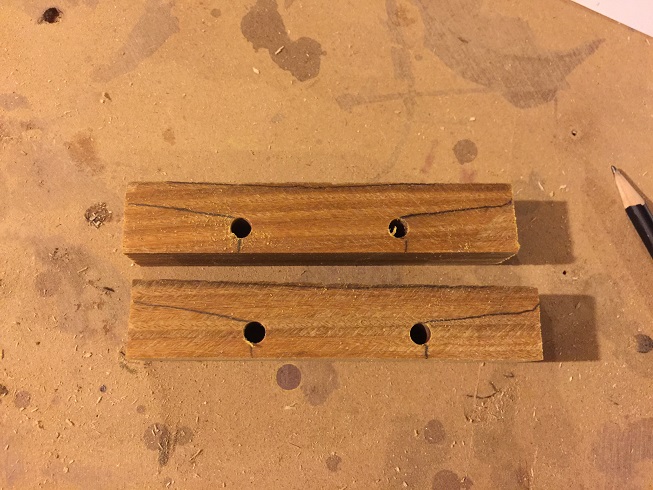
Started with a 3/4" thick x 1 1/2" wide piece of mahagony. I drew the shape of the cleat on the 3/4" edge and cut it out on the bandsaw. I will get two cleats from this piece.
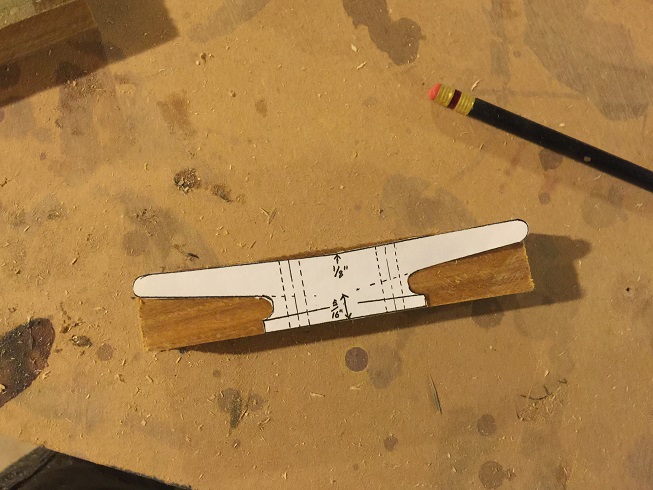
Sketched a somewhat tear-drop shape onto the top of the cleat, and cut to shape using the bandsaw
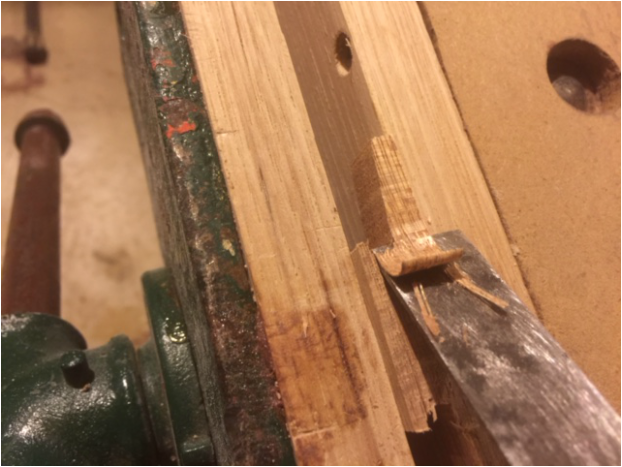
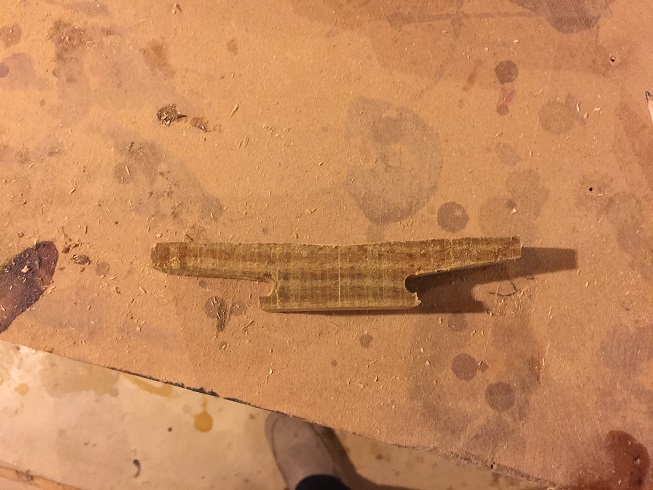
Next I carved the cleat with a sharp scalpel.
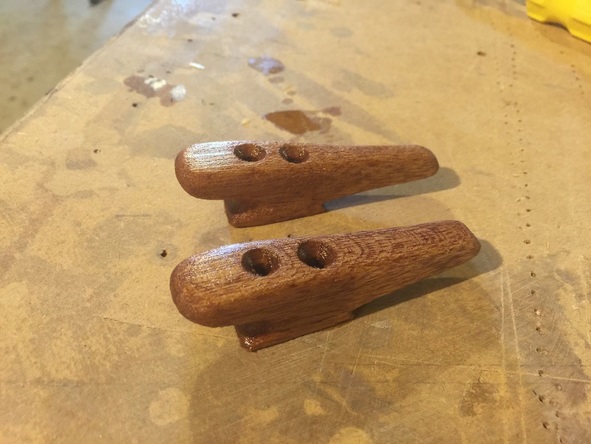
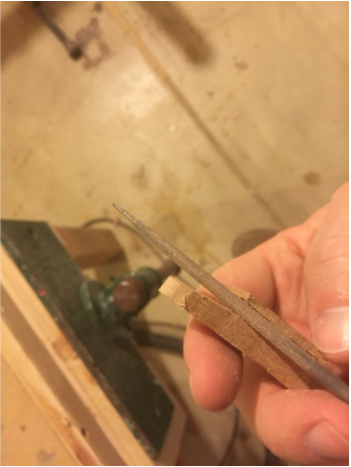
Then I sanded and filed them, drilled the mounting holes, and tung-oiled them. The tightest spot under the jam side (the right side of the base in the photo above), is smaller than the diameter of the rope intended for use on the cleat. This cleat will be used with 3/16" rope, so the jam opening narrows to an opening height of 1/8".

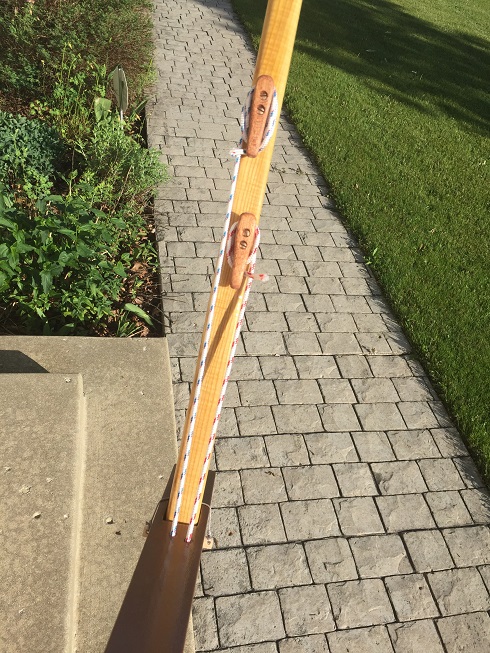
Here are the jam cleats installed on the underside of my SCAMP Tiller
5" Palo Santo Cleat
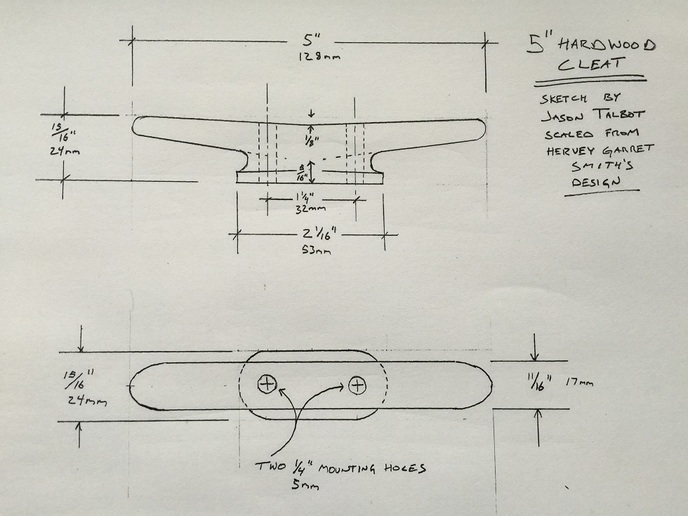
- The drawing below is based on the design for wooden cleats from Hervey Garrett Smith's fine book "The Arts of the Sailor" (Sketch below is a scaled down version of the 8" cleat in his book).
- Saw the rough blank from suitable tight-straight-grained, knot-free wood. Hardwood is recommended, and they say Lignum Vitae and Locust are best. It seems that responsibly harvested Lignum Vitae is not readily available, so I will use the very similar and very special wood called Palo Santo translated as "Holy Wood", and often called Argentine Lignum Vitae. I purchased mine in blanks from Rockler. The grain must run the long way along the cleat.
- Draw the cleat onto the rough blank. Drill holes to form the tight curves as the base of the horns.
- Use a bandsaw to rough-out the shape of the cleat
- Use chisels, rasps, sandpaper, carving tools/knives to shape the cleat
- Drill mounting holes with a drill press
- Finish with oil
Palo Santo, as received from Rockler. Ends of the piece are dipped in wax. Man, this wood is dense.

Two, 15/16" square x 5" long Palo Santo blanks
Tracing the profile on the blank
Drill press used to create rounded inner curve of the horns
After rough cutout on the bandsaw
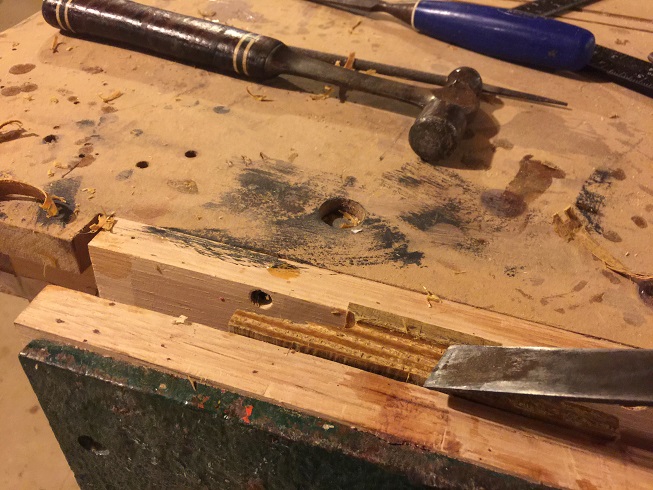
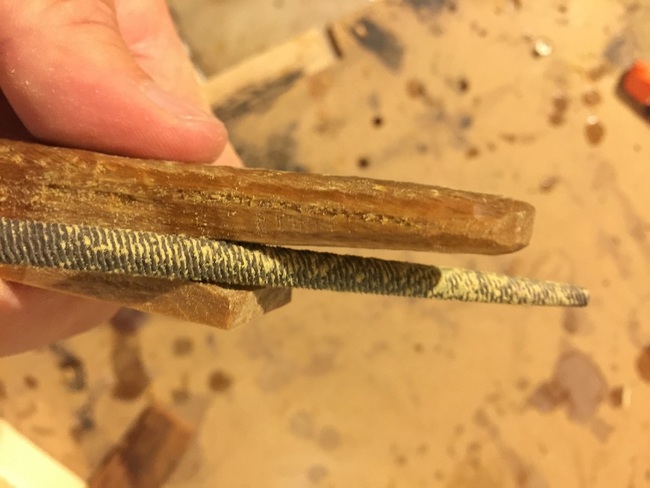
Narrowing the horns with a chisel to leave a wider flange at the base
Rough carved Palo Sano cleat
Using a rasp to shape the cleat
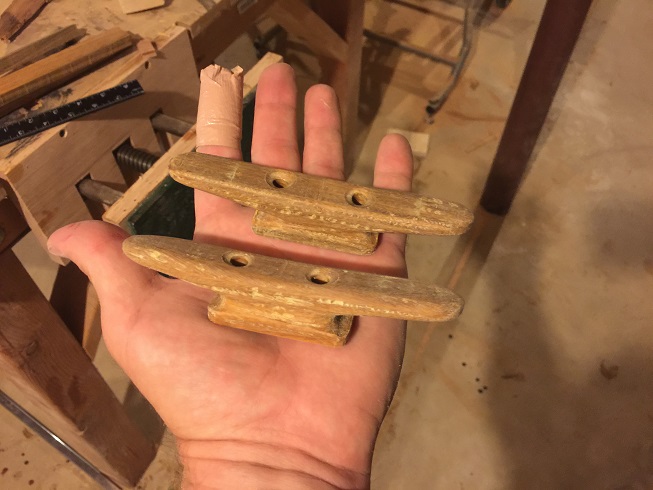
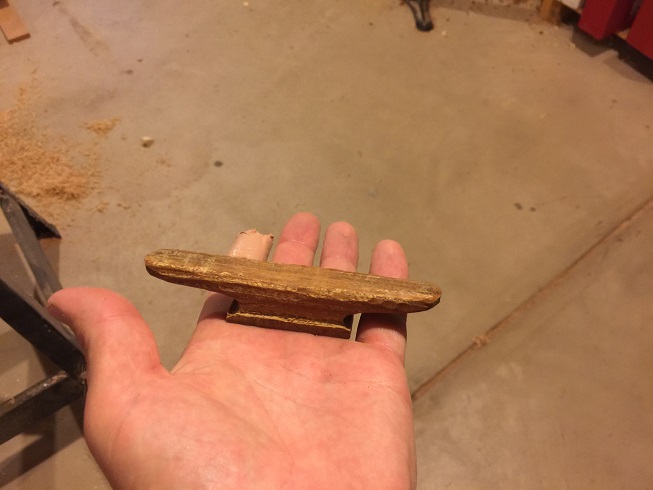
5" Cleats, after carving filing and sanding
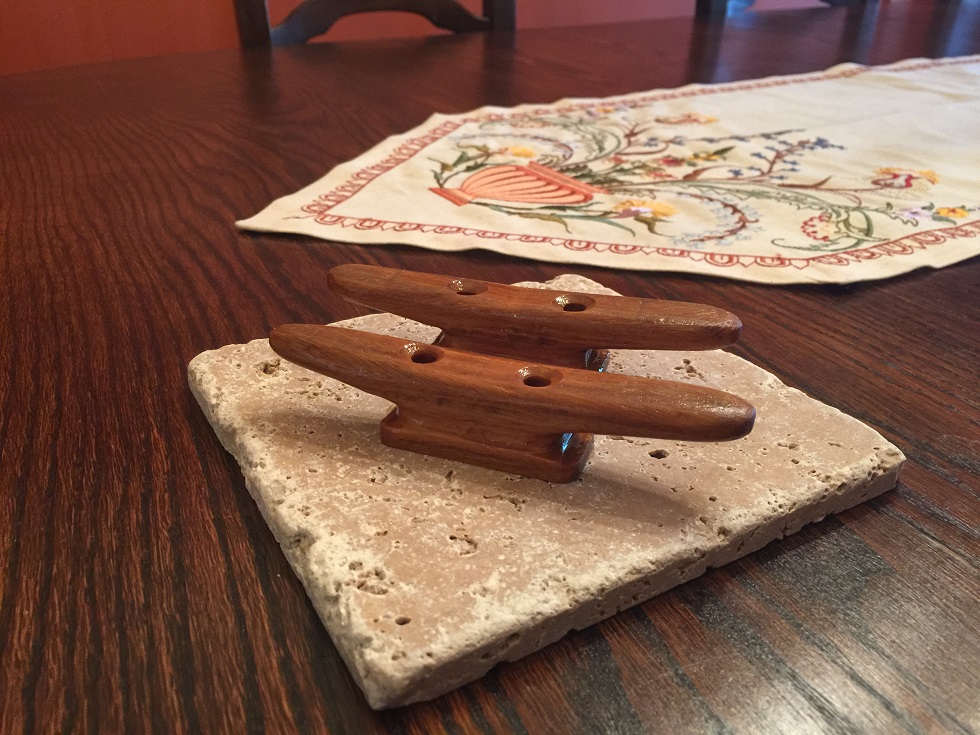
Completed, tung-oiled, Palo Santo Wooden Cleats