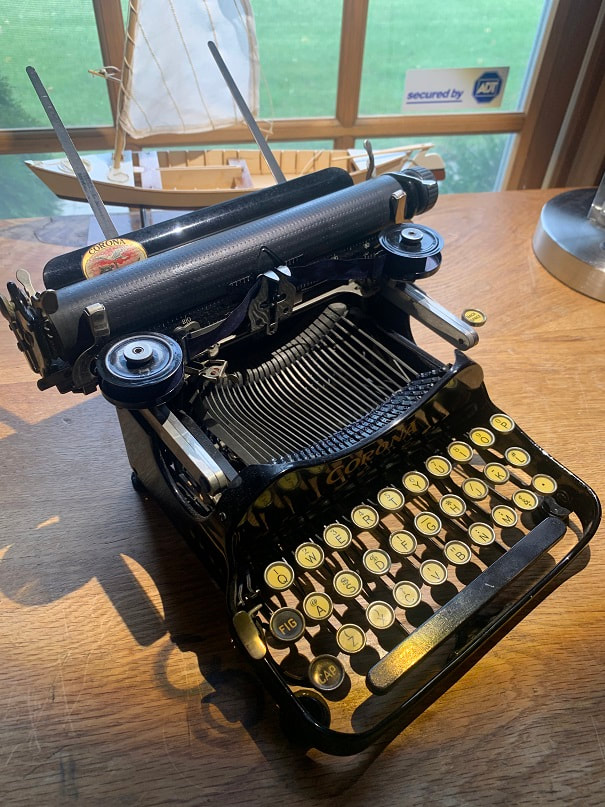
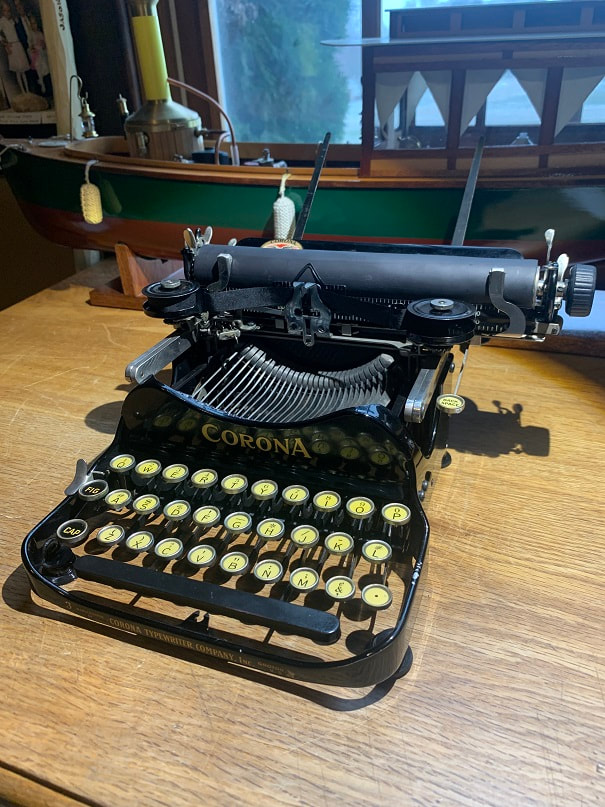
A classic typewriter with a brilliant design: the Corona 3 Folding Typewriter. This portable mechanical typewriter was one of the most popular ever made; used by the Allies in WWI and by some of the early 20th century's most famous authors. Mine is sn 458654 and was made in Groton, NY in 1917. Here is a photo gallery of the repair work I did.
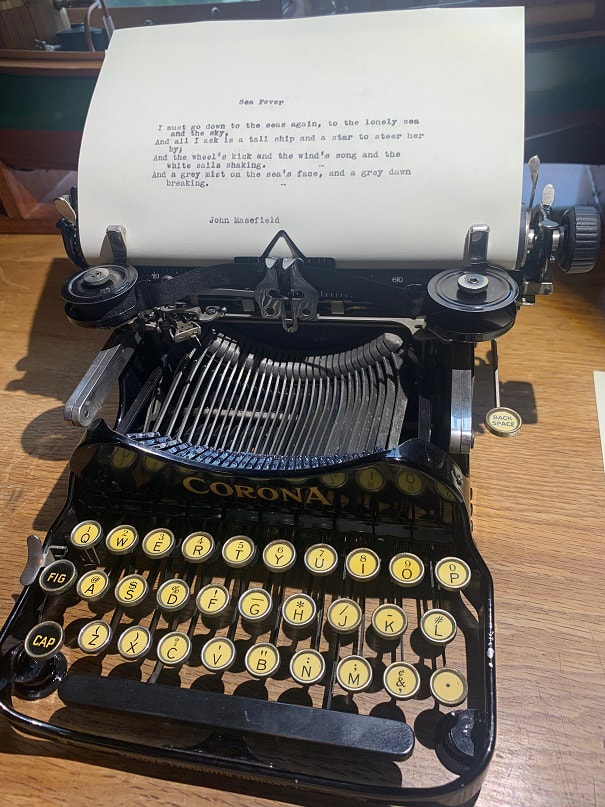
First a photo of my Corona 3 Folding Typewriter after my repair work was completed. Here she is with a fresh ribbon and typing away!
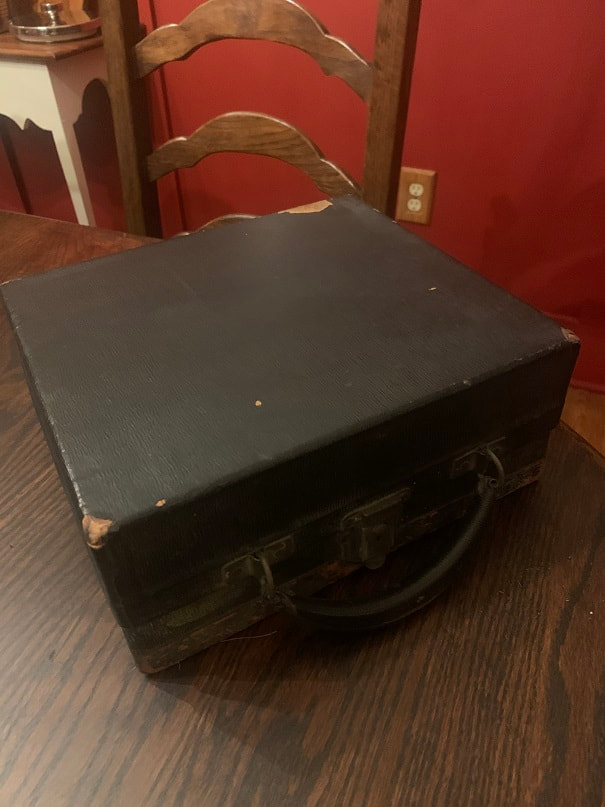
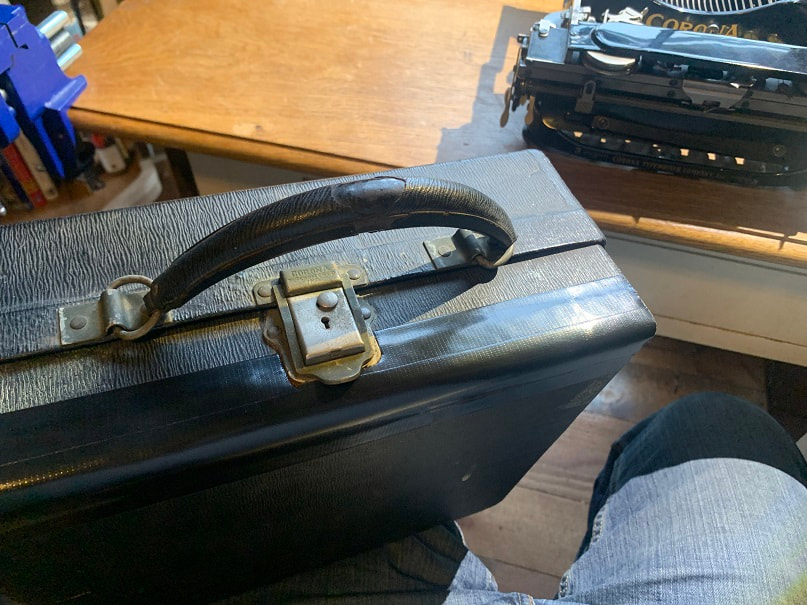
Here is the typewriter as it arrived: The case is in good shape. The front panel of the Corona 3 case, where the handle attaches, is a split design and one panel of this case has come loose.
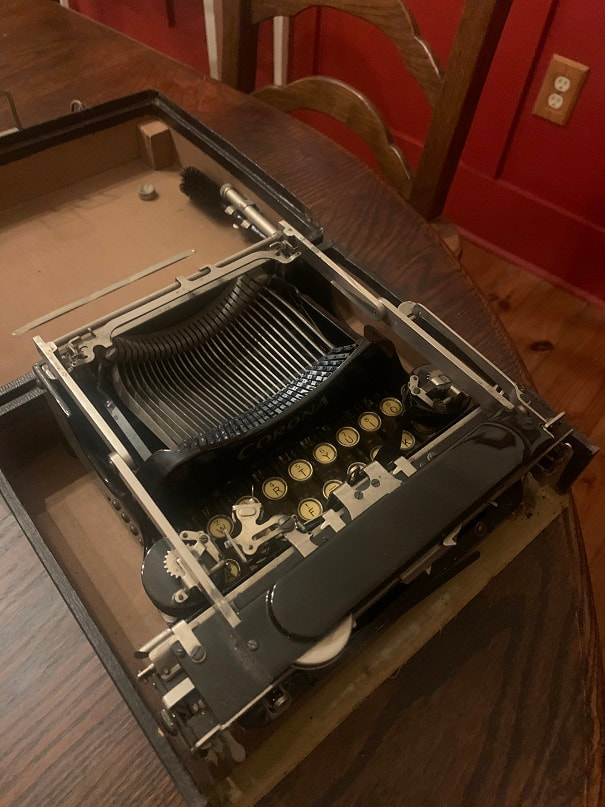
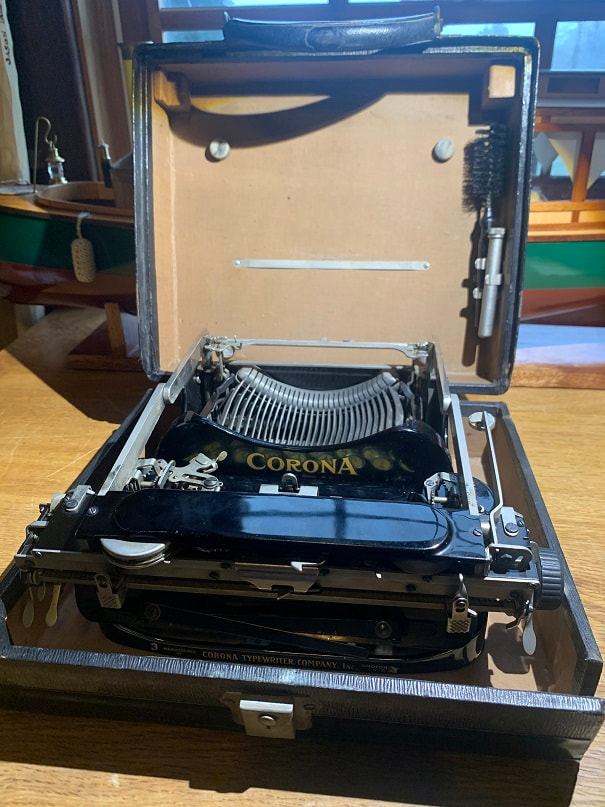
Opening the case reveals the Corona 3 in the folded-down position. This typewriter/case includes the brush and little oiler tools that snap into the case. I really wanted a Corona 3 that included those tools.
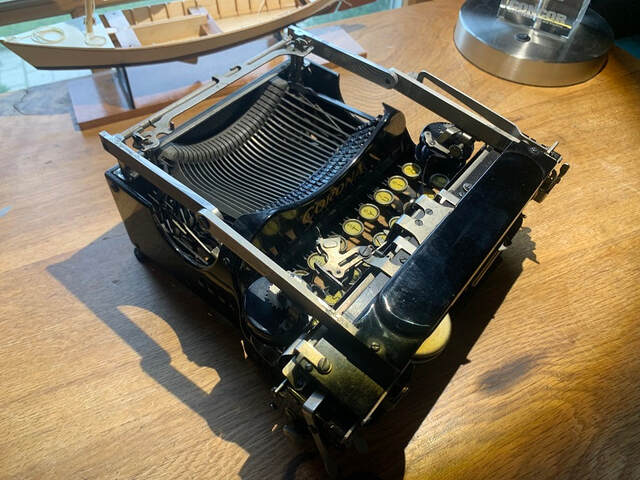
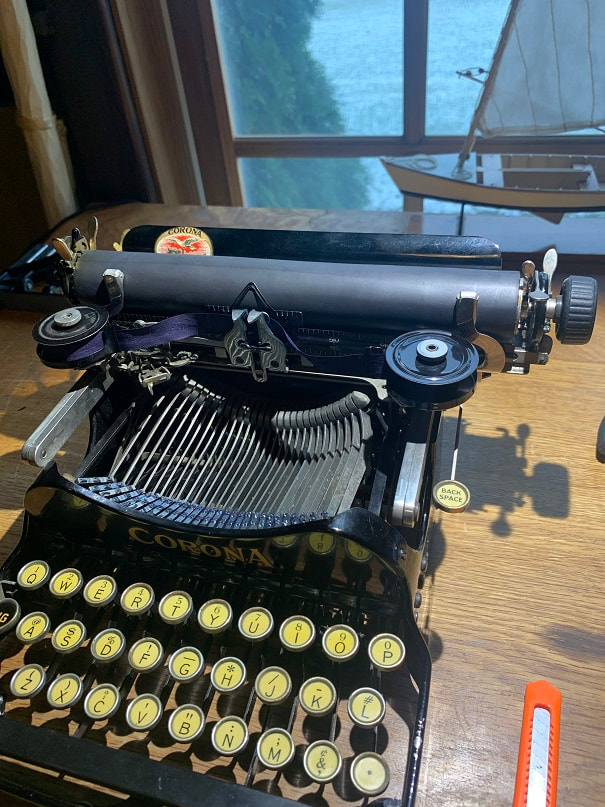
Here is my Corona 3 folded up for operation. It came in great condition; excellent paint, no corrosion, ribbon spool thumbscrews in place, paper rests included, bell is in place. Mechanically sound, no missing parts. The issues it had are noted below.
Items needing repair:
- Brittle cracked rubber feet
- Platen does not feed/advance paper
- Carriage does not return
- Ink ribbon does not advance when typing
- Front case panel fabric hinge torn
Replacing the feet:

Here's how the brittle cracked rubber feet looked.
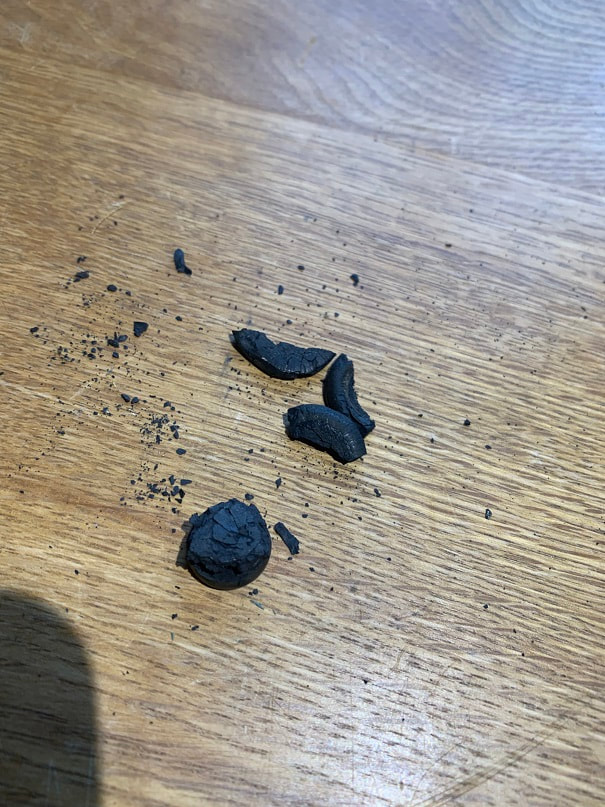
I removed them with needle nose pliers and small chisel.
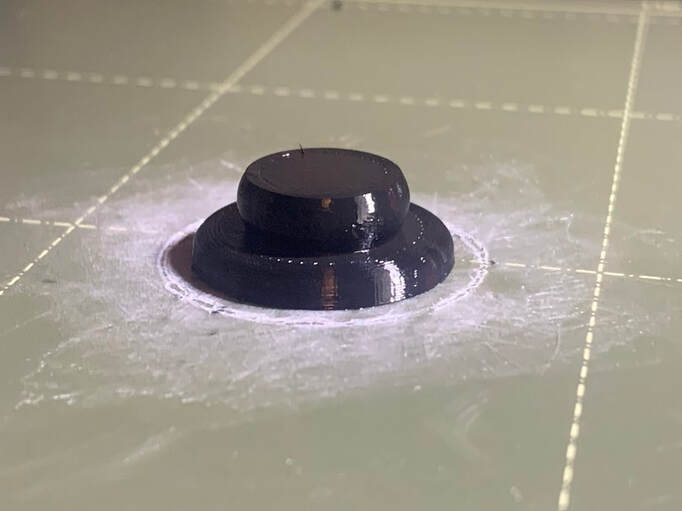
I designed new feet on Fusion 360 and printed them in 30D TPE Flex on my 3D printer.
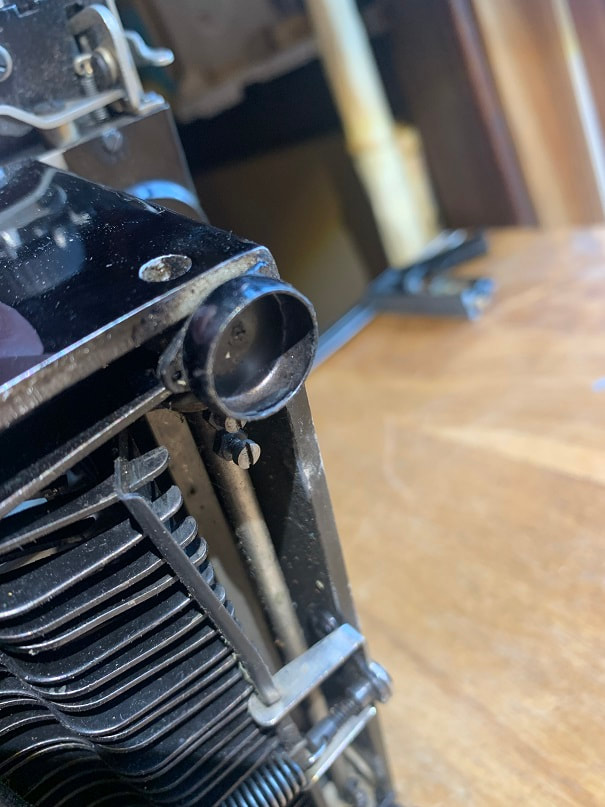
Here's what the metal socket look like that holds the foot.
Here is a photo of the new foot installed. All new rubber feet have been installed on this Corona 3 Folding Typewriter!
Paper will need feed or advance: Hard platen and hard/flattened feed rollers cause this.
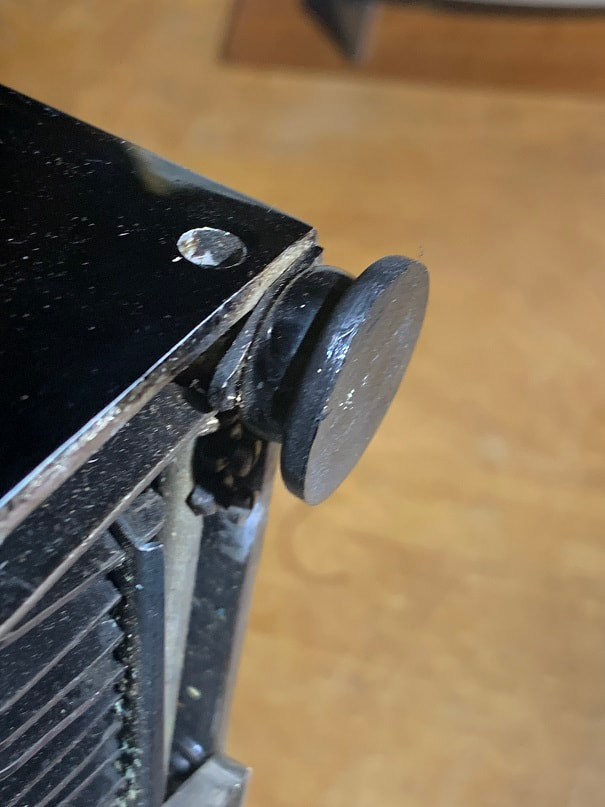
First loosen the set screw that secures the platen knob, then remove the knob.
Then remove the two set screws that secure the platen to the shaft.
Then pull the platen shaft out.
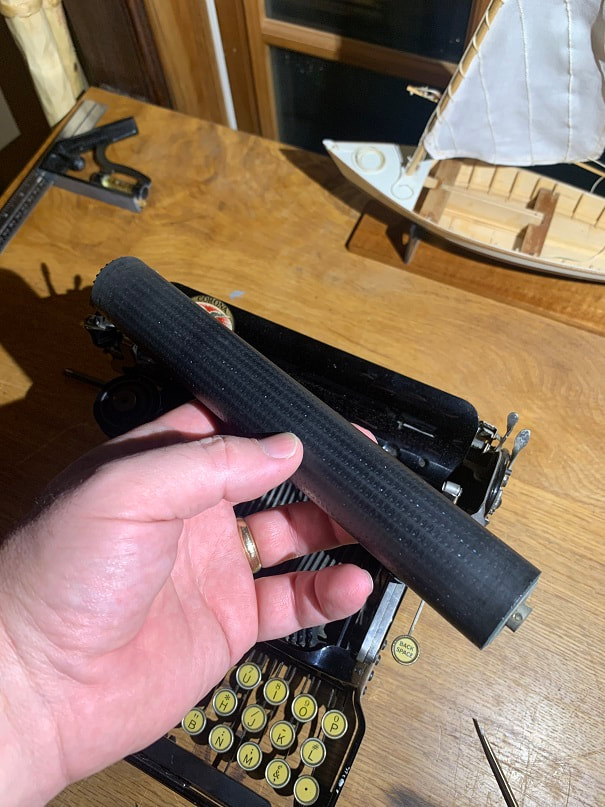
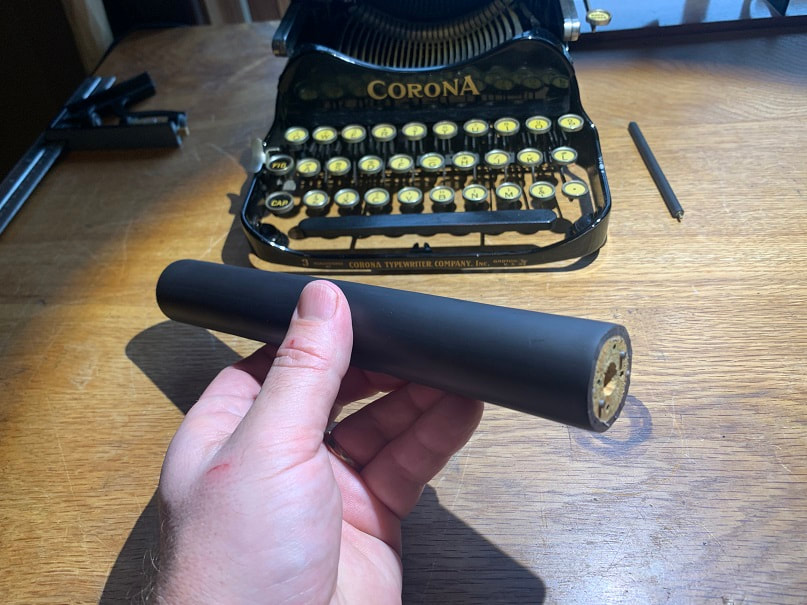
With the shaft removed, you can pull the platen out. If very old like this one, the rubber will likely be hard and brittle, which will make for a loud typewriter that doesn't make well formed letters.
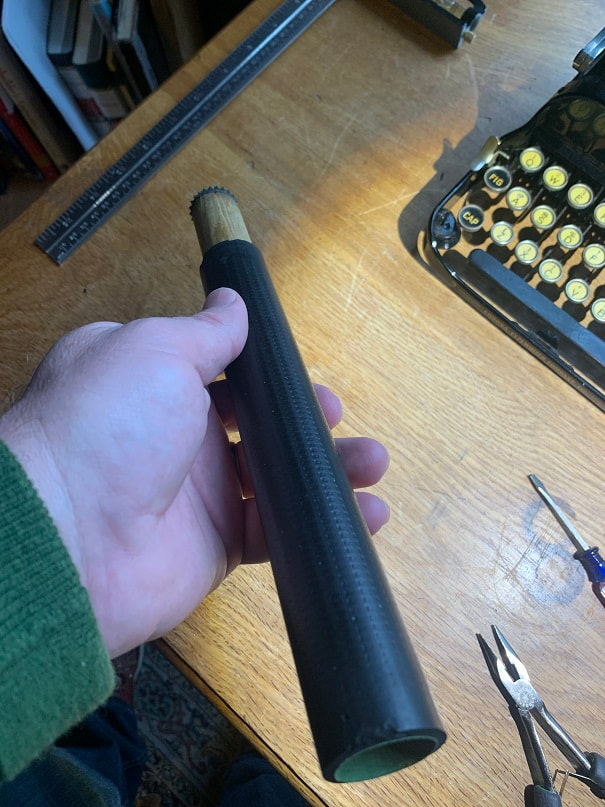
Remove the metal gear end and the metal hub on the other end of the platen and then gently tap the wooden platen core out from the rubber lagging.
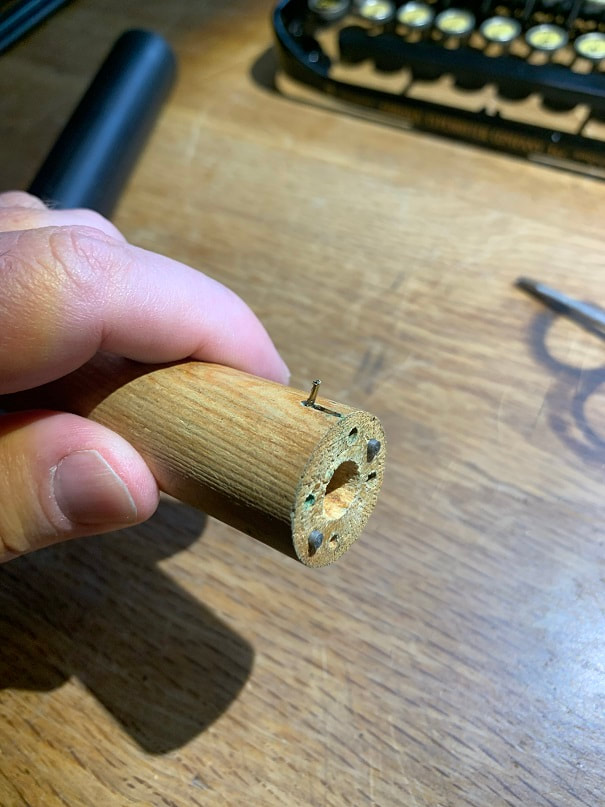
The Corona 3 has little metal nails in the platen core on each end, I pulled them out.
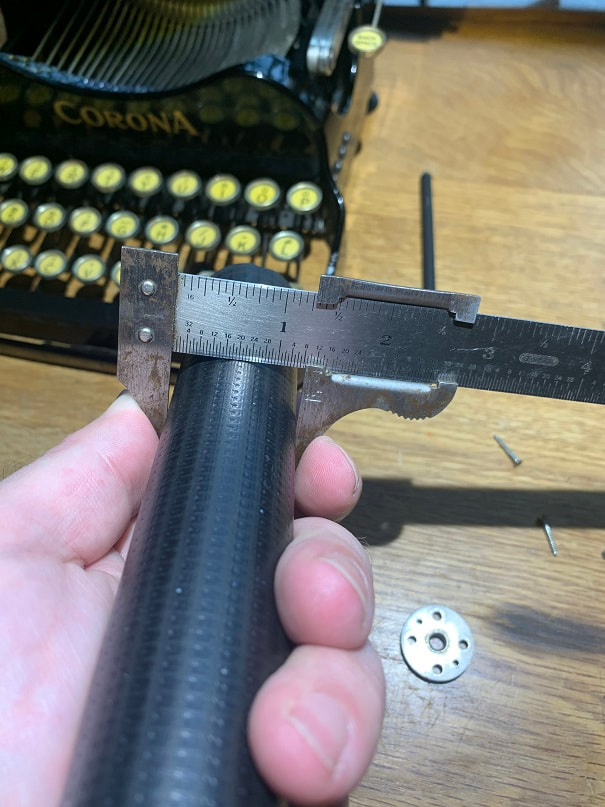
Checking the OD of the original platen = 1.25"
Two plies of marine waterproof adhesive shrink wrap applied, and ends carefully trimmed with a razor blade.
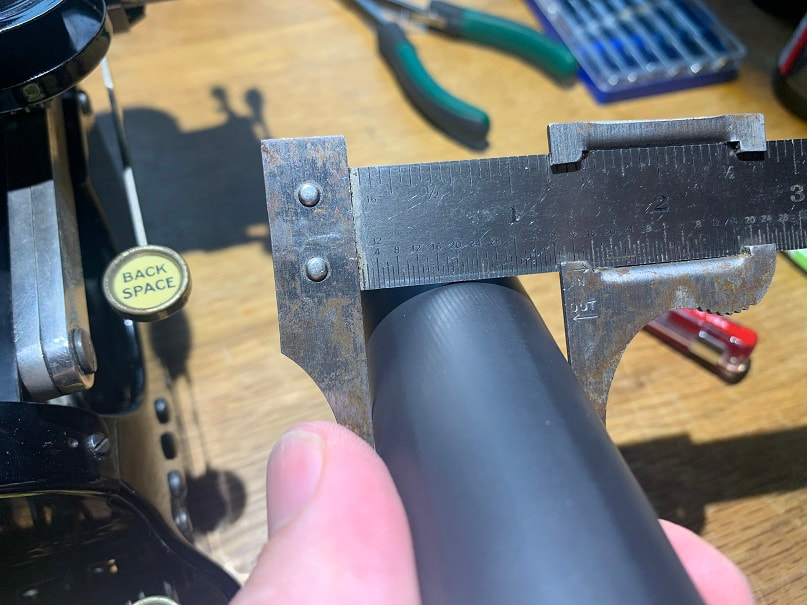
Checking diameter of new platen.
Carefully re-install the gear and hub ends being careful to perfectly align the little metal pins embedded in the wooden ends.
When the platen removed you can see the rubber-lagged feed roller. There is only one feed roller in a Corona 3 Folding Typewriter. In this photo you can already see that the feed roller rubber is hard and flattened, this is preventing paper from feeding and advancing in the typewriter.
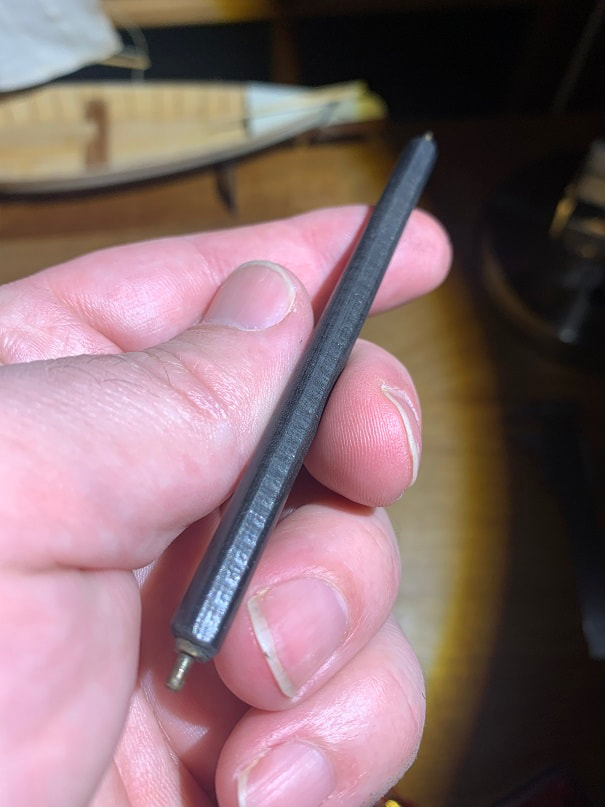
You can just pull the roller out. In the photo you can see the flat section that runs the long way all the way down the roller.
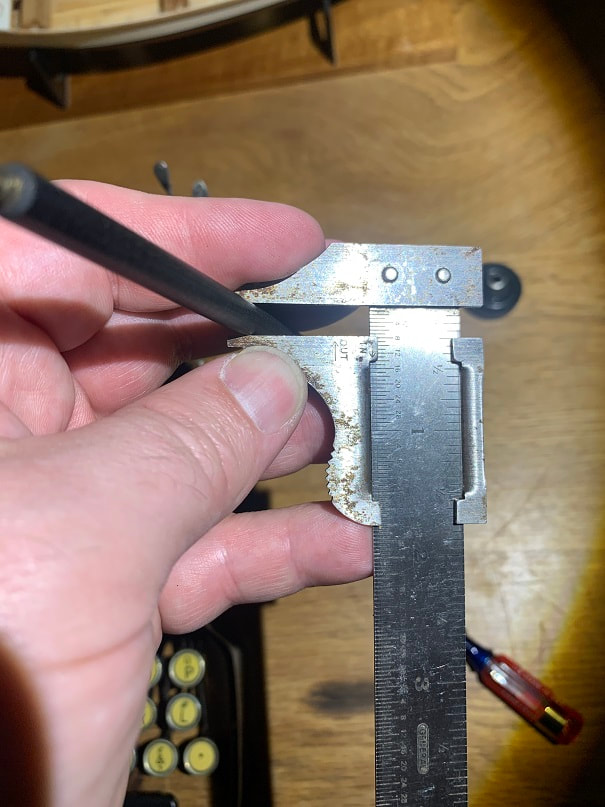
Checking diameter of the original roller lagging (don't check it at the flat spot, check it at a fully round spot) It's 0.25"
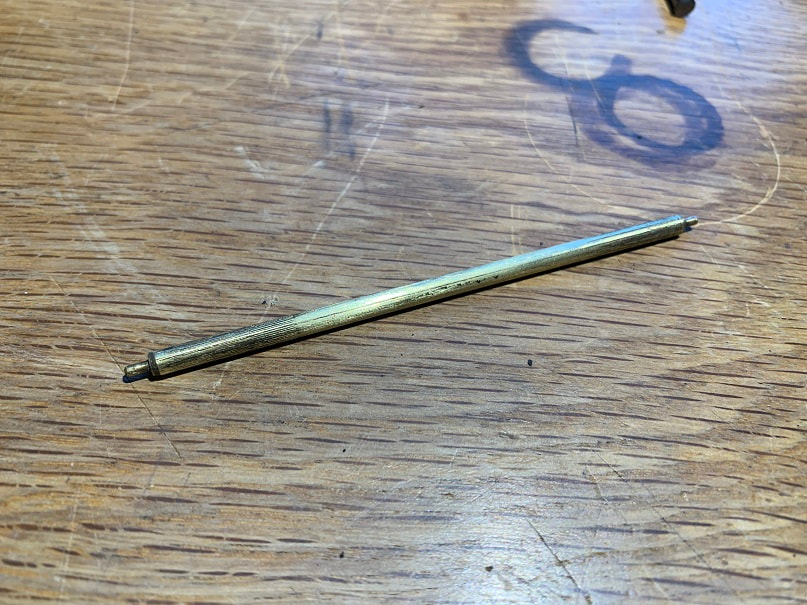
I removed the old rubber with a razor knife and cleaned up the surface with very fine sandpaper.
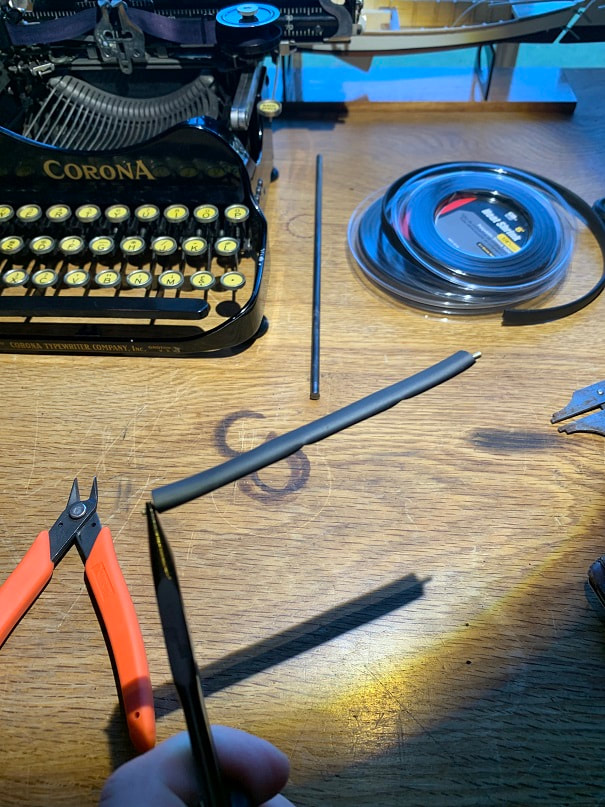
Shrink wrapping new rubber lagging onto the feed roller. Hold the piece with a long pliers so that you don't burn yourself. I use a heat gun to shrink the rubber.
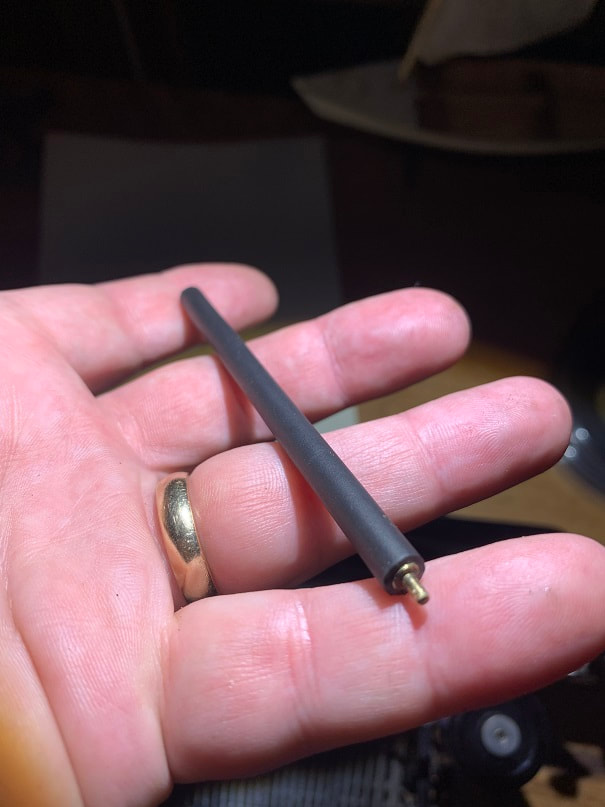
Finished relagged feed roller, with ends trimmed with a sharp razor.
Clean the paper feed tray interior well (air blast and dry brushes), then set the feed roller back in. Then set the platen back in and reinstall the shaft, reinstall the knob. It can be tricky to position the shaft back through the levers and platen, just have patience and it'll work.
New feed roller and platen rubber installed, and now paper feeds in great!
Carriage does not return
The spring tensioned carriage return strap is a sinewy cord on the Corona 3. The spring on mine seemed to be well tensioned when I pulled on the return cord, but the return cord hook was not attached to the carriage, so all I needed to do was reattach the cord to the carriage.
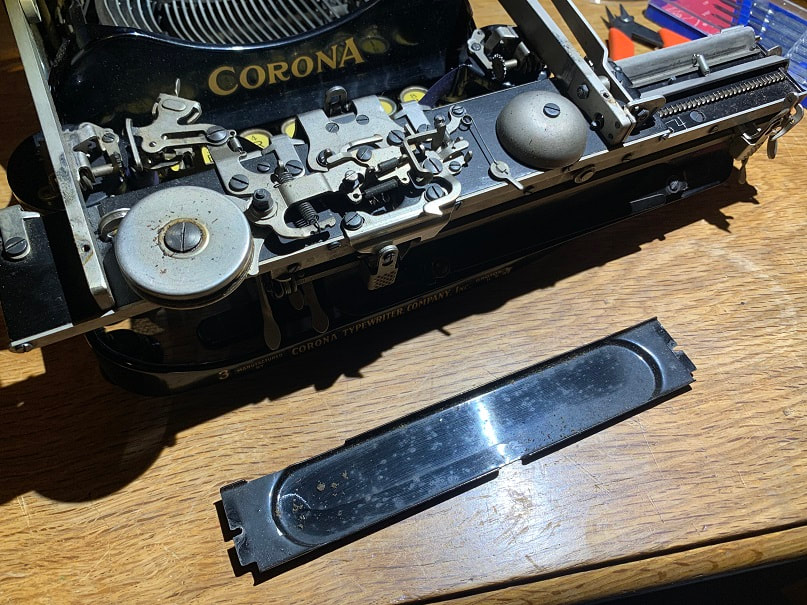
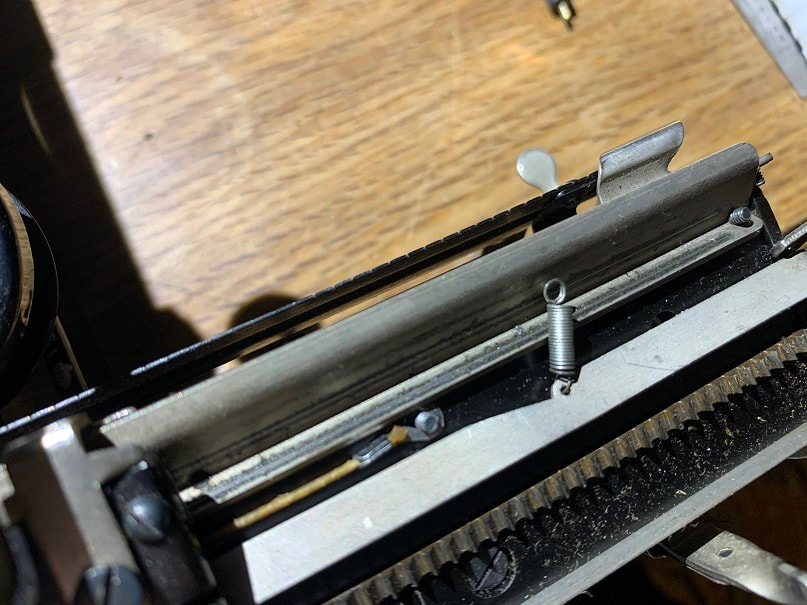
Removing the cover as shown, exposes the spring, the bell, and other mechanisms. The spring is the circular component on the left of this photo. With the cover off, this is a good opportunity to clean out this area with an air blast from a compressor.
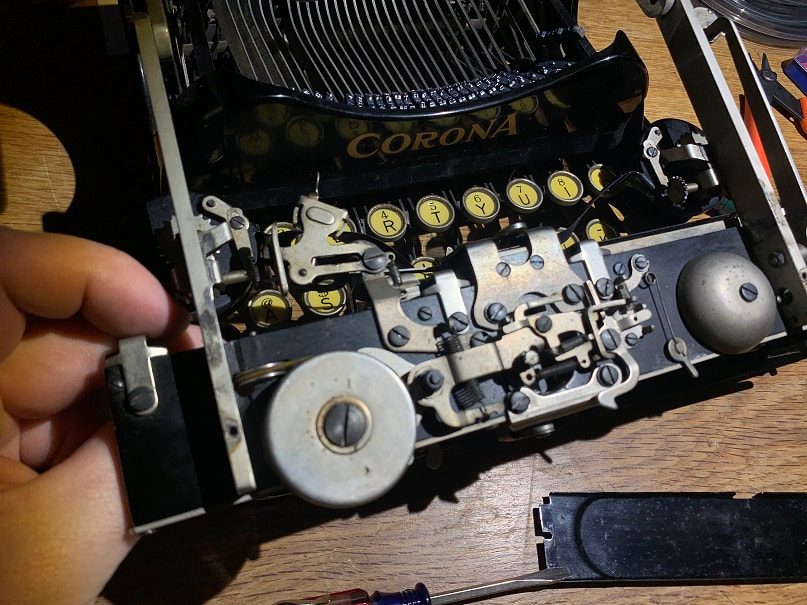
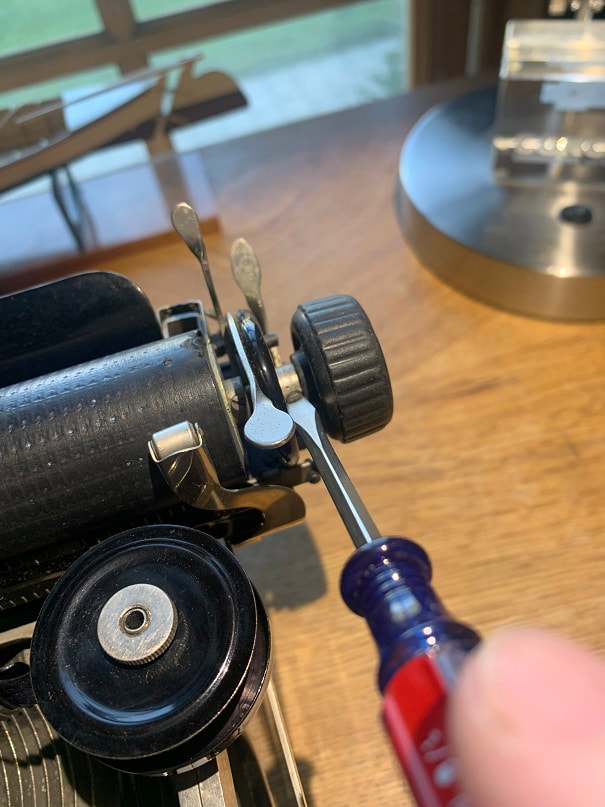
The cord was not sitting in the groove of the pulley, so i set the cord in the pulley (the pulley is just above and to the left of the spring wheel in this photo). I am holding the cord from below to ensure it stays in the groove of the pulley.
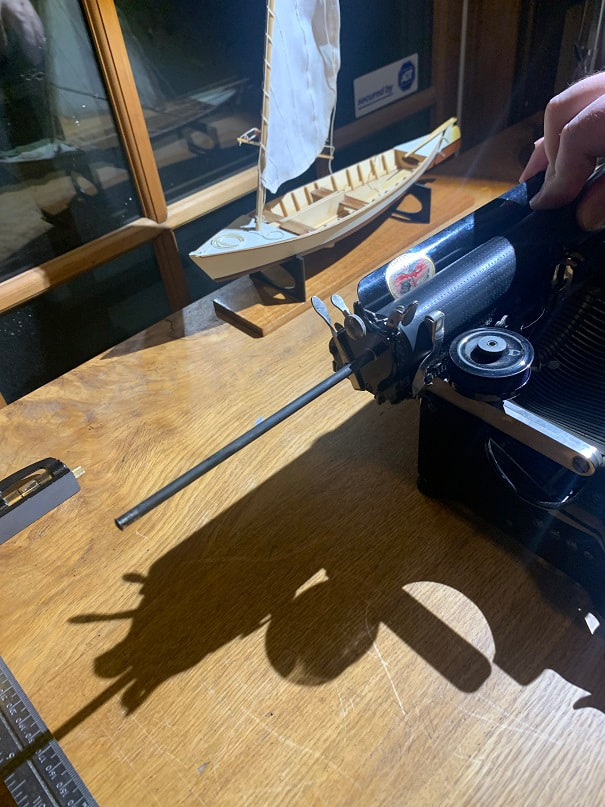
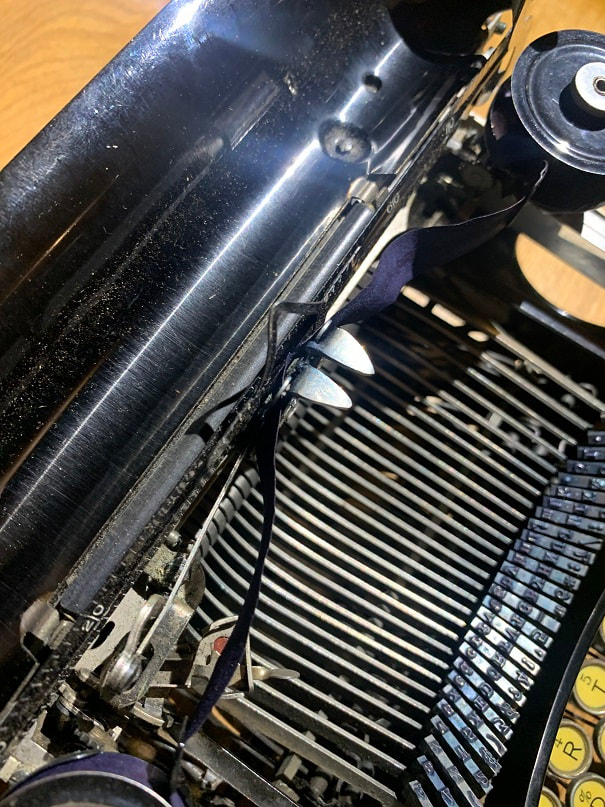
While keeping tension on the cord, I folded the folding section of the typewriter over so that I could see the top. I had made a long rigid wire hook using a length of piano wire. I carefully pushed this long wire with a hooked end from the opposite end of the carriage, under the carriage as shown, all the way until the hook reached the pulley. If you look close, you can see a silver colored wire with a hook at the end, right near the pulley.
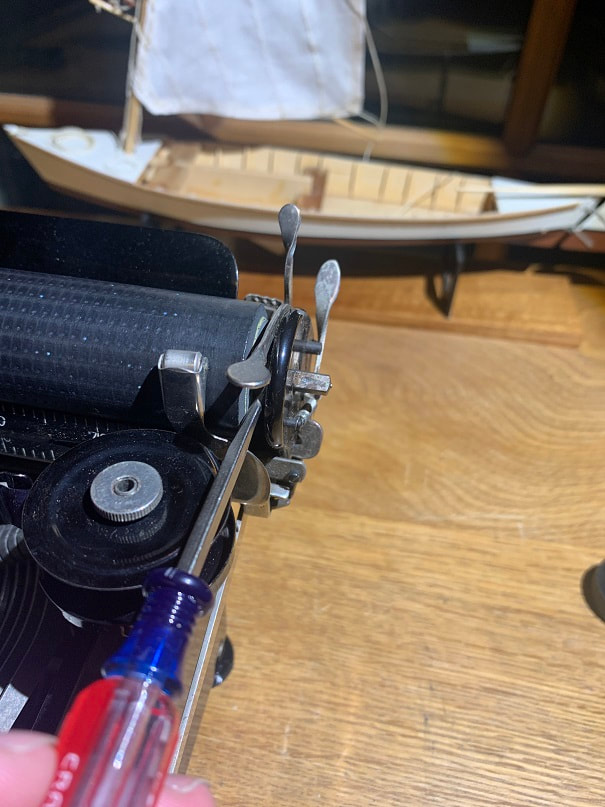
Then I hooked the return cord hook to the piano wire hook as shown and pulled the tensioned cord through and under the carriage till I could see it on the other end.
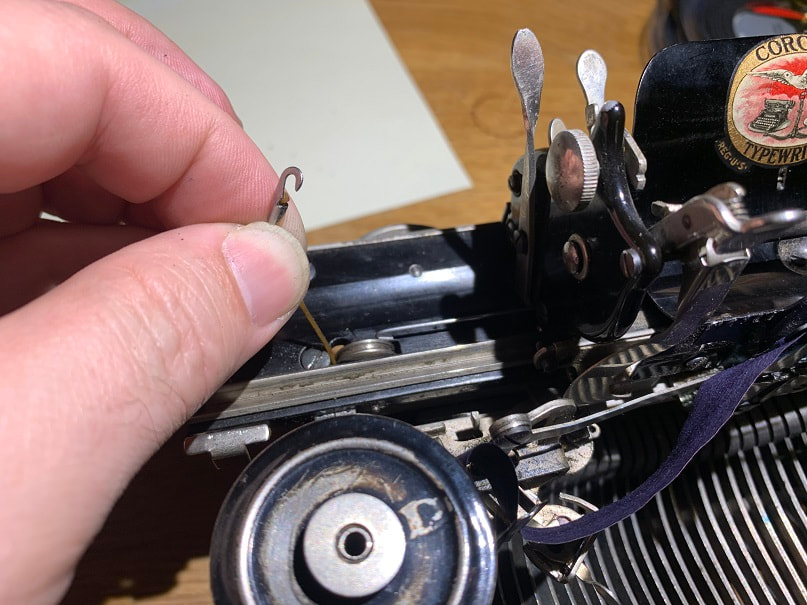
Take the end of the spring as shown, and pull it off of the screw end and attach the carriage return cord hook to that screw as shown.
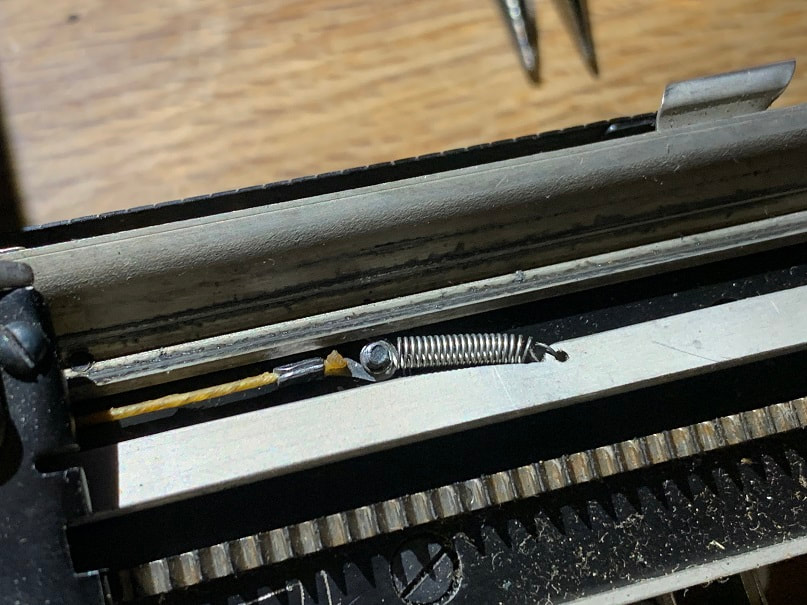
Then reattach the spring to the screw end , over the hook, to retain the spring and hook.
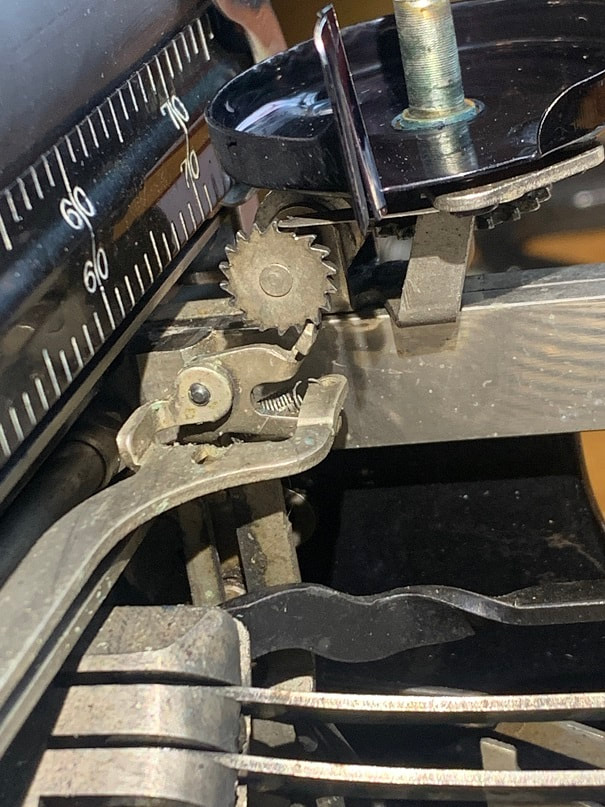
With this, the carriage returned great, and the bell worked perfectly with no repair work needed on the bell mechanism.
Corona 3 Typewriter Ribbon will not advance:
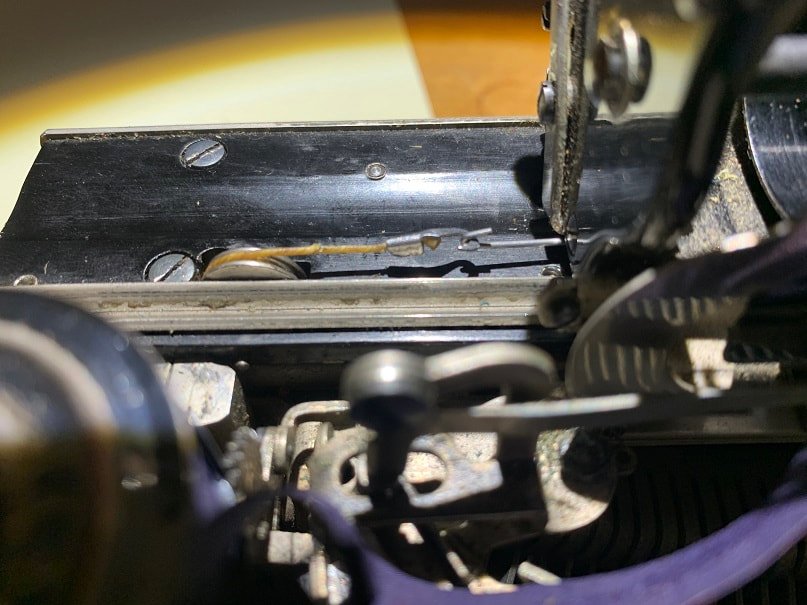
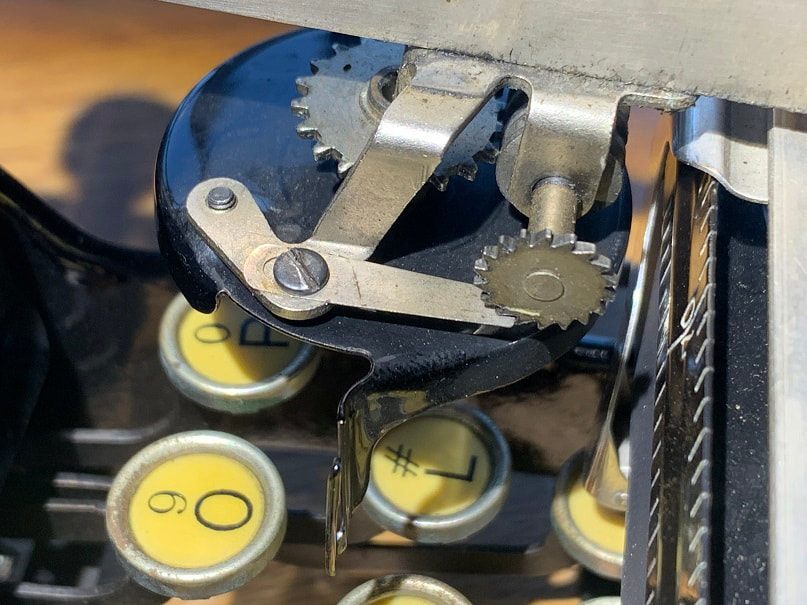
There is a pawl-gear, worm gear, and plain gear under each ribbon spool. When typing there is a pawl that drives these pawl gears and a tiny spring steel tang that engages the pawl gear tooth each time a letter is typed to ensure the mechanism only drives in one direction. When typing, I could see that these pawl-gears were not advancing but just rocking back and forth while staying in the same position....not rotating forward.
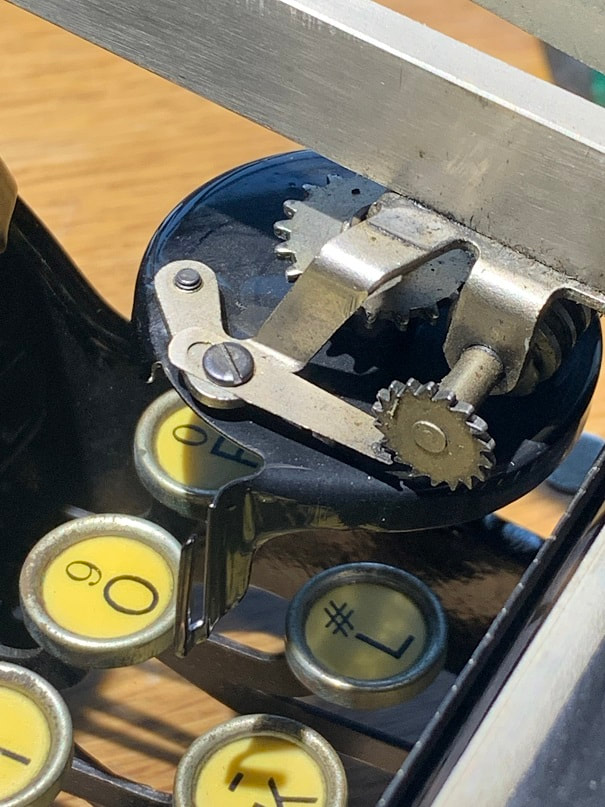
Folding the folding section over exposes the bottom of this part of the mechanism, and one can see the spring-steel tang, and also can see that it is removeable and adjustable.
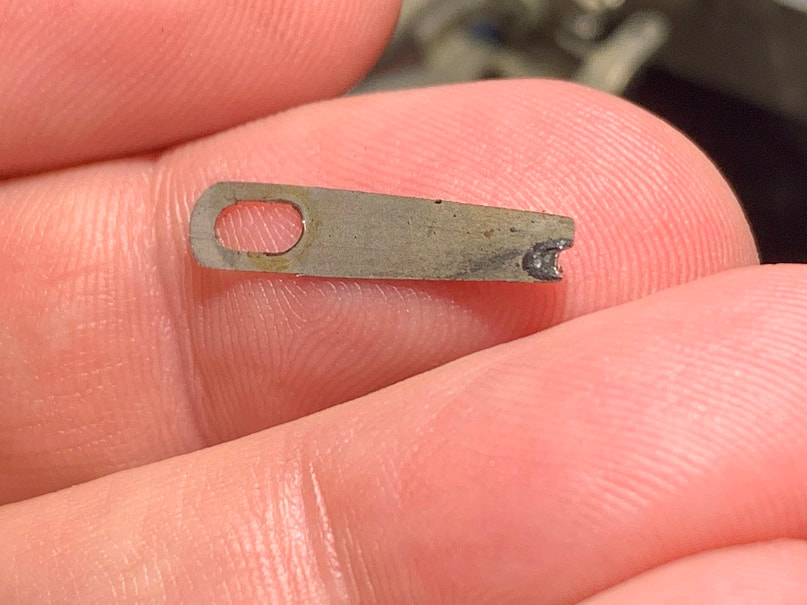
Removing the small spring-steel pieces that engage with the pawl teeth, I could see that the pawl gear had worn them down as shown.
I rebent the spring steel a tiny bit and flipped the spring steel piece over so that the unworn side of the tip was aligned with the pawl gear. I adjusted the lengthwise position of the spring steel and retightened it in place.
With those adjustments made, the ribbon advanced properly.
Replacing Corona 3 Typewriter Ribbon
The ribbon in typewriter was bone dry so I removed it. The spools were gunky and dirty so they need to be cleaned. There is a snap-spring that snaps over the ribbon holding it to the spool.
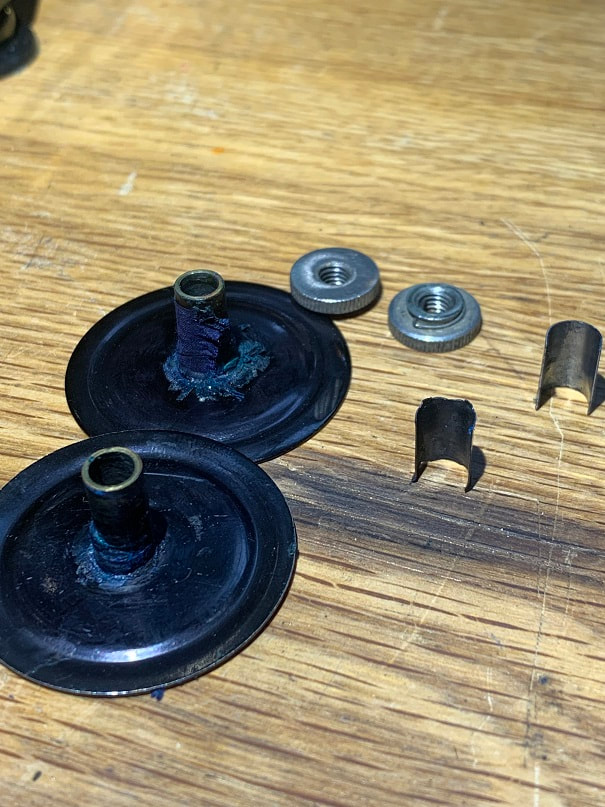
I cleaned these thoroughly including the inner bore of these spools which were all gunked up.
Brand new black ink ribbon installed. The little clips worked great on the Corona 3 ribbon spools. I wound the ribbon from the plastic spool it came on, onto the typewriter spool on the left, until it was full, then with the ribbon exiting from the front of the spool, I ran it through the ribbon holders up near the platen, then over through the ribbon slot on the right, and into the back of the spool on the left. This is the end of the work I will do on this machine, and I am pleased with the result!
I brushed and cleaned the case and then applied two plies of heavy duty fabric adhesive tape over the hinge joint. It is well held together and the hinge works again. That said, I would generally recommend picking up old typewriter cases by the bottom of the case, not by the handle....unless you are very sure of the case and handles soundness.
My refurbished Corona 3, sitting happily in the case.