Summer 2020
How to Make a Beautiful Wooden SUP Paddle Yourself!:
I am nearly done building a Kaholo wooden paddleboard from Chesapeake Light Craft. As a reached completion of this project I began searching for wooden SUP paddles. There are so many amazing craftspeople building these beautiful wooden paddles, and wooden paddles may be purchased from many sources. As for myself, I will make a SUP paddle rather than buying one, and below is how I will do it.
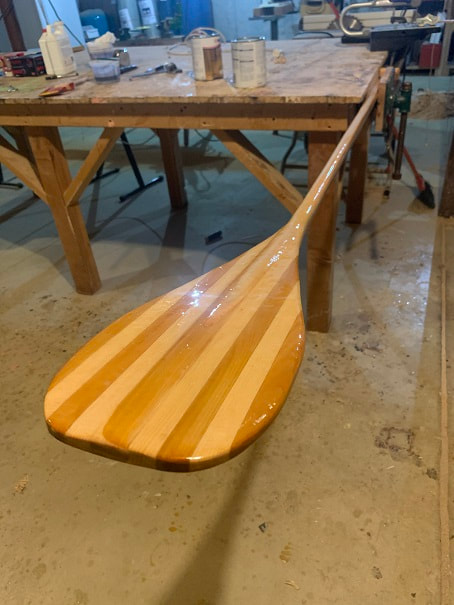
Pictures of the finished SUP Paddle:
Instructions on how I made this SUP paddle are below.
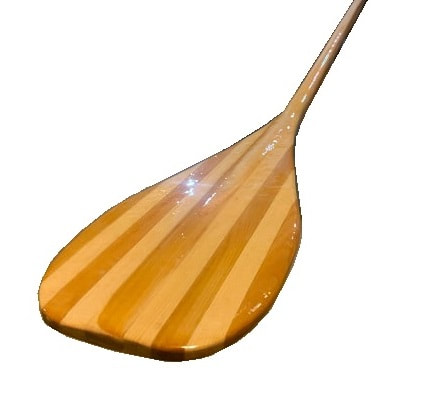
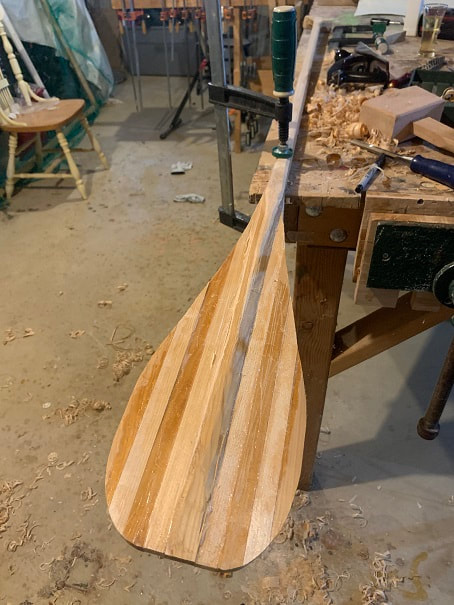
Laminated SUP Paddle. You can also see the bend in the paddle where the blade begins.
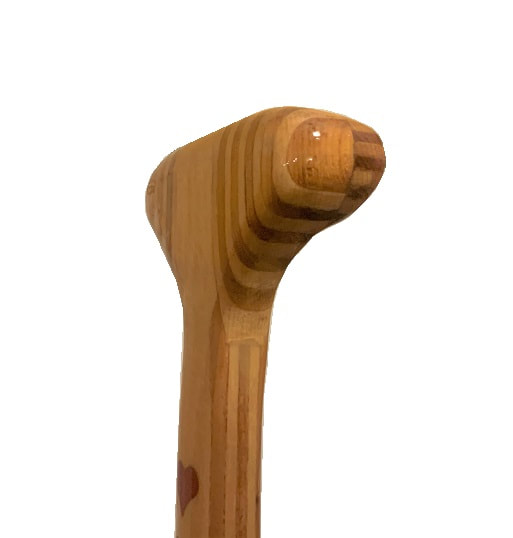
The handle is also of laminated Sitka and Cedar. It is carved with a large radius finger grip on the forward facing edge of the handle.
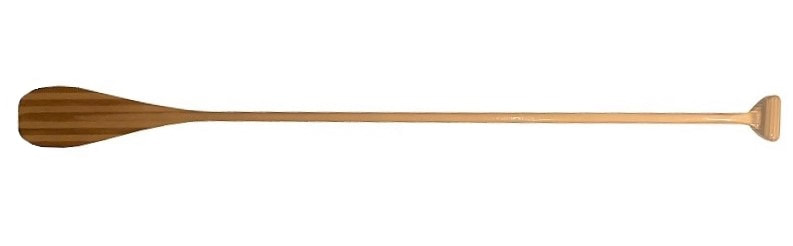
Homemade Wooden SUP Paddle
SUP Paddle Design / Drawing:
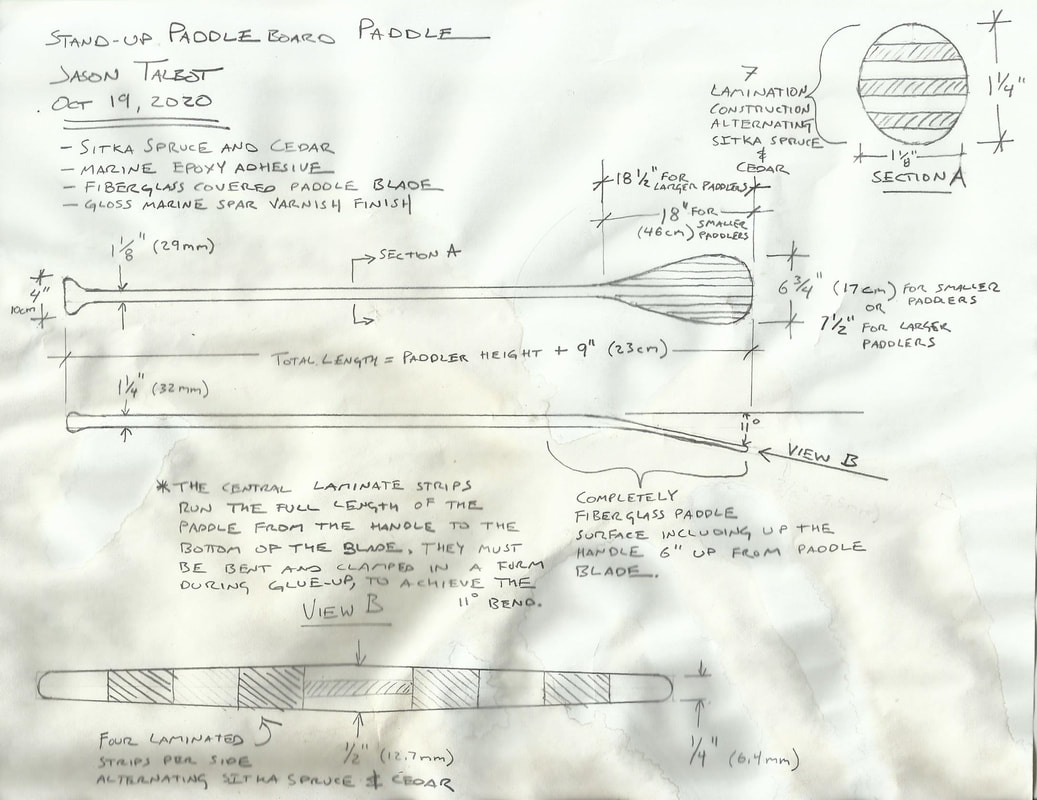
A quick bit of research on SUP paddles led me to a variety of design ideas for SUP paddles, and based on what
I read, I came up with the homemade wooden SUP paddle design above.
This paddle is for my wife who would be considered on the shorter side of things so I made this paddle with the smaller blade dimensions above.
Making a Laminating Form for the SUP Paddle:
I started with a straight 2x4x8 and sawed the radiused edges off to create nice flat straight edges. I drew and cut a 12deg cut, 18" long as shown below. There is a smooth radius cut in where the angled section meets the long straight edge.
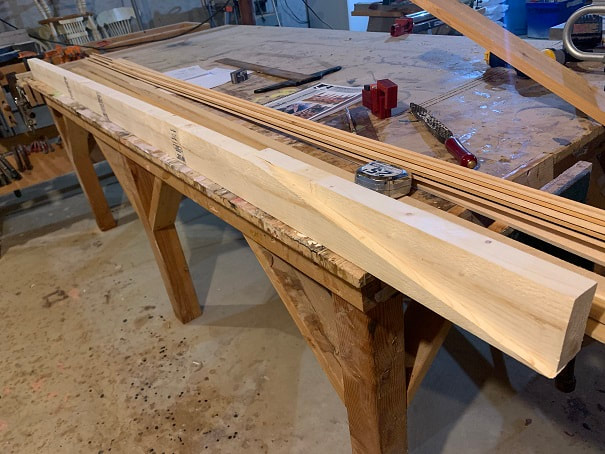
SUP Paddle laminating formwork
- Cover any surface of the form that may come into contact with epoxy glue with clear packing tape, this will allow the padle to be removed easily from the form.
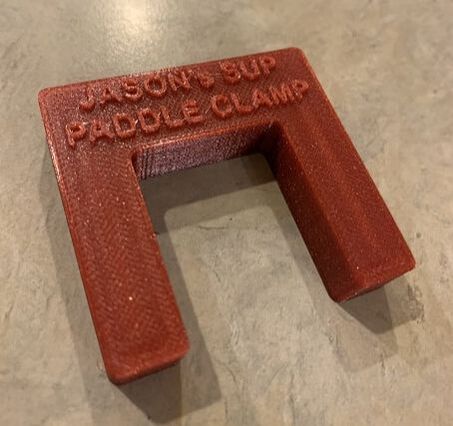
- To keep the laminations aligned vertically and to keep them from sliding sideways during clamping, I made 8 of these little bracket/clamps that are the exact width of the laminations. These are PETG made on my 3D printer. You could certainly build the paddle without these and just make sure all the laminations are aligned when you clamp them down.
Making a Laminated SUP Paddle:
First, I cut the long laminations: 3 cedar and 4 Sitka Spruce, They are 1 1/18" x a hair under 3/16" x 8feet. Stack seven laminations up and you should get to 1 1/4" thick. Shave them down on the table saw if needed if they are too thick. The grain should be straight and knot-free. I have a knot at the end of those cedar strips, but they are long enough that I will trim that knot end off.
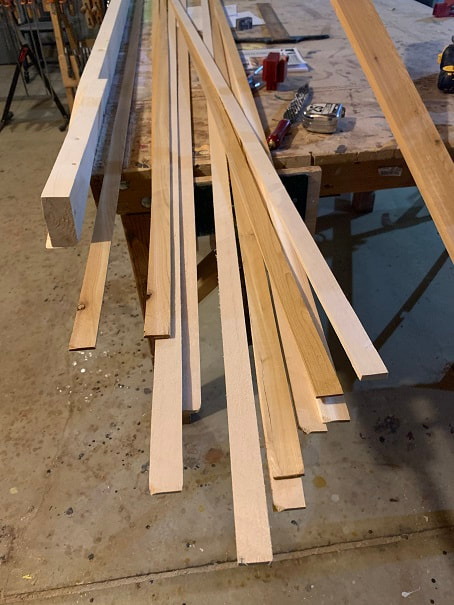
Here are the laminations. I made some extras and will pick the best seven.
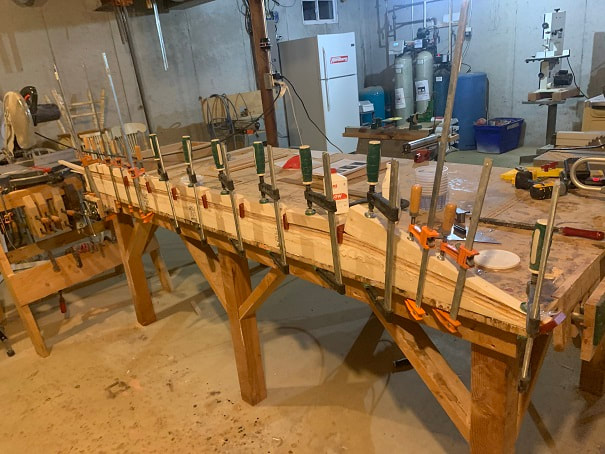
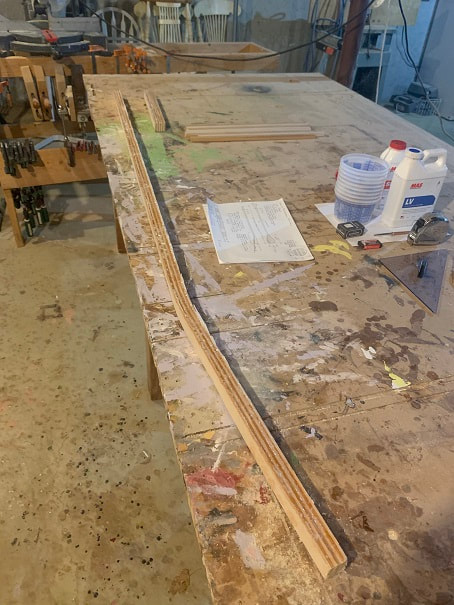
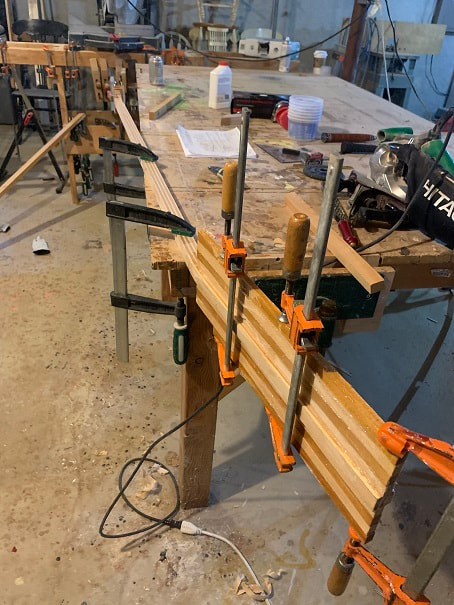
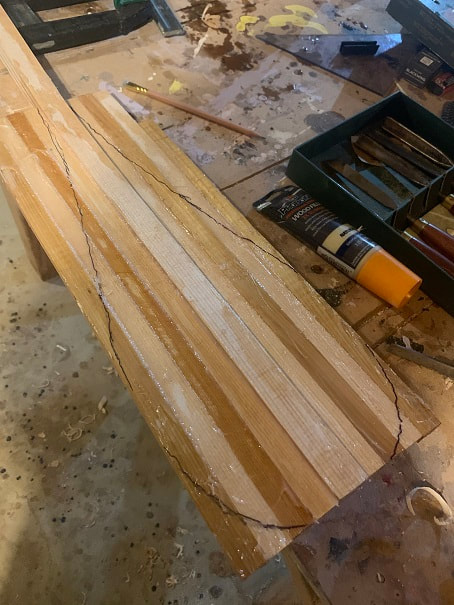
I mixed up 10oz of two part marine epoxy and then thickened it with colodial silica to make a thick glue, and used it to ahere the laminations. Here are the SUP paddle laminations clamped into the form. I had to laugh at myself, as I clamped this form down with the upper wedge-shaped upper form on the right, flipped around left to right the wrong way. It doesn't really matter, but it's a bit easier to clamp together with the wide end of that wedge shaped upper form on the right where the lower form tapers away. The pointy end of the upper form should be pointing left in this photo.

The clamps assert vertical clamping pressure, which shouldn't be too high for epoxy glues, and the red alignment brackets keep the laminations from slidng out sideways. NOTE: I used 8ft long laminations, so I had excess length. In this photo you can see where I stacked up extra laminations at the tail end. I will chop of this thicker lamination section and use it to make the hand handle at the hand end of the paddle.
- After 2 days I removed the clamps and took the laminated piece from the form. I sawed the paddle to length and also sawed off the thicker laminated section that I will use to make the handle.
I let the epoxy cure for 2 days and here is the paddle shaft after being removed from the form. I was expecting some "memory" the the laminations to bounce the angle of the paddle blade section from 12deg to maybe 10deg, but it didn't move a bit.
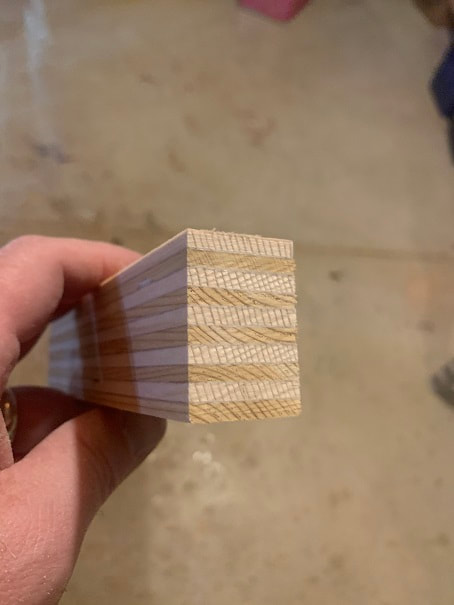
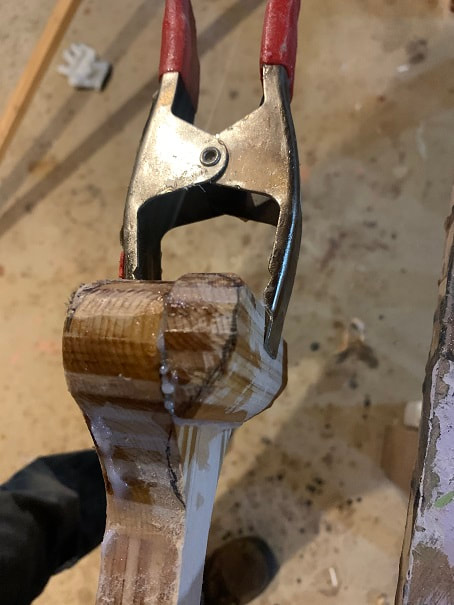
This is a cross section of the thicker (10 laminations vs 7 for the shaft section of the paddle) section that I glued up. I will use this section to make pieces for the hand handle at the top of the paddle. I am pleased with the wood grain and the adhesive contact.
The homemade SUP Paddle is coming along great. So far so good. Next , I sketched and cut-out the pieces that will make the handle.
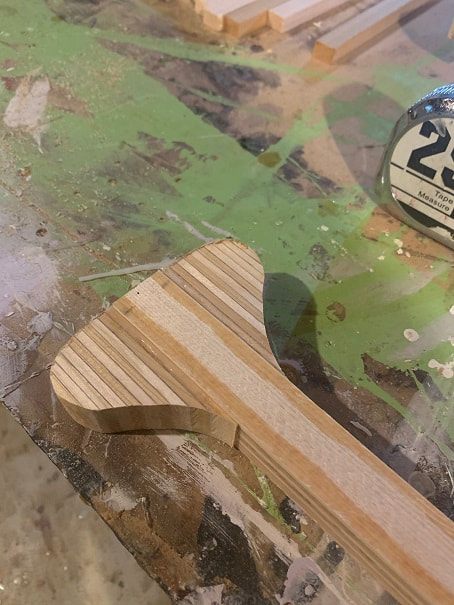
Here are the handle pieces, cut out from the thicker laminated section, using a small bandsaw.
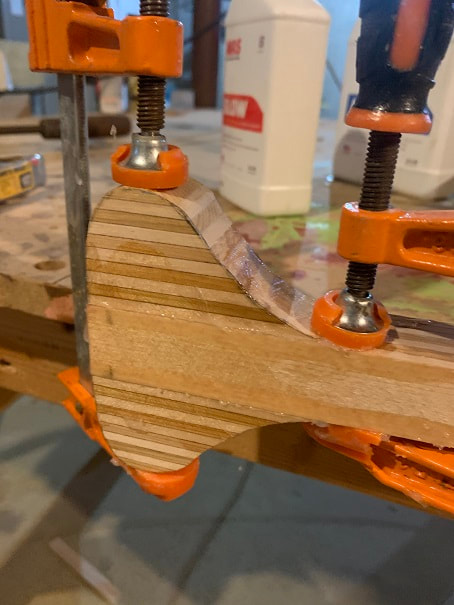
The hand handle with feature a nice round top that should be comfortable in the hand and palm. I epoxied on an additional laminated block on the front side of the handle which should be nice for ones fingers to grip over.
Making the Laminated Wooden Blade for the SUP Paddle
The blade of my SUP Paddle is made from alternating strips of 1/2" thick x 11/16" wide x 18" long Sitka Spruce and Cedar.
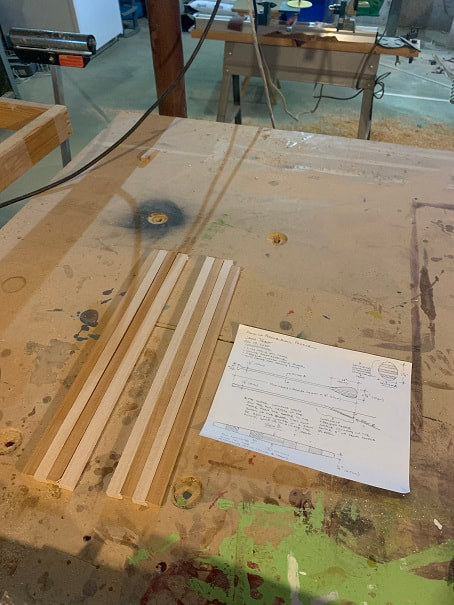
Here are the wooden strips for the paddle blade.
Next I glued the blade strips together. I decided to glue them up and cut the blade to shape after. One could also glue these strips together off the paddle and cut the blade-half to shape, and then glue it to the paddle shaft. I wanted to be able to sight down the strips and make sure they were all straight and perpendicular to the shaft and I thought that would be easiest if they were all still in full length strips.
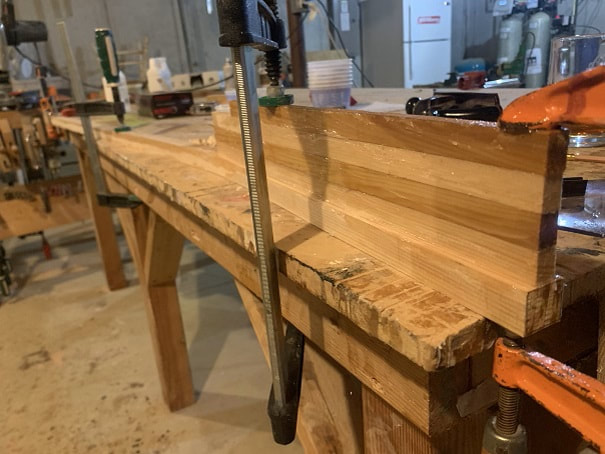
Gluing up one half of the paddle blade strips. For strength, I glued a Sitka Spruce strip to the paddle first. Note that the blade is glued down the centerline of the paddle shaft.
After the first side dried, I flipped the paddle over and glued up the laminations for the other side of the blade. I made sure that the laminations were aligned with the other side of the blade.
After the epoxy was dry, I made a paper template and traced out the shape of the paddle. Then then cut this out on the band saw.
Shaping and Sanding the SUP Paddle
With all the wooden pieces laminated and glued together, I used planes, spokeshaves, rasps and chisels to rough shape the paddle. Then I used 120 and 220 grit sandpaper to smooth it out.
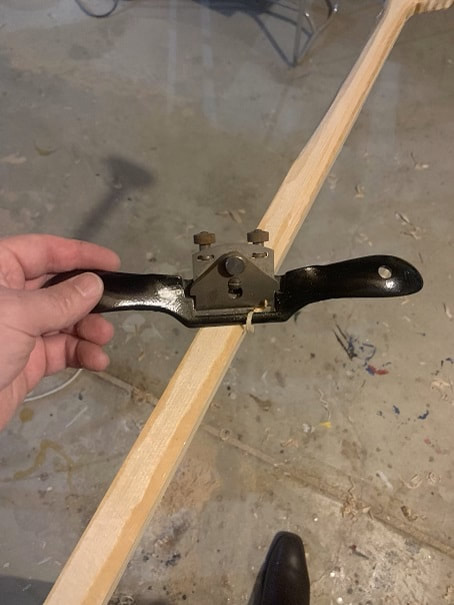
I used a spoke shave to carve the oval shape of the paddle shaft.
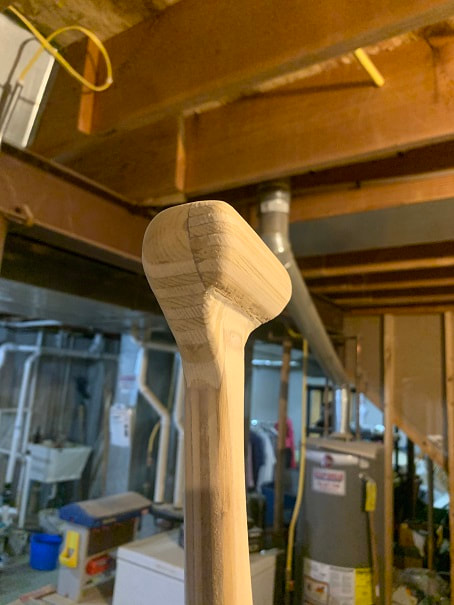
I used a shinto rasp and chisels to shape the handle.
I used chisels and mallet, and a plane, to shape the blade.
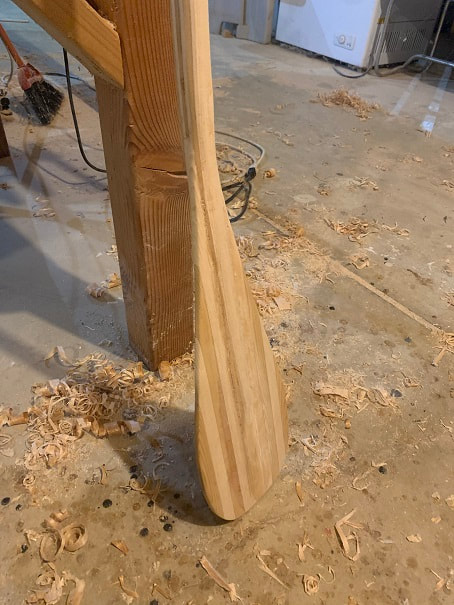
Blade after 120grit sanding.
Next I sanded the whole paddle with 220 grit sandpaper.
Fiberglassing and Finishing the Paddle
With the paddle sanded smooth with 220grit sandpaper, I proceeded to fiberglass the blade, coat the entire paddle with epoxy, and finally spar varnish.
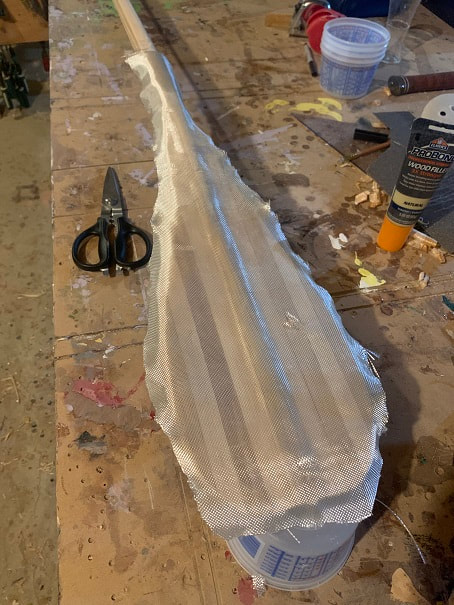
Fiberglass cut out for one side of the blade. The fiberglass extends about 6" up the shaft from the blade.
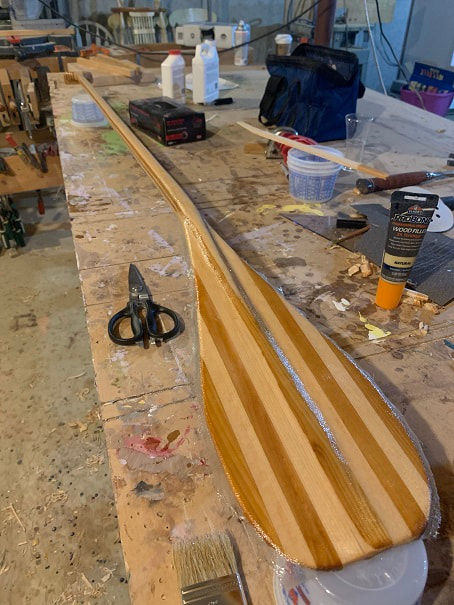
Here is the fiberglass wetted out with slow set MAS epoxy. I also gave the shaft and handle a coat of epoxy at this time. The down-facing face of the blade is still bare wood and I will fiberglass that tomorrow.
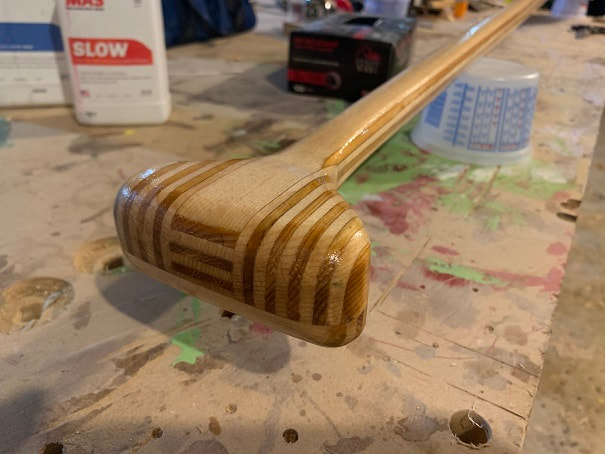
A view of the SUP Paddle handle after 1st coat of epoxy.
- I fiberglassed the other side of the paddle blade, gave the entire paddle 2 coats of epoxy, and then sanded the whole paddle smooth with with 120, then 220grit sand paper
- Epoxy and fiberglass are strong and tough, but they are not UV resistant so they will fall apart if left in the sun without protection. For this reason, fiberglass and epoxy must be painted or varnished with a varnish that includes UV inhibitors.
After final sanding, I began the final varnishing of the SUP Paddle. I am using Interlux Schooner Varnish. Go for 4 coats of varnish and yer done. I strain the varnish through a paint funnel-strainer prior to application, and use a good brush.