August 2022
Building a fine wooden model of one of the most sailed little boats in the world: The Optimist!
The Optimist was designed in Clearwater Florida by Clark Mills in 1947. It is a simple and effective 7'-9" long sailing dinghy and over the years became one of the most sailed boats in the world! 150,000 of these have been registered and many more than built. The optimist has been used in 120 countries, and is a very popular youth training and racing sailboat. My two kids learned to sail on these here in Wisconsin.
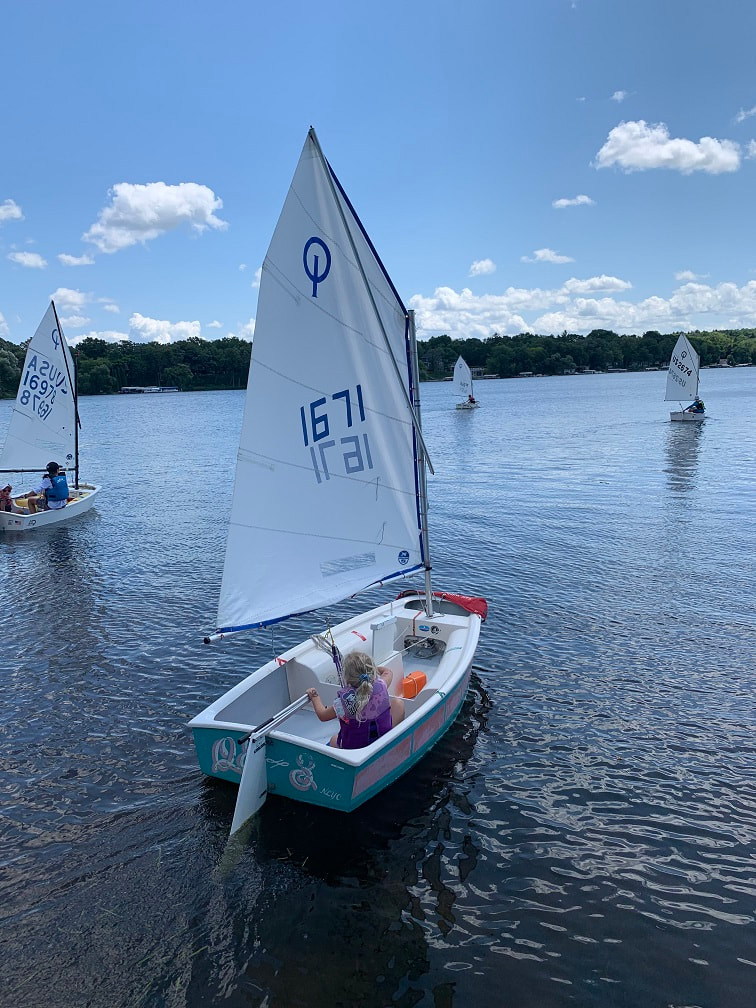
Here is my younger daughter, a number of years ago, sailing out on an optimist. This version has molded-in flotation cells port and startboard. Off to the left you can see a version with yellow inflated flotation cells. The model I am building features the traditional inflated flotation cells.
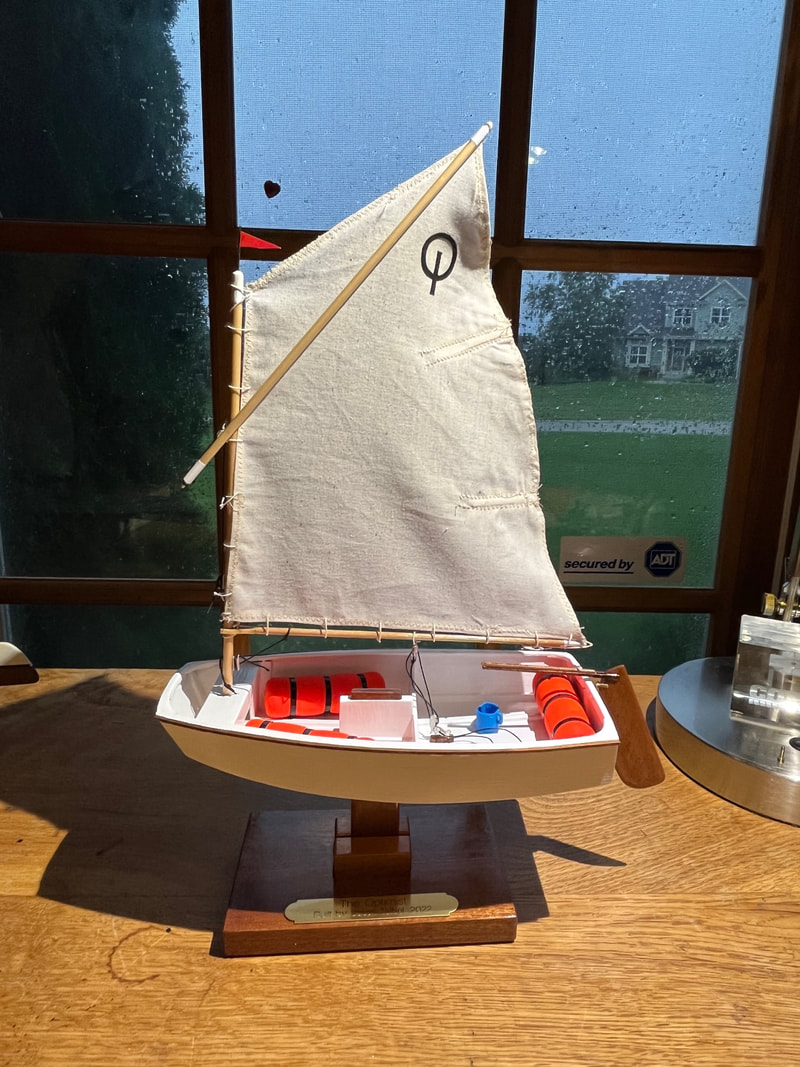
Completed model of Optimist Sailboat!
Building the BlueJacket Optimist Dingy Model:
Just purchased and received the Optimist kit from Bluejacket. This is a beginners model meant for folks just starting in model building. I bought this as a model to build with my daughters, which I am looking forward to and I hope they enjoy it as well! Both of them sailed on Opti's so they have a connection to the boat. This is the first model I have built by BlueJacket and the kit has made a good first impression. The contents are well packaged contents, and as this is intended as a beginners first ship model, the kit includes a nice full size print drawing (not pictured) , glues, paints, pin-vise with drill bits, pliers, tweezers, razor knife, and all components needed for the build. Just opened up the box and I'm hoping to get started over the weekend

Optimist Dingy wooden model kit arrives from BlueJacket in Maine.
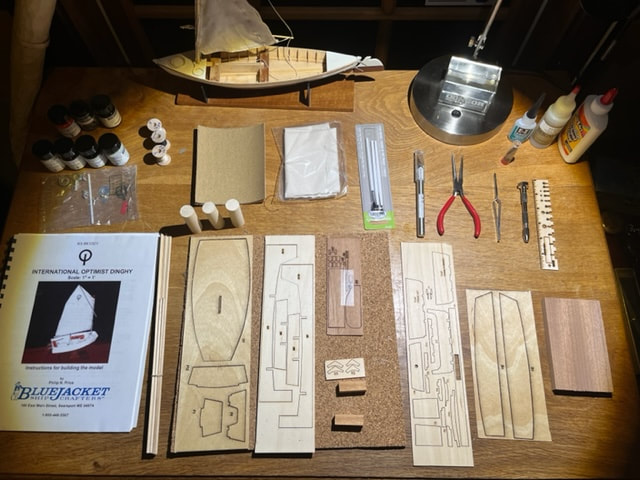
Nice quality kit and detailed instructions (and tools and paint)
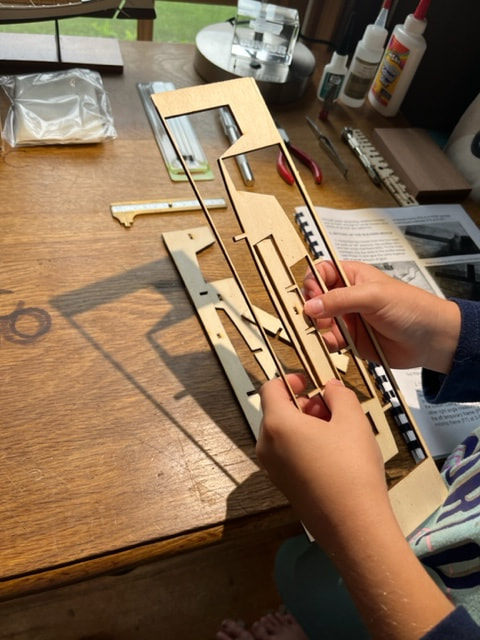
Separating the hull mold pieces.
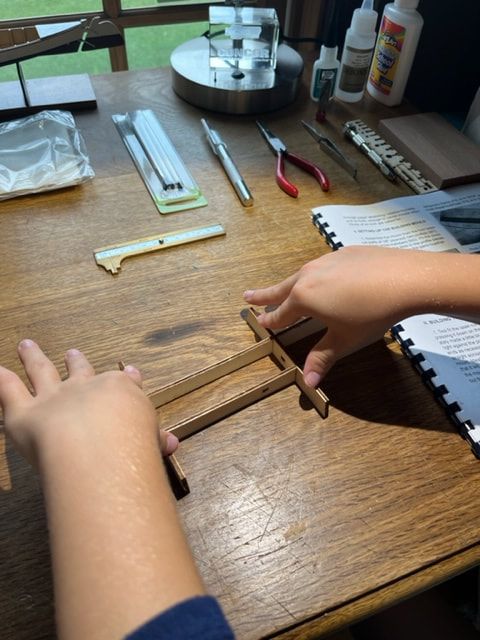
Gluing together the hull mold (frame) on which the hull will be built.
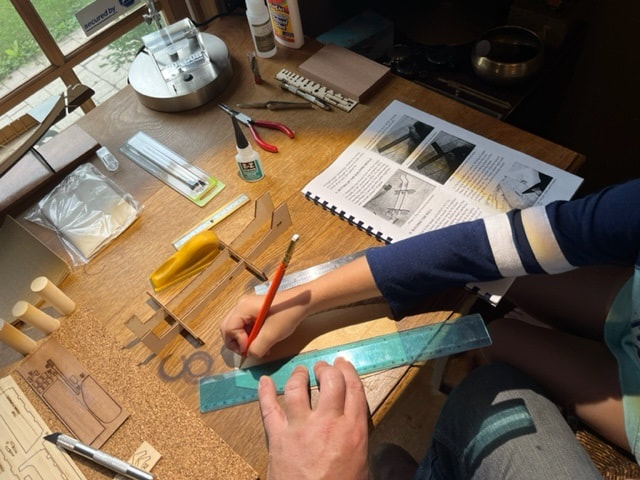
Measuring out centerline and bulkhead locations on the hull bottom.
Nailing small pins to hold the hull bottom to the frame.
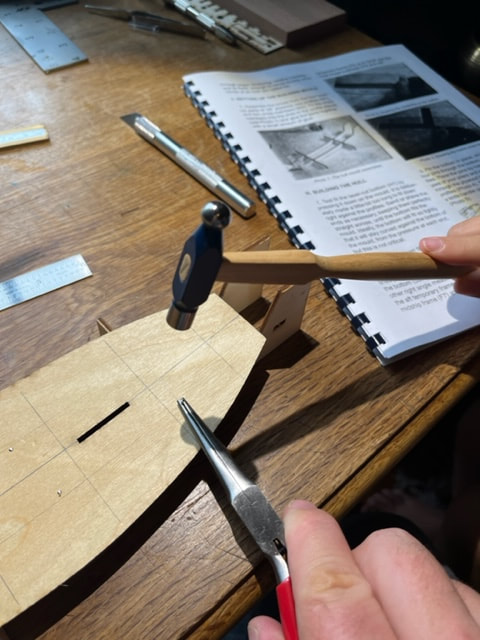
Assembling and gluing together the bow and stern transom frames for the Optimist dinghy model.
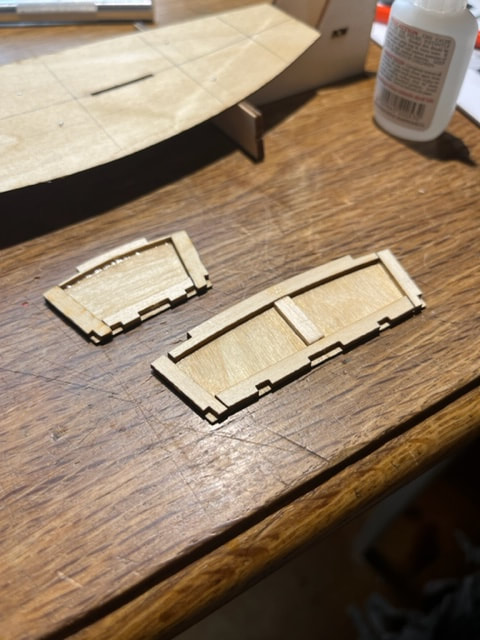
Completed transoms.
Chamfering edges with sandpaper for a nice fit.
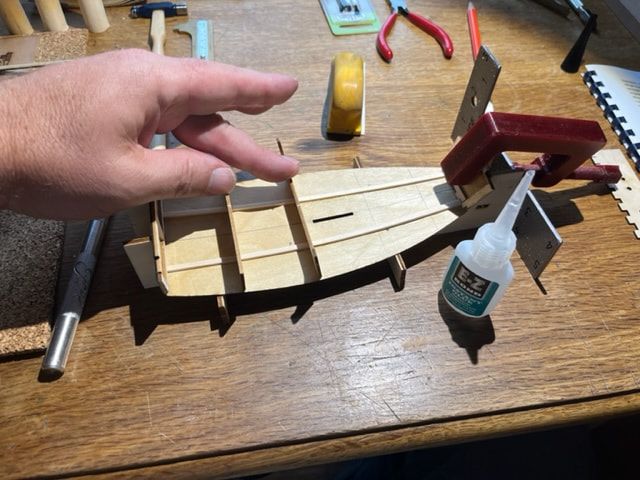
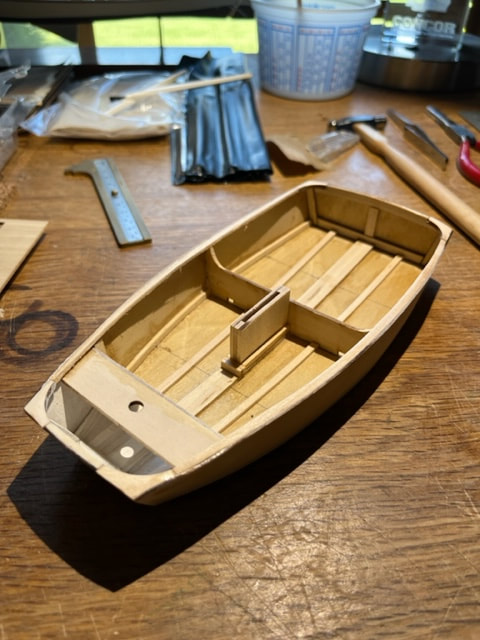
Gluing down transoms and bulkheads. Here I am gluing down the floor stringers as well. The bulkhead in the middle is not permanent , it is a spacer to hold the floor stringers in the right place, and as we learn later, I didn't use the temporary spacers exactly right!
Transoms and bulkheads installed. Next, will cut and install the chines which run along the outer edge of the bottom, where the bottom meets the sides of the hull.
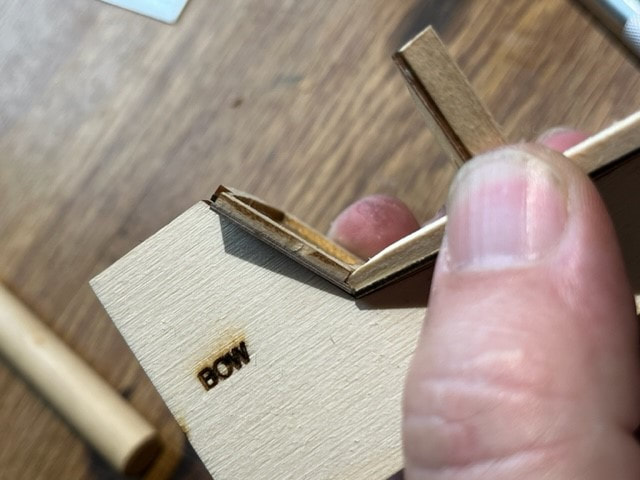
Next the chines were trimmed to length and also trimmed to fit in the pockets in the bow and stern transoms as shown above.
Chine, trimmed to length to fit into stern transom. Then we glued the chines in place. Using fast set CA glue for all this.
The way i glued in the chines was to use fast set CA to secure the foremost 1/2" of the chine, wait for it to dry and set well, and then bend it and glue it in place with even pressure for an even curve the rest of the way to the stern.
Chines installed.

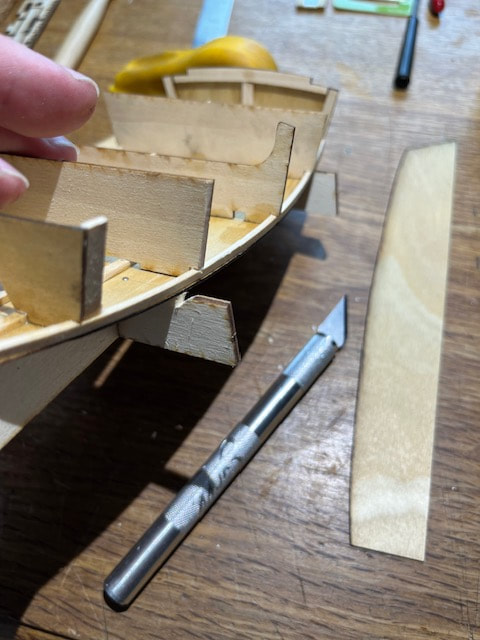
Here one can see the error of my ways regarding floor stringer spacing. The bulkhead closer to me when I took the picture is the temporary form. The bulkhead in the background is the one that will eventually support the mast thwart. The two narrow stringers running along the hull bottom are supposed to run through well fit notches in both those bulkheads, note that I had to cut the notches away into larger openings that fit the actual location of the stringers. Ultimately it won't impact the final model, but just be careful to put the spacers in the right place when you glue the floor stringers down.
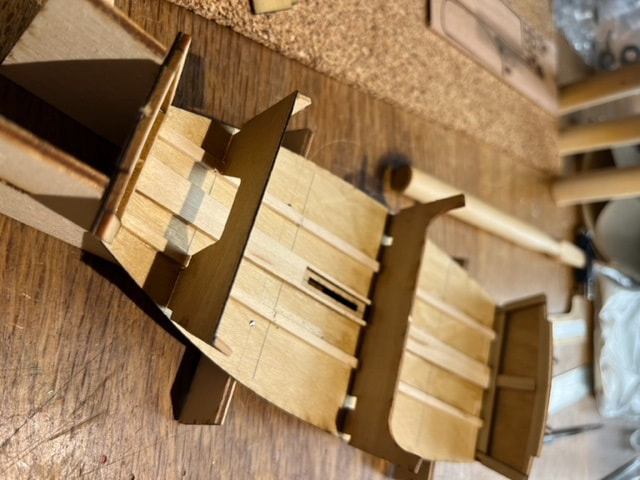
Chines, bulkheads, and transoms have been trimmed with a razor and sanded/chamfered to smoothly fit the hull sides.
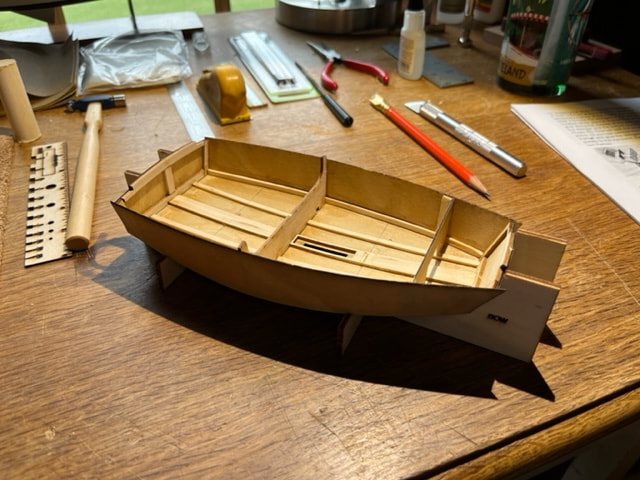
Sides glued on! Did this carefully, one side at a time.
This was a nice moment in building the Optimist model, because it is starting to look like an optimist dinghy!
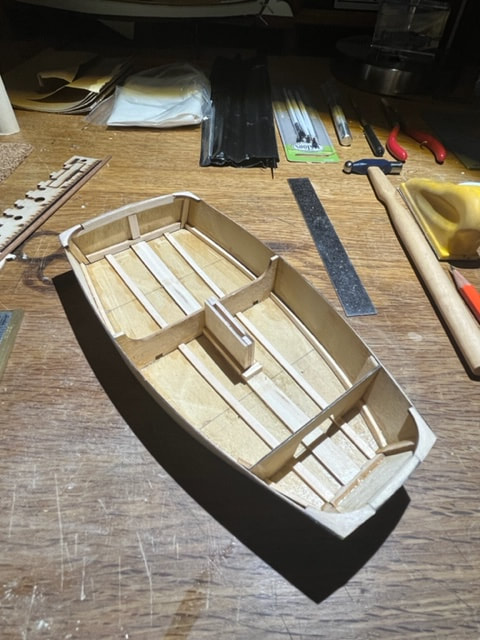
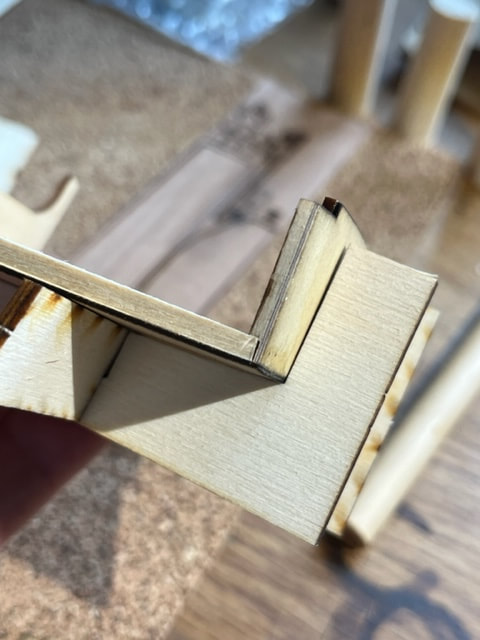
Dagger-board trunk assembled and installed. Also corner gussets/knees are installed.
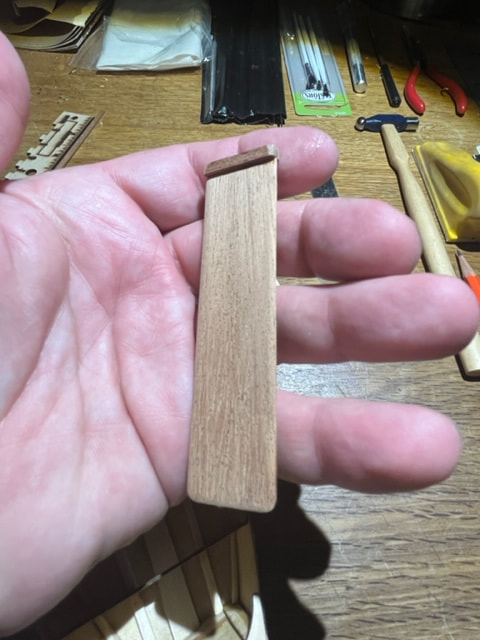
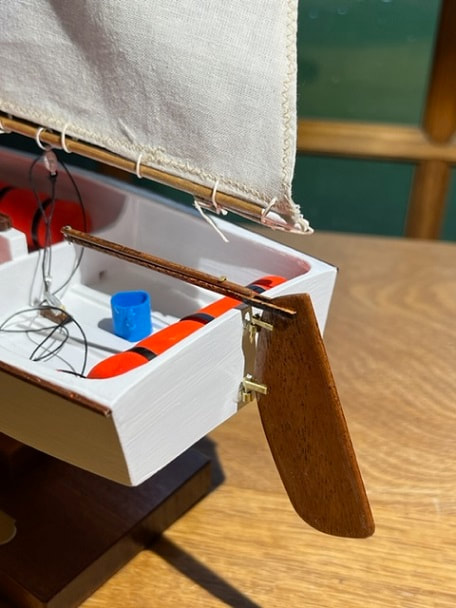
Mahogany dagger board assembly is glued together and sanded to a foil cross-section.
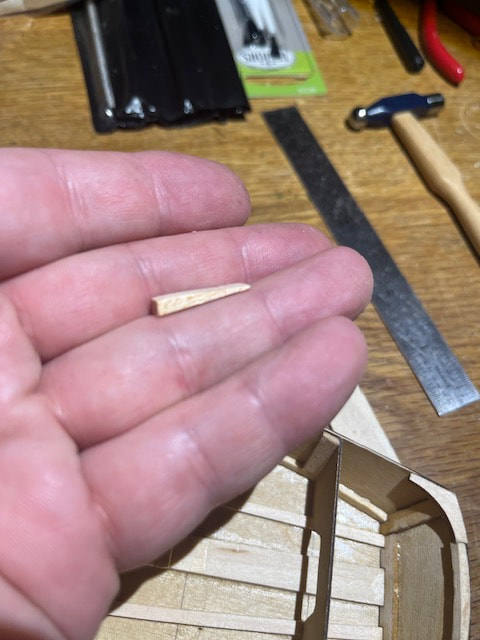
Mast step block carved to wedge.

Mast Step Block installed.
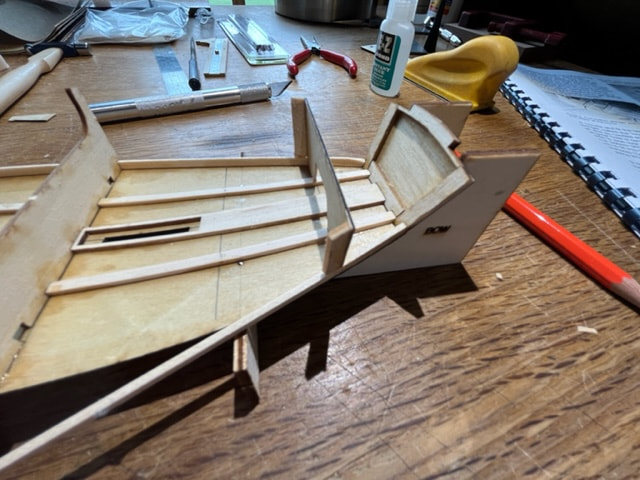
Mast Step Thwart and gunwhales installed. I painted the section forward of the mast thwart prior to installing the thwart, as it would be difficult to paint in there later. I cut the gunwhales to length first, then carved the ends to fit the corner gussets, then soaked them in hot water, then pre-formed them by forming them into a curved shape using pins and I cork board until they dried in a curve, then glued them into position. Nothing sanded yet at this point.
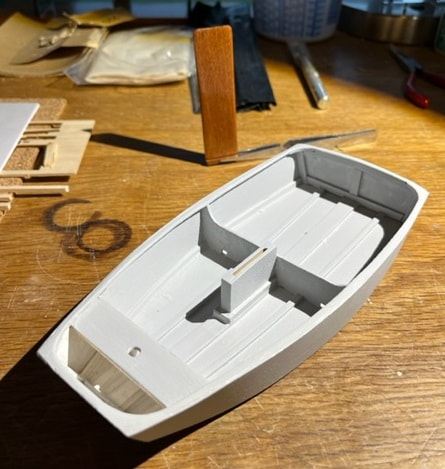
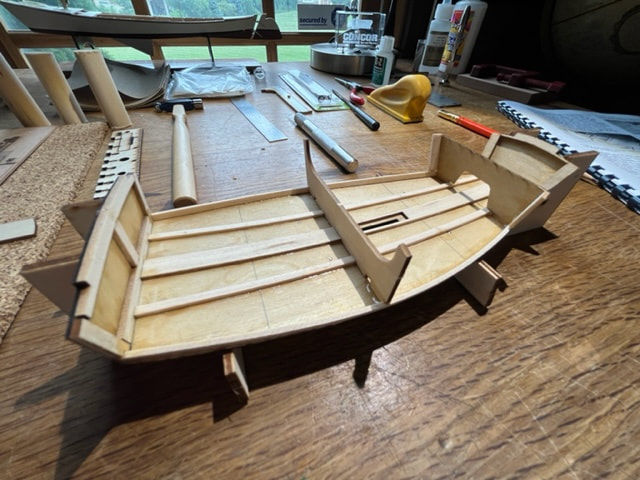
Sanded the whole thing, filled any dents or voids with filler and sanded again. Here she is with a coat of primer. In the background the dagger board has a coat of varnish.
Starting work on the spars and rudder on this Optimist Sailboat Model:

I sanded the rudder into a foil cross section and also sanded the tiller and then used the plans to ensure the tiller is attached to the rudder in the correct place and angle.
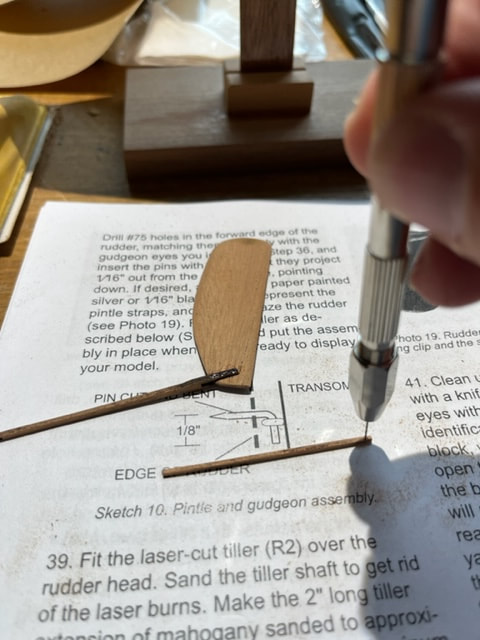
Sanded the tiller extension round, and then used the pin vise to drill the hole which will mount the extension to the tiller.
Varnishing rudder and tiller parts.
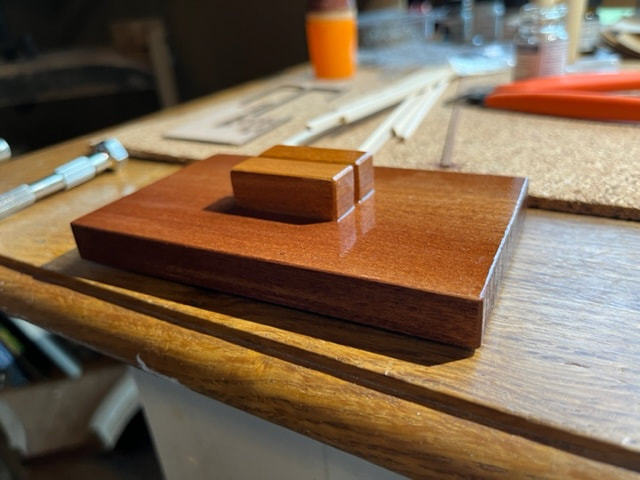
As long as I was varnishing things, I assembled and varnished the display stand. Sanded all faces, chamfered exposed edges with sandpaper, and varnished.
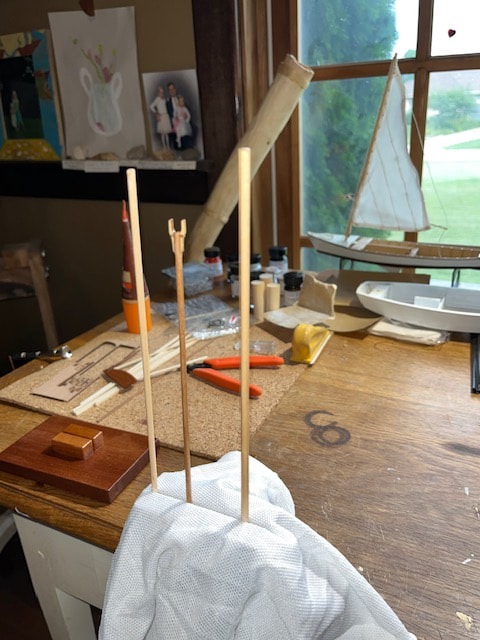
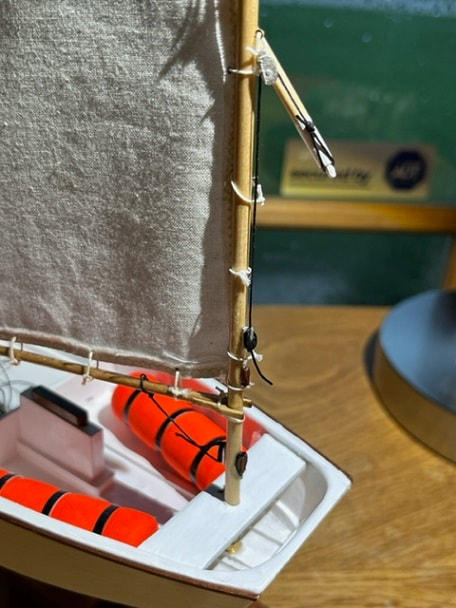
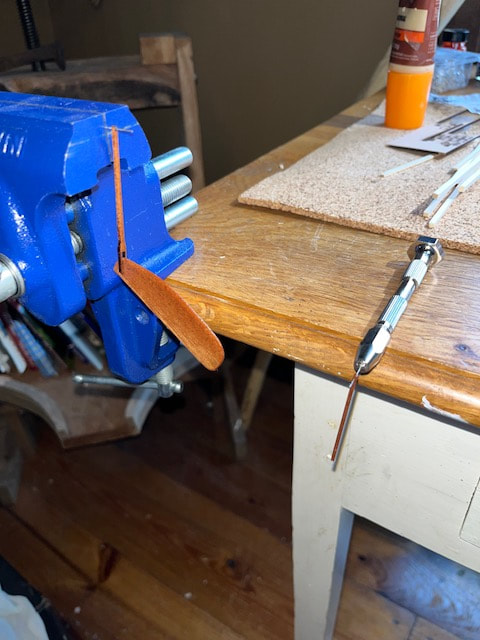
More varnished parts. I will be varnishing the spars rather than painting them in an aluminum color. I glued on the boom jaws and cut the boom , sprit, and mast to length. Sanded them and varnished. The tips of these, which are held in the vise, will be painted white later.
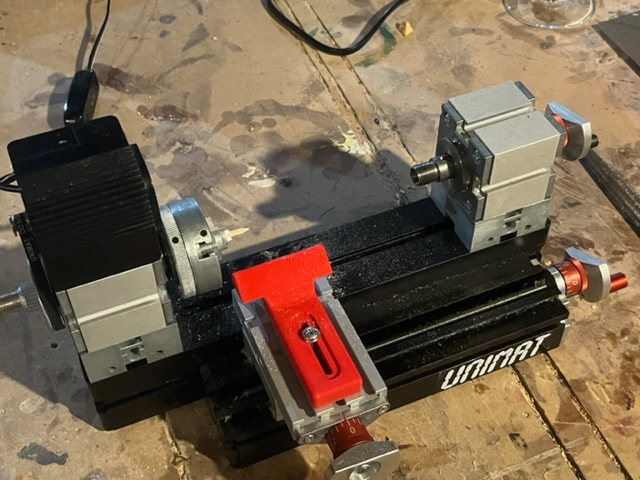
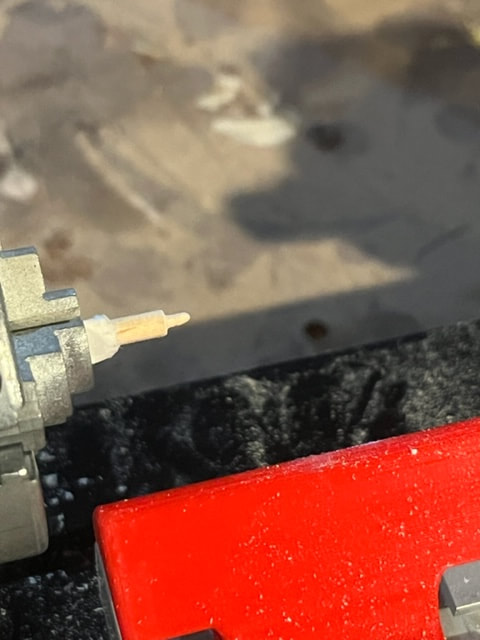
Little bit o work on the sprit tonight. The ends of the sprit on opti's are pin shaped for rigging. I shaped the pins by turning the sprit down at the ends on my mini lathe. I wrapped the sprit in paper to protect it from denting in the 3 jaw chuck, which worked well. Happy with results. This job could be done by carving down the end with a razor or by sanding it down with a file, but I like playing with tools so used my little lathe. Some photo's are below. I didn't even use the tool rest, I used a file and just held it up the the spar end to get the pin shape I wanted.
With the pin ends shaped, I will now finish varnishing and painting the spars.
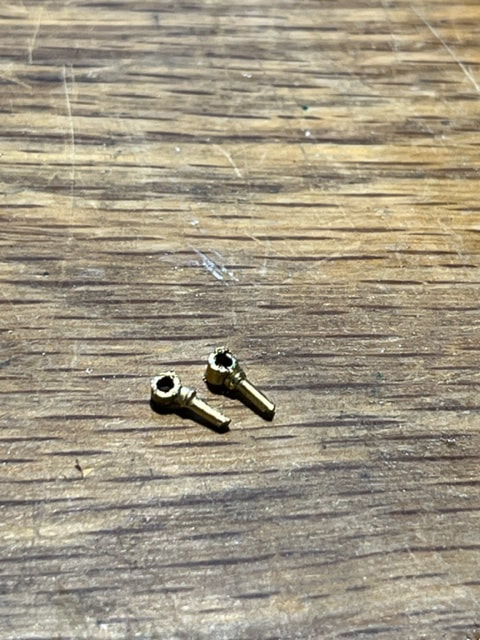
In a deviation from the stock kit, I made these gudgeons from brass tube and brass brads.
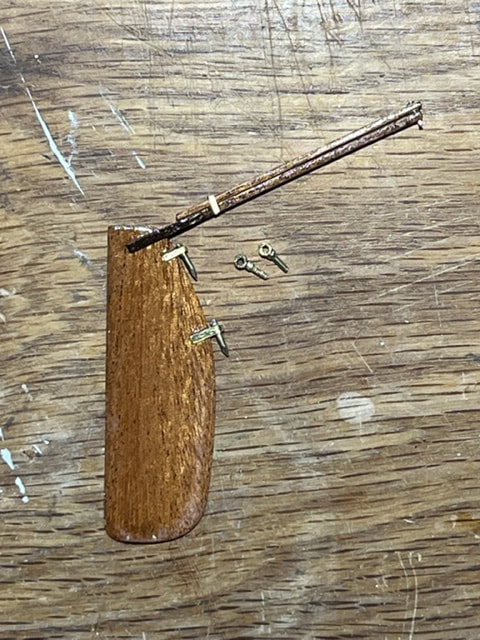
Here is the finished rudder, tiller and tiller extension assembly. I used some brass brads and brass strips for the pintles. The tiller extension pivots on a pin at the end of the tiller and locks into a clip on top of the tiller.
Completed , painted hull of model of Optimist Sailboat
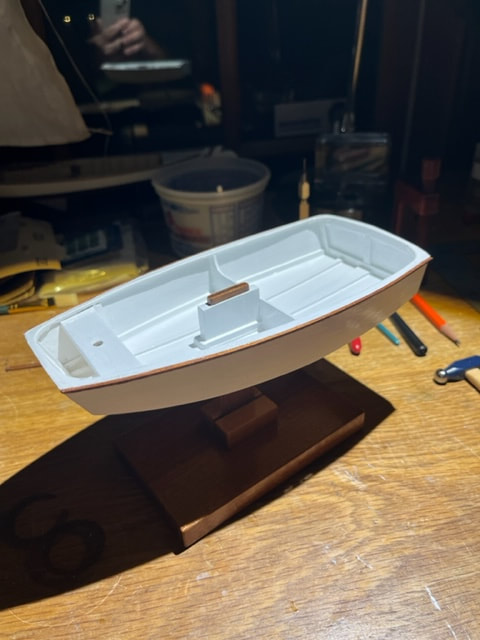
I do like the gloss paint vs the matte that came with the kit, not sure how visible the difference is in the evening photo at my desk.
Making the Sail for the Optimist Sailboat Model:
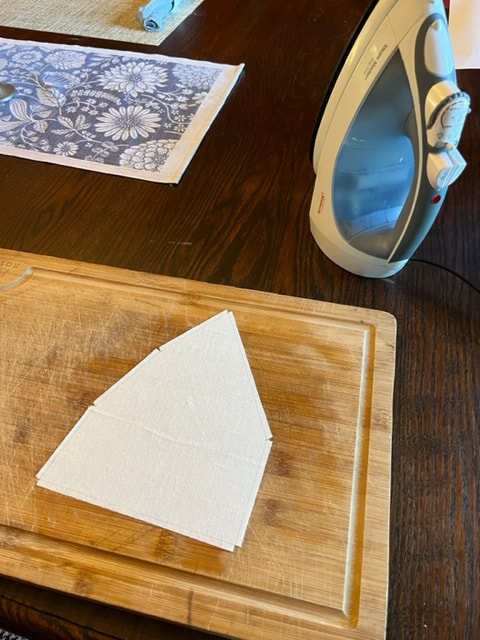
I traced out the sail shape lightly on the sail cloth. I also added material width for a 3/16" hem as can be seen in the photo above.
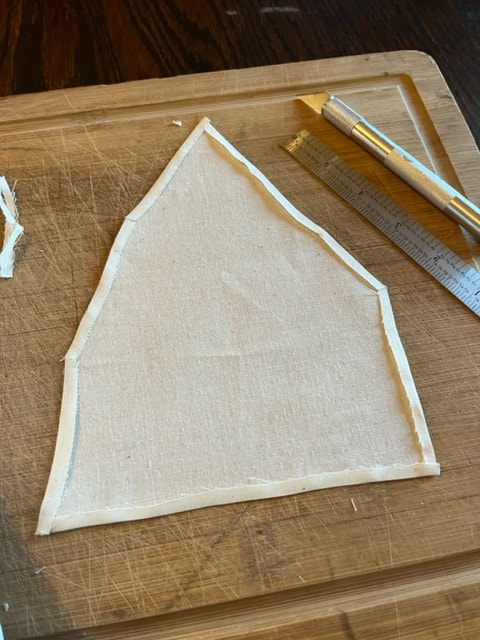
I folded and ironed the hems down flat.

Then I used a sewing machine to stitch the hems.
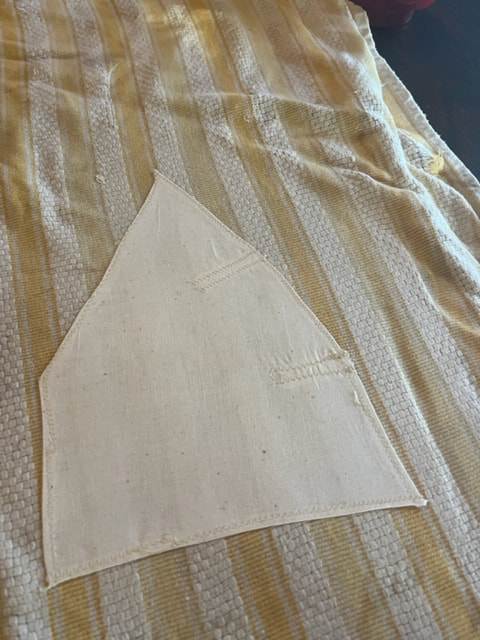
Sewed on pockets for battens and then ironed the sail again.
A plastic strip is provided with the kit, from which to cut battens. Here is the batten installed in the sail.
Well, I realized when I was done with the sail, that it was not the right shape. I had traced the sail shape along the sprit, not along what is the actual upper edge of the sail. So, I made a whole new sail to the right shape and got some more practice in model sail-making in the process.
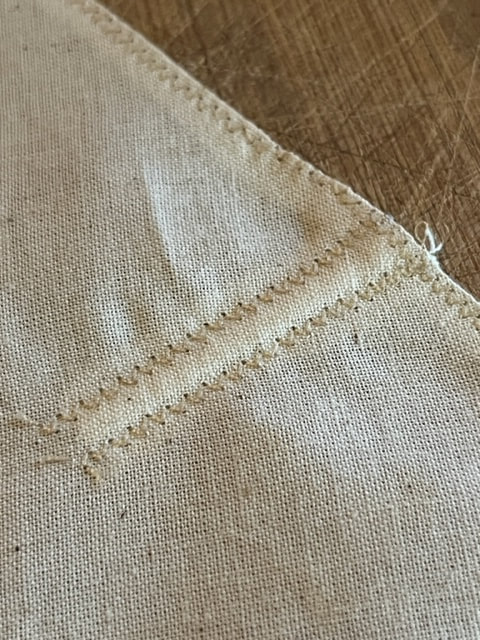
Below is a photo of the new, correct, sail. Note the boltrope sewn into the hems.
Below is a photo of the new, correct, sail. Note the boltrope sewn into the hems.
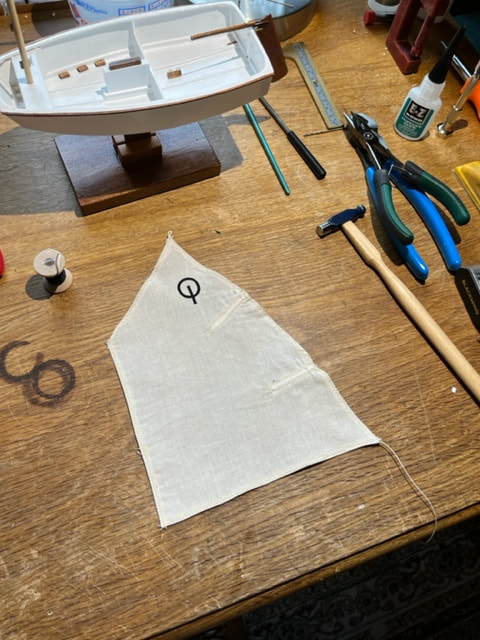
Optimist Sailboat model: sail completed, with battens in their pockets, and with logo ironed on to both sides.
Here's how I set up the mainsheet blocks. These little castings needed to have the holes drilled out for the mainsheet and the tackle to tie the blocks to the mounting pad eye hooks.
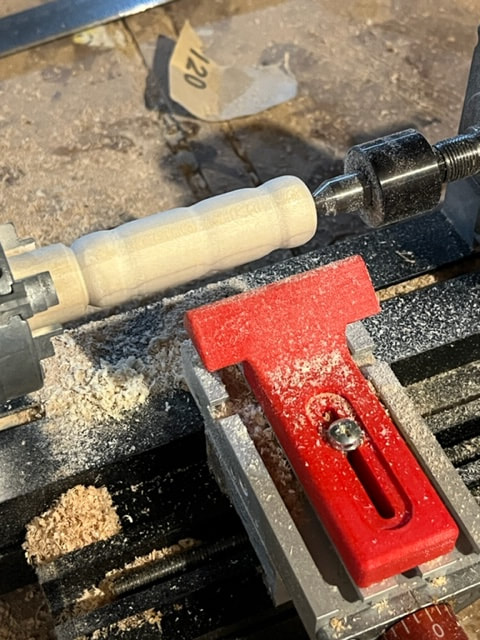
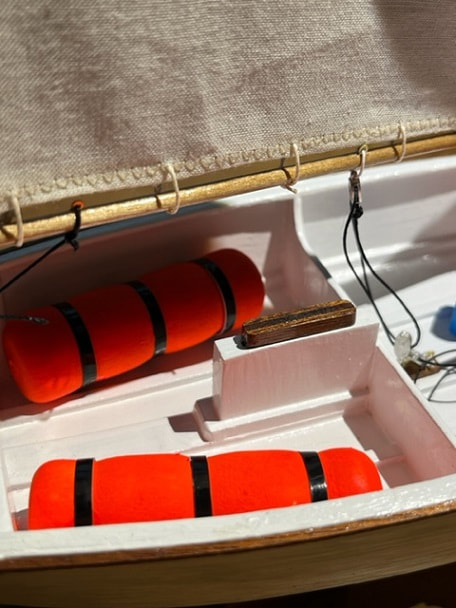
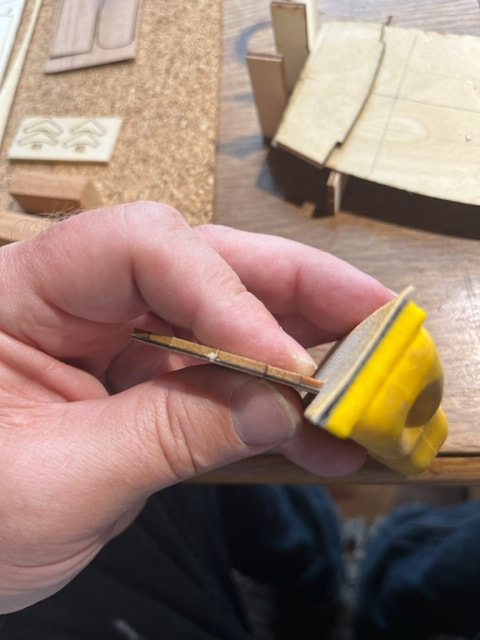
To make the inflatables, I used a mini-lathe to turn the shapes I wanted. This could be carved with a knife also.
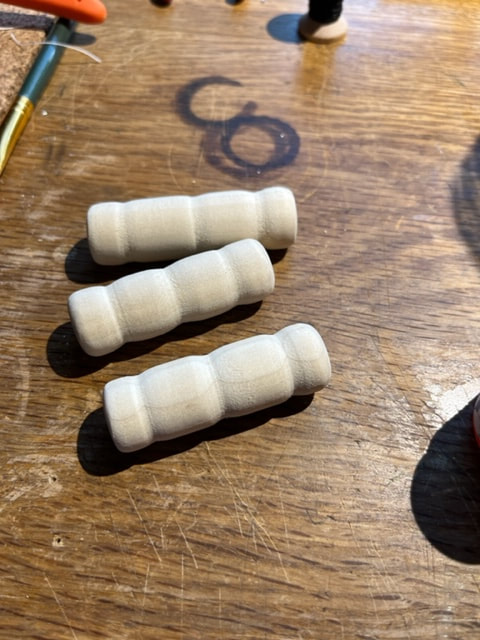
Turned and sanded inflatables.
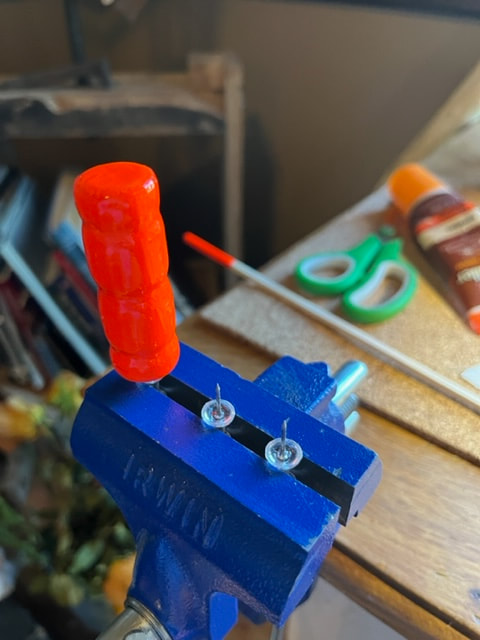
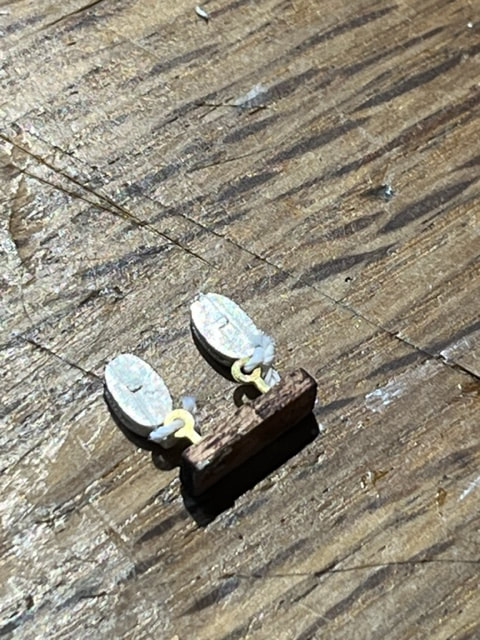
Inflatables, painted with the fluorescent paint from the kit.
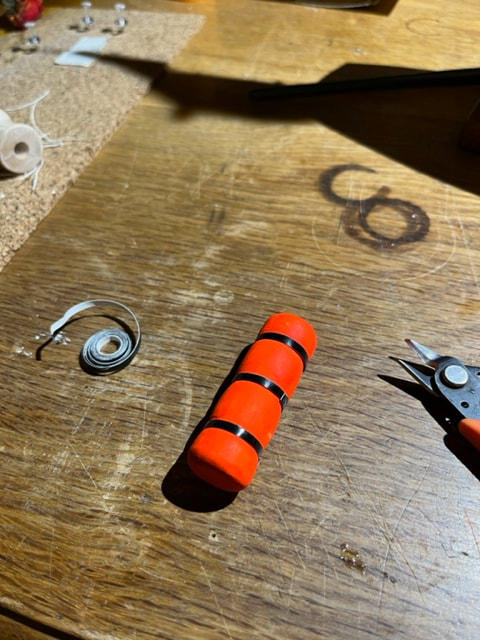
Wrapped with straps from the kit.
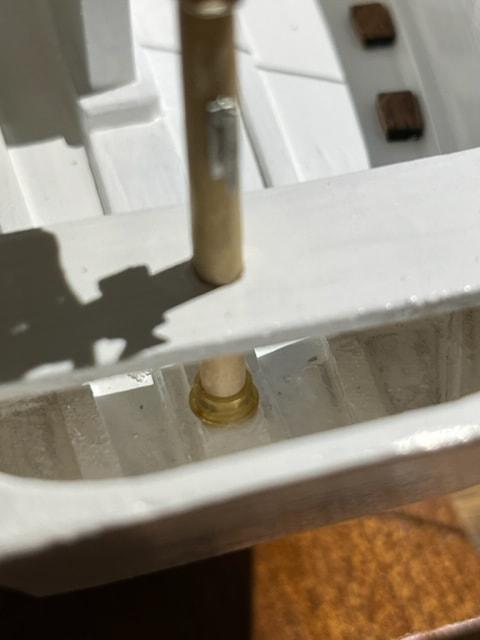
I glued in the nice brass ring that secures the foot of the mast.
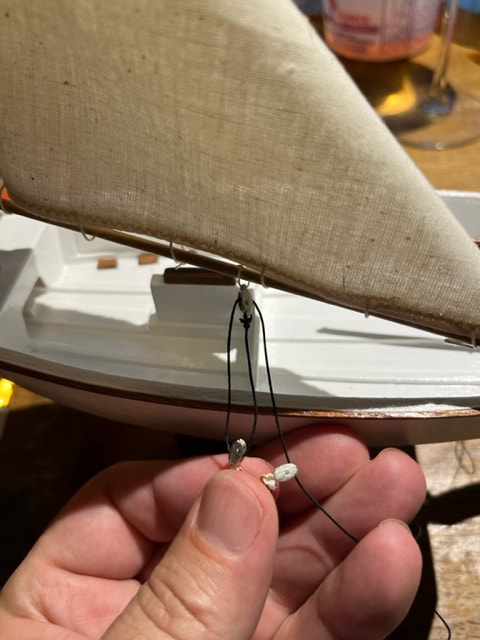
Reeving the mainsheet through the blocks.
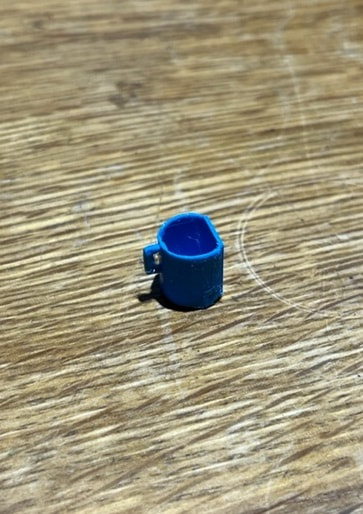
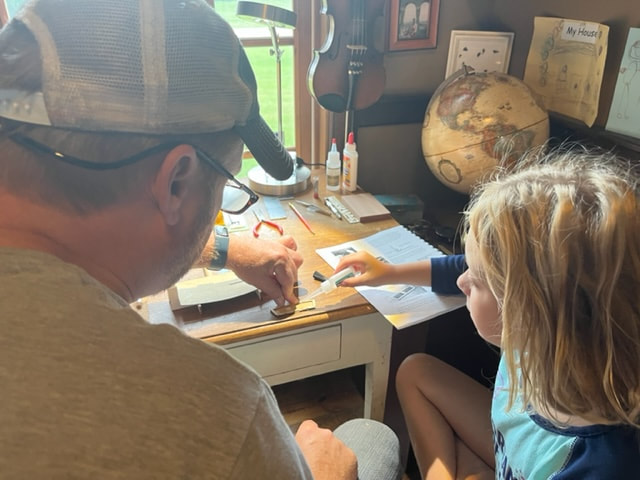
My daughter looked at the model and asked "Where's the bailing bucket?" So I drew and printed this little guy.
Completed Optimist Sailboat Model
Optimist Sailboat model, completed.