February 2020
A secret alley, a hidden street into the imagination, nestled between books on a book shelf; what a fun idea. These dioramas made to fit between books on a shelf are called book nooks, bookshelf inserts, or book shelf dioramas. I saw some wonderful ones and decided to try my hand at making one. I think the kids (and I) will love it. On this page I have photos of the book nook, and also a journal of how I made this bookshelf diorama.
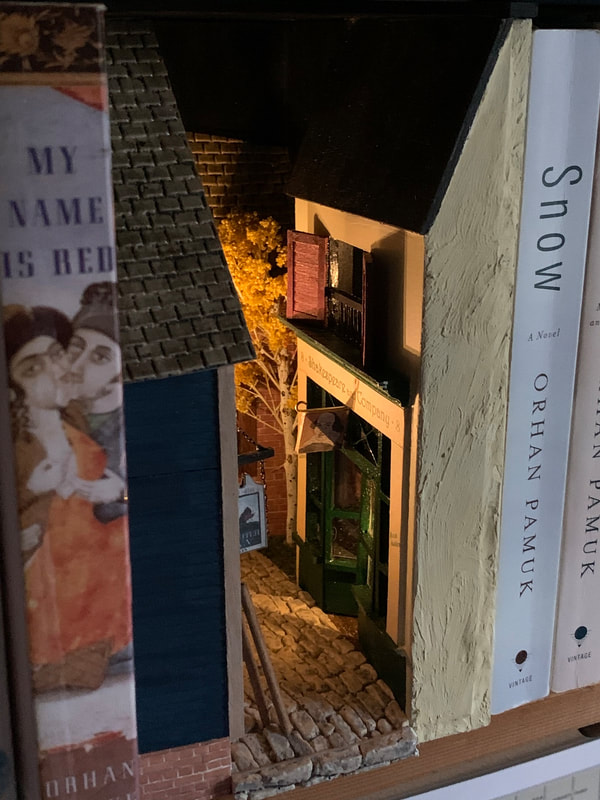
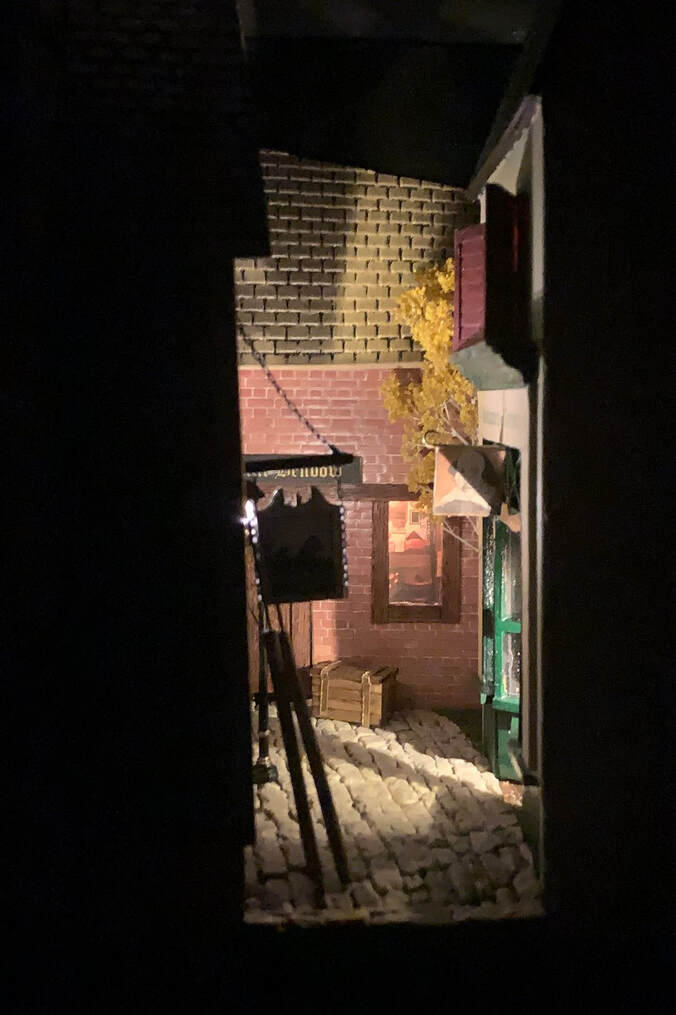
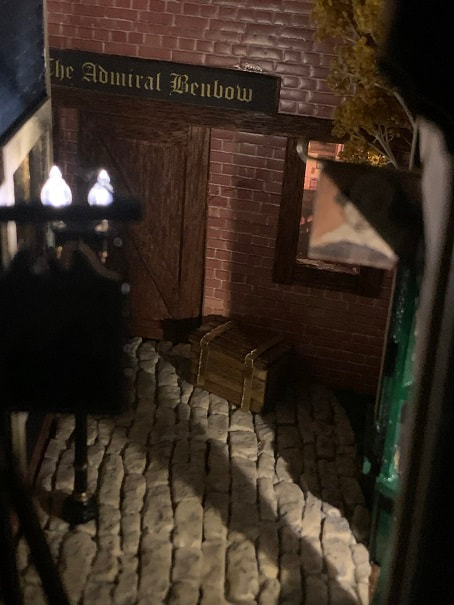
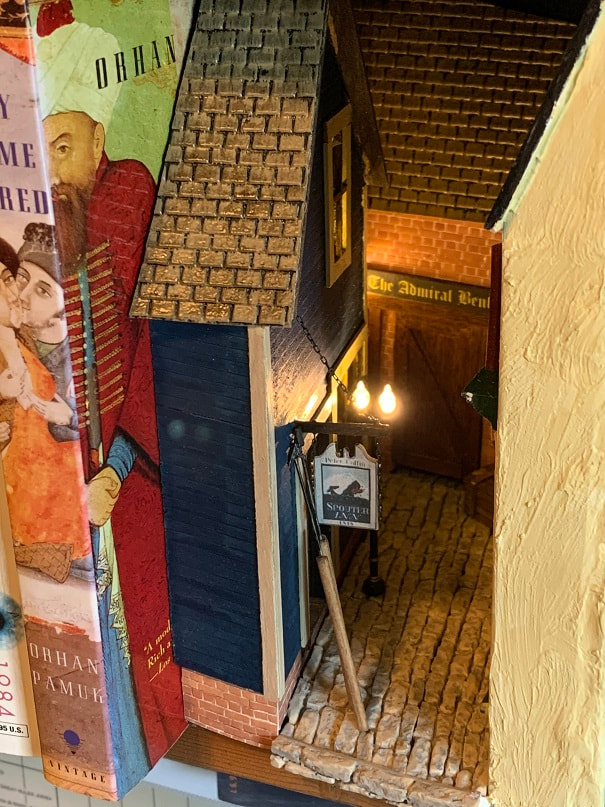
A cobbled alleyway into my bookshelf, with buildings from fictional literature, and one historical building important to 20th century literature.
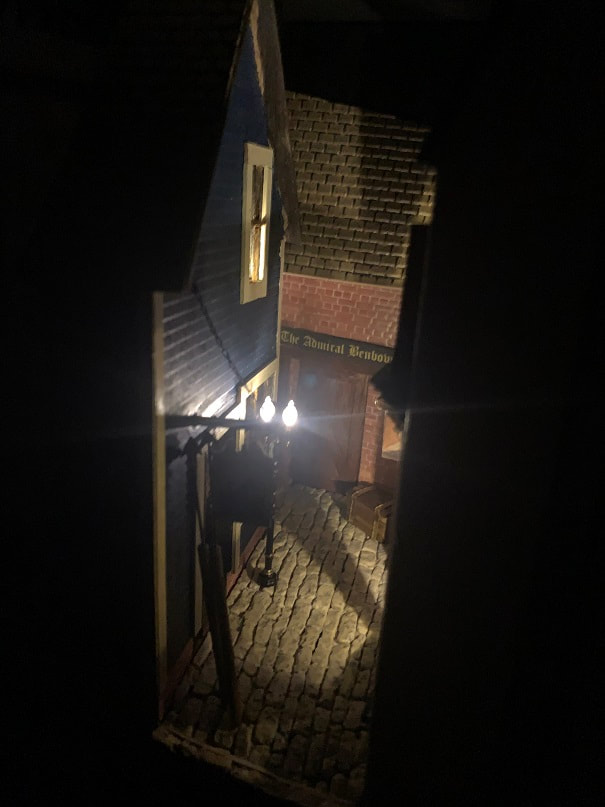
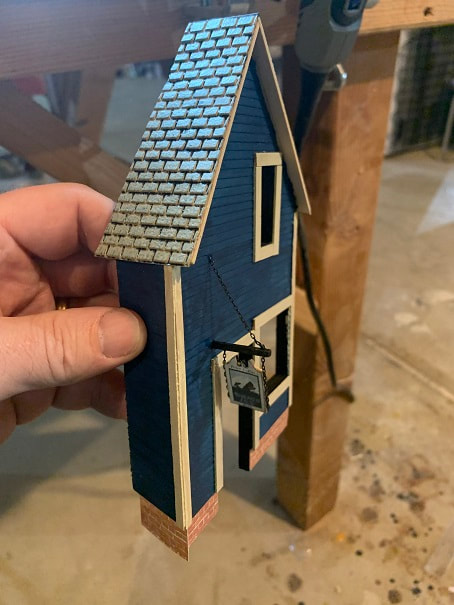
Here is a view of my finished book nook in the evening, with it's lights on. My diorama includes the Admiral Benbow, the Spouter Inn, and Shakespeare and Company.
I decided to design my book nook to include a cobblestone alleyway, flanked by two inns from fictional literature and one bookshop that was very real, these are: the Spouter Inn (Moby Dick), the Admiral Benbow (Treasure Island), and Sylvia Beach’s Shakespeare and Company bookshop from early 20th century Paris. As can be seen in many examples of these dioramas, an imaginative feature is to design curves and corners so that the viewer can see that the alley continues on out of sight. Mine will include such a feature, and will also include street lights and lighted building interiors.
Here's the book nook by day. I tried to make this into a book shelf diorama that would look interesting by day or night.
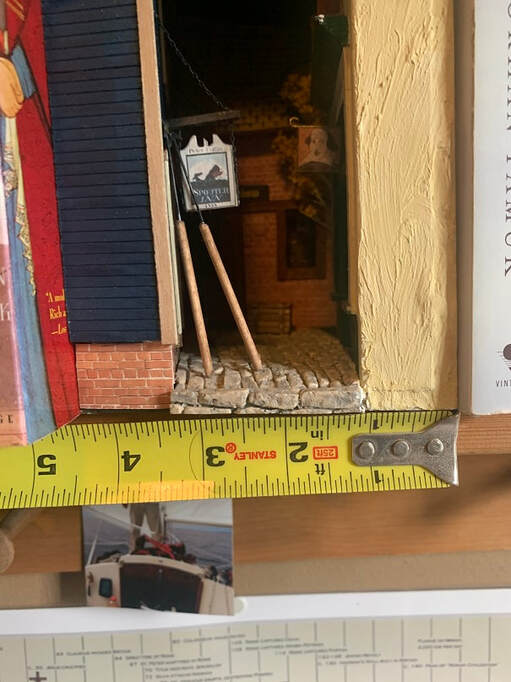
In this photo, one can see the alley continues out of view to the left.
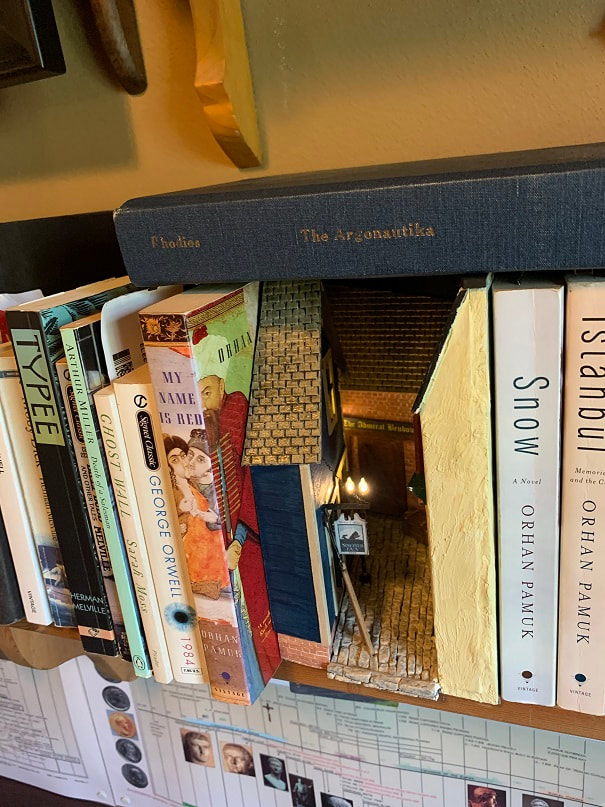
Here is my book nook, hidden between the books on my shelf.
Here are some creative examples of more book books: https://www.bbc.com/news/blogs-trending-50840434
Aug 2021 Update; over the past year I have had requests for dimensions of this booknook, so here are dimensions of my finished booknook:
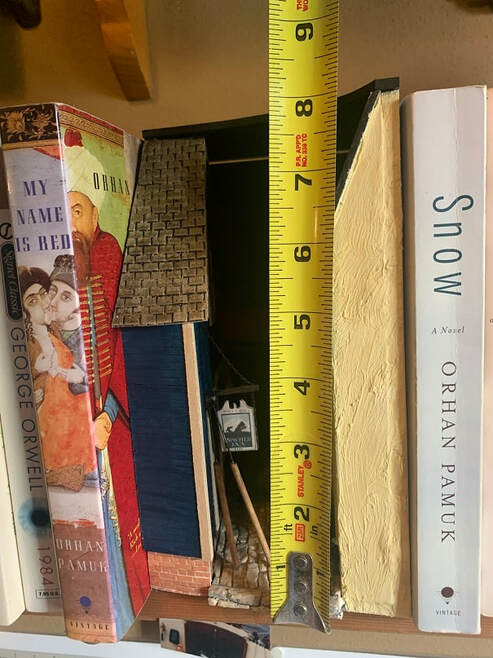
8.25" tall
4.5" wide at the front
6.25" Wide at the back.
6" Deep
How to make a book nook, bookshelf insert, bookshelf diorama:
Or, as I should say, here's one way to build one:
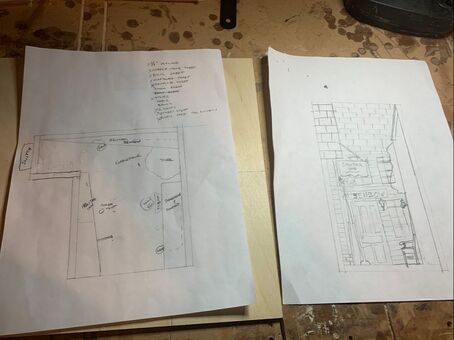
First I sketched out the design in actual size, on paper. I put the buildings at slight angles, and you can see the alley disappears off to the back left.
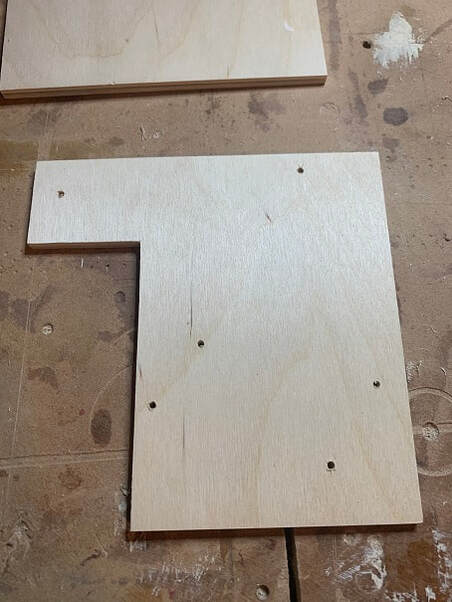
I cut out the base from 6mm plywood, and drilled holes for the wires for the lights to come up through.
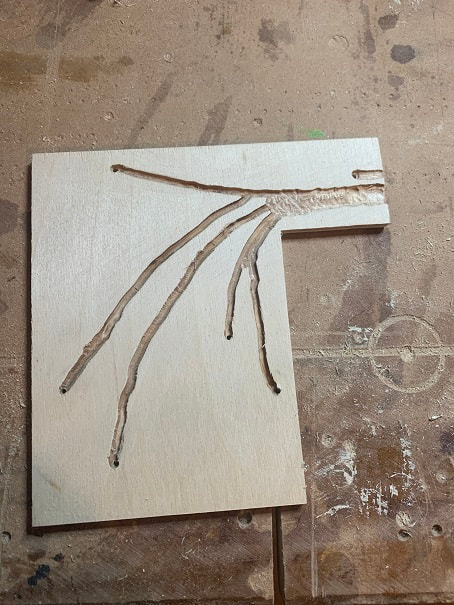
Flipped over the base and used my dremel to carve out passages for the wires in the base.
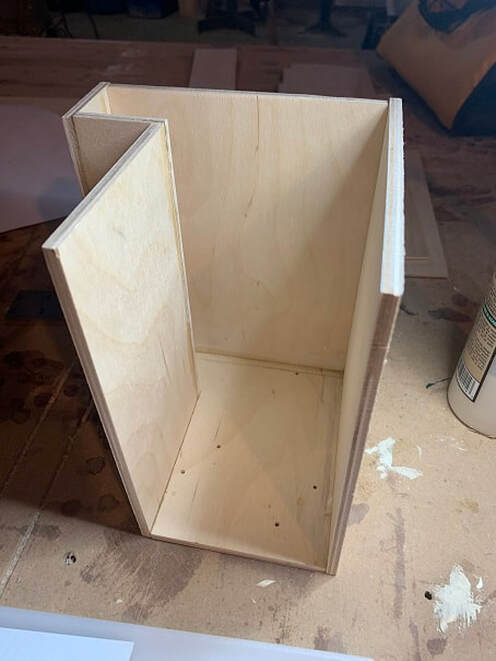
Here is the main frame of the booknook, built from 6mm (1/4") plywood. It is glued and nailed together.
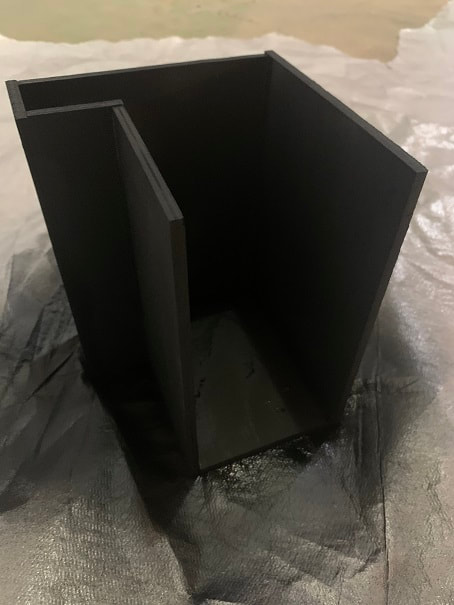
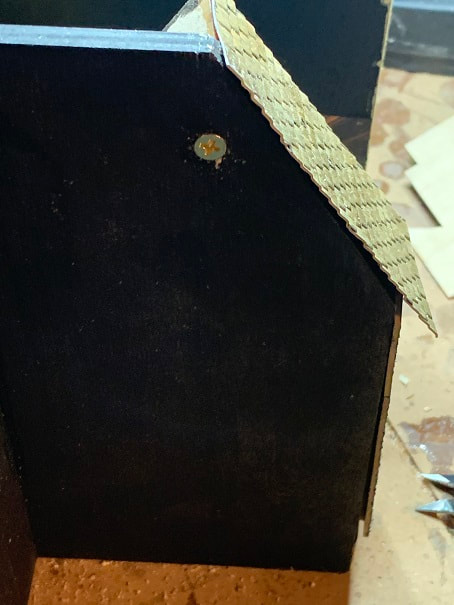
Here is the main frame, spray painted flat black.
Building the Shakespeare and Company bookshop for my bookshelf diorama
"In those days there was no money for books. I borrowed books from the rental library of Shakespeare and Company, which was the library of Sylvia Beach" "On a cold windswept street, this was a warm, cheerful place with a big stove in winter, tables and shelves of books, new books in the window, and photographs on the wall of famous writers both dead and living." -Earnest Hemingway from A Moveable Feast

Here is a photo of Sylvia Beach, with James Joyce standing in the doorway of her Shakespeare and Company bookshop at 8 Rue Depuytren, Paris; 1919-1922. After that Sylvia Beach moved the store to 12 Rue de l'Odeon in Paris. The bookshop was a gathering place for James Joyce, Gertrude Stein, Ernest Hemingway, F.Scott Fitzgerald, and many others. Sylvia Beach shut down the store after refusing to sell her last copy of Finnegan's Wake to an occupying Nazi soldier. Her store never reopened, but a bookshop in Paris took the name Shakespeare and Company in the 1960's in honor of the original shop.
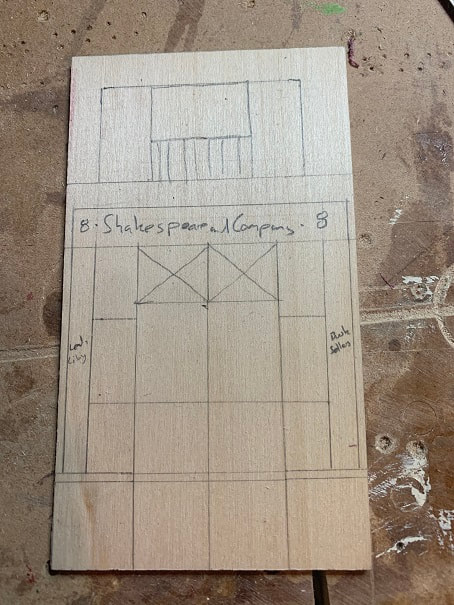
Sketch of a likeness of the storefront.

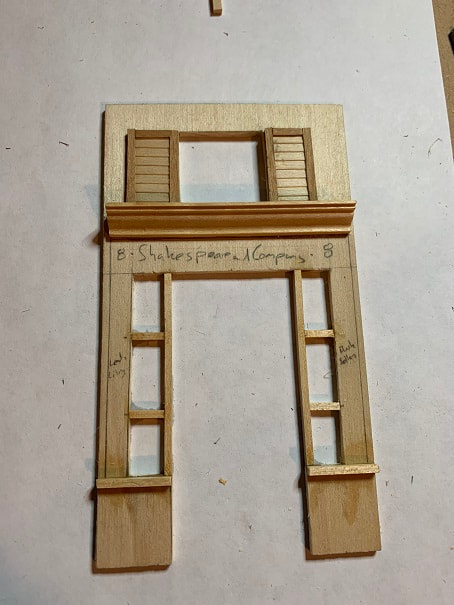
Progress on windows and shutters.
Polypropylene material added to simulate a metal roof. I made graphics on my computer and printed them to achieve the signage, including "Book Sellers" and "Lending Library" on the left and right columns. I made shutters to match the photo and also a railing with metal rods. I have left the door open, as it was when Joyce was standing in the doorway.

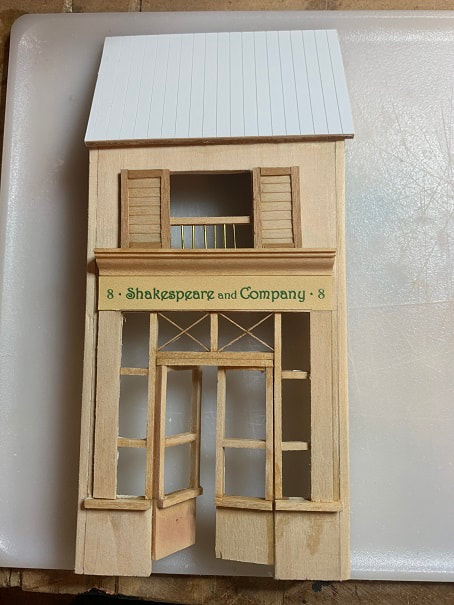
Here is my Shakespeare and Company bookshop for my bookshelf insert. Painted and with graphics glued on.
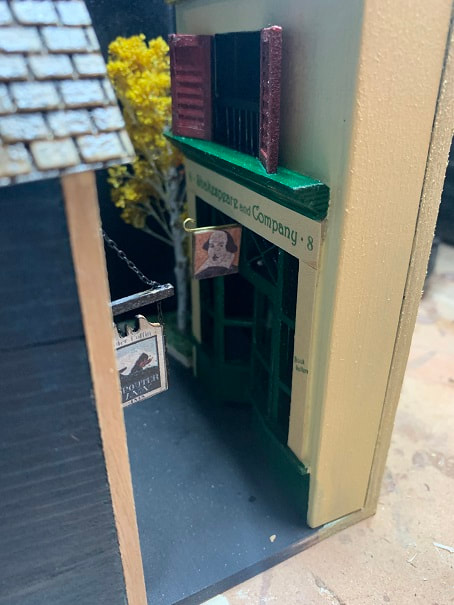
Added the storefront hanging sign of Shakespeare, to match the original store.
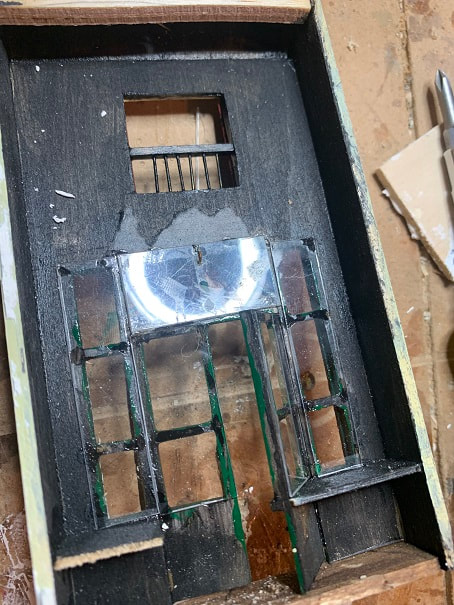
Cut and installed plexiglass windows.
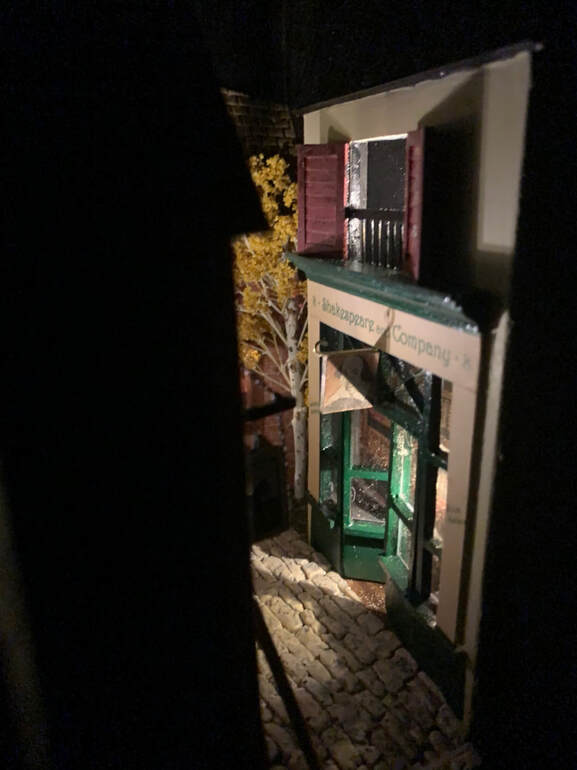
and here is the completed Shakespeare and Company, as made in my book shelf insert, and lit up at night.
NOTE: Photos of how a added electric lights and did the final installation of this building into the book nook, are further below on this page
Building the Spouter Inn, for my booknook:
From "The Spouter Inn" which is the title of Chapter 3 of Moby Dick by Herman Mellvile: "Entering that gable-ended Spouter Inn, you found yourself in a wide, low, straggling entry with the old-fashioned wainscots, reminding one of the bulwarks of some condemned old craft."
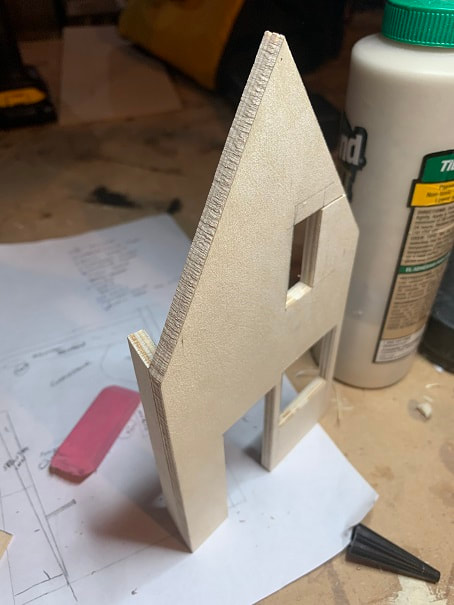
Frame cut out of 6mm (1/4") plywood.
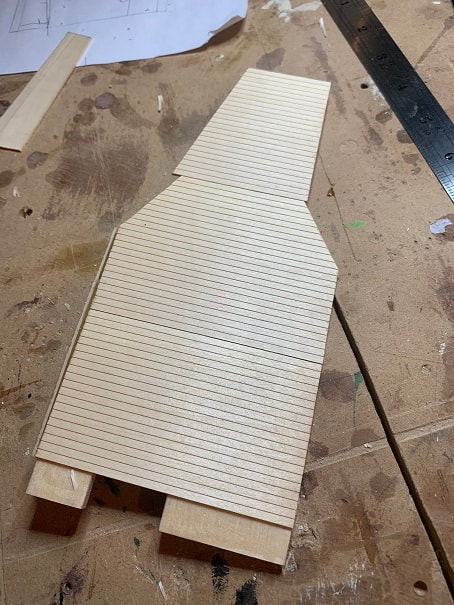
Gluing on clapboard sheets. They are made from basswood and are from the local modelshop.
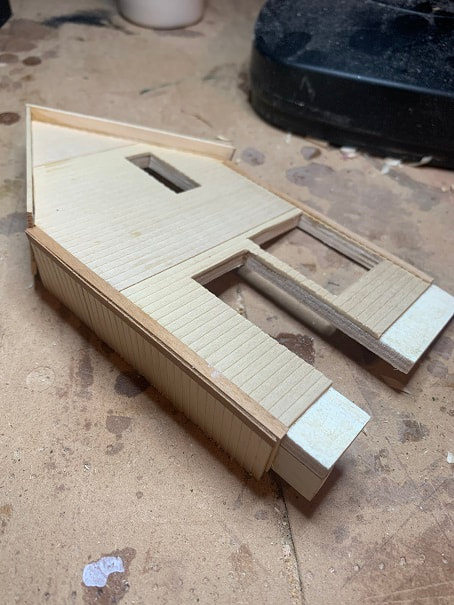
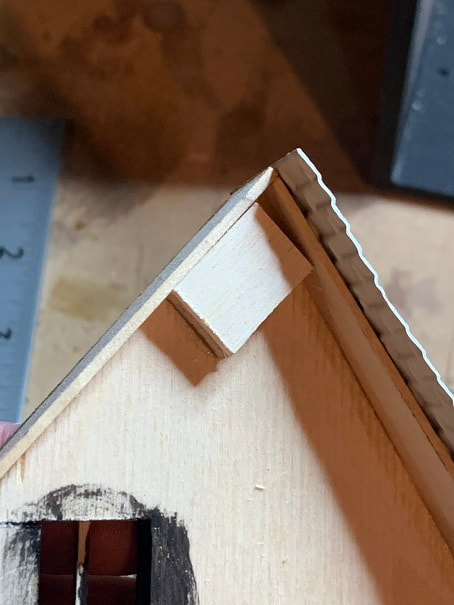
Adding the roof and trim.
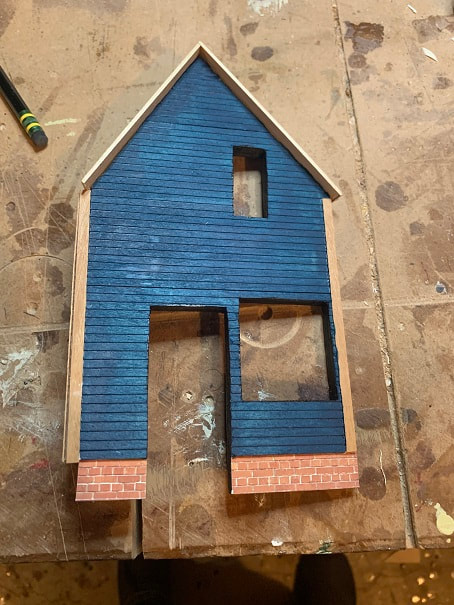
Coat of "deep sea" blue for the Spouter Inn; seemed a good color. Brickwork (from a molded/printed sheet) added to the foundation.
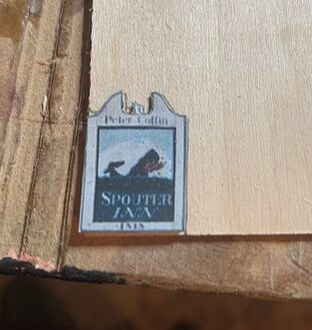
I found this image of a sign for the Spouter and printed it off at the scale I wanted.
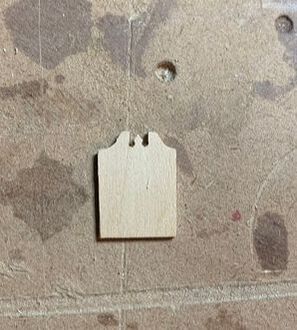
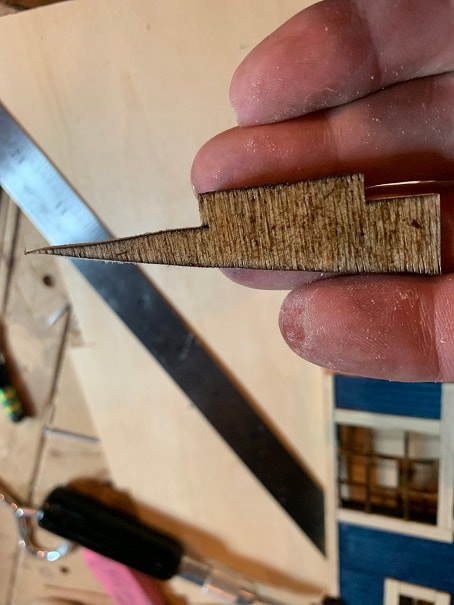
1/16" basswood sheet with sign cut out.
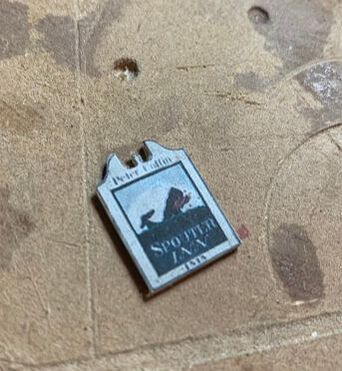
Here is the sign with the graphic applied to the wood sign.

Adding chain to the sign.
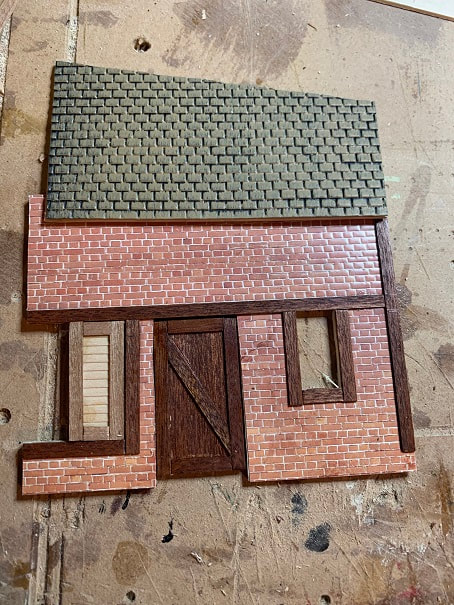
Roofing material painted (two tone paint job, black in the seams, and then a dark brown on the shingles). Installed and painted the trim, finished the brick on the foundation, and hung the sign.
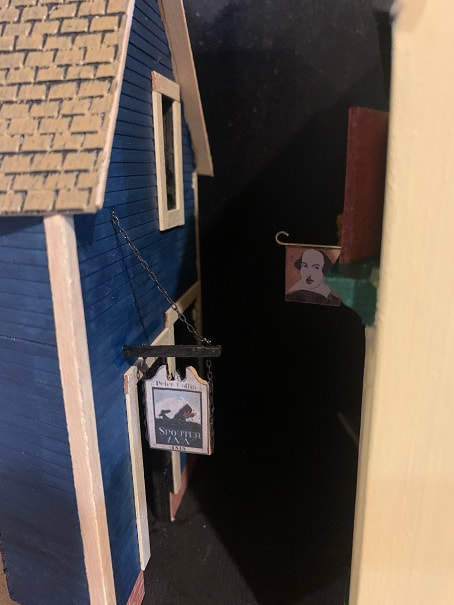
Test fit of the structures in the alley. Still need to finish the interior of these first two buildings, then I can start on the Admiral Benbow. The alley itself with be cobblestone, but I will finish the buildings first.
I finished the windows by adding the small wooden frames and then cut and installed plexiglass windows.
NOTE: Photos of how a added electric lights and did the final installation of this building into the book nook, are further below on this page
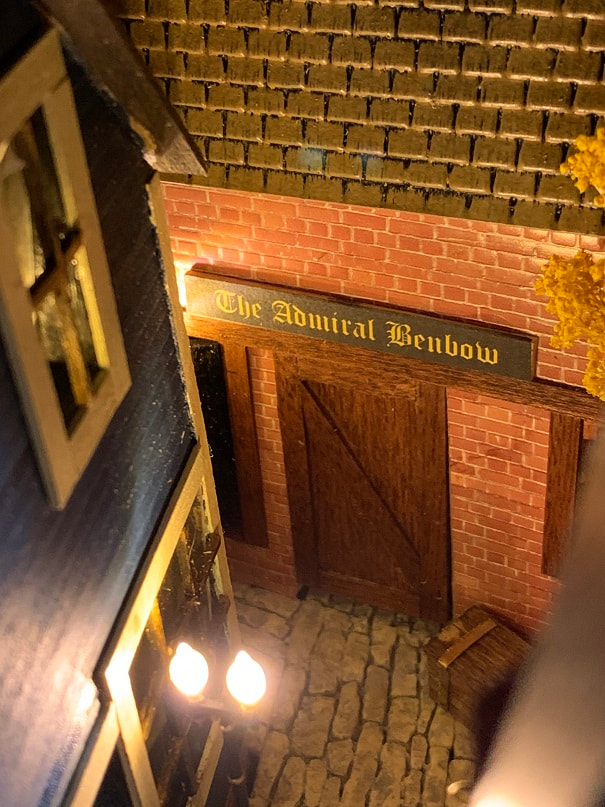
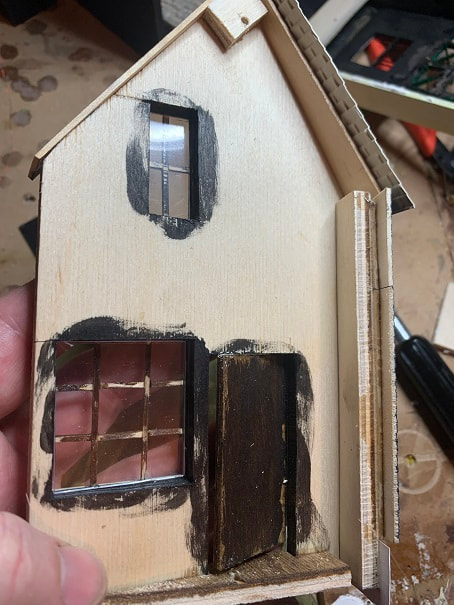
Making the Admiral Benbow, for my bookshelf insert:
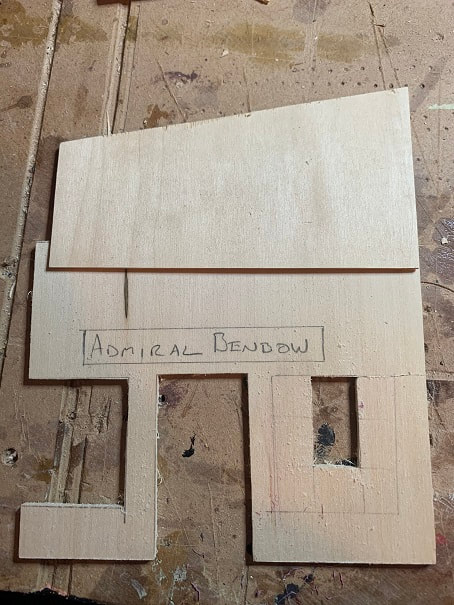
The start of the Admiral Benbow
Applied brick textured sheet, then stained and glued on the trim. I am using CA for most gluing on this project. The shutters I am building for the big window can be seen in progress.

Designed and printed the sign on paper, then glued it to a 1/16" thick piece of basswood. Shutters are done also.
NOTE: Photos of how a added electric lights and did the final installation of this building into the book nook, are further below on this page
Installing the electric lights and the buildings into the bookshelf diorama:
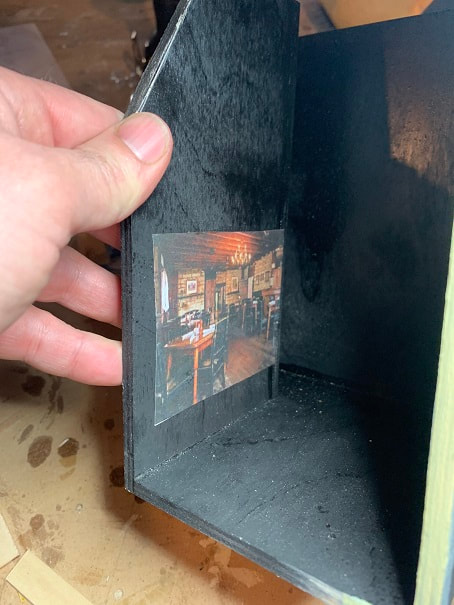
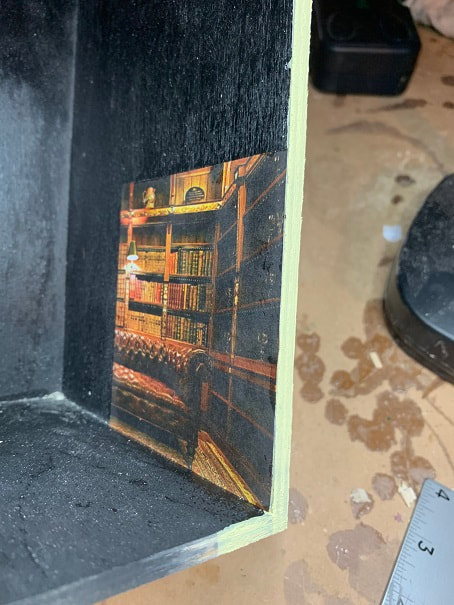
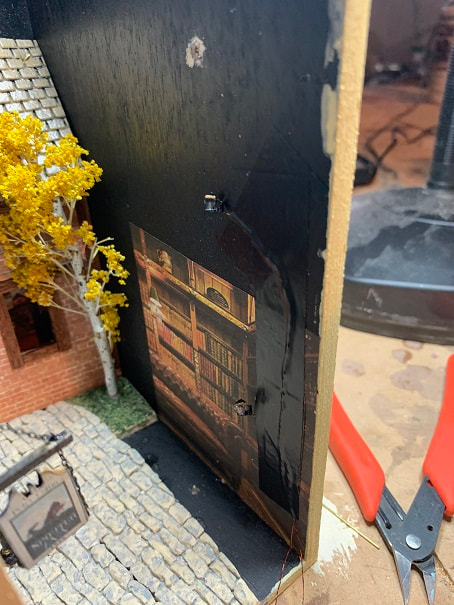
With the buildings built, I was ready to install them into the book nook. One can see through the windows of the buildings, so I found images that would look good to look at through the windows, printed them on paper, and glued the, to the walls behind where the windows are.
Books for the background of Shakespeare and Company.
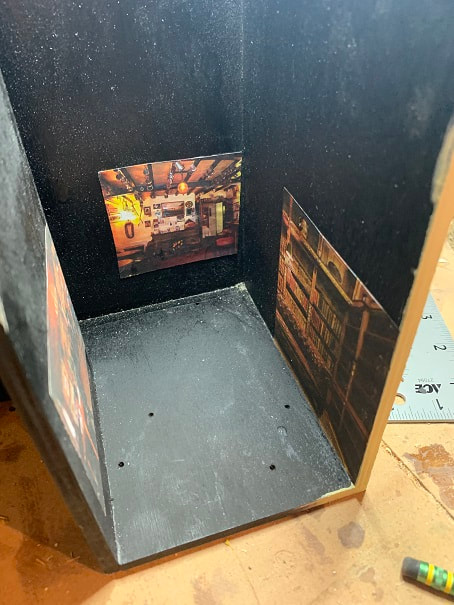
Background image for Admiral Benbows.
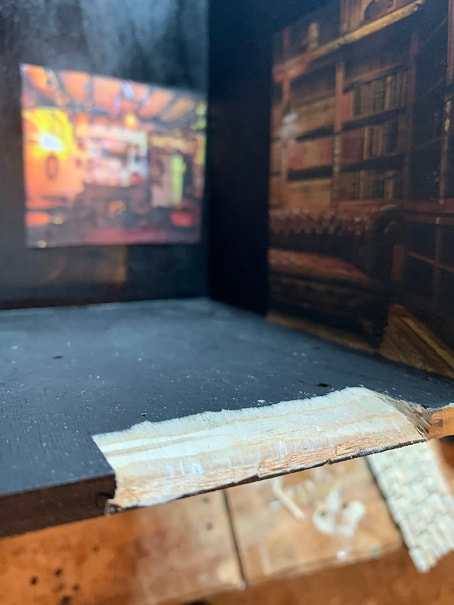
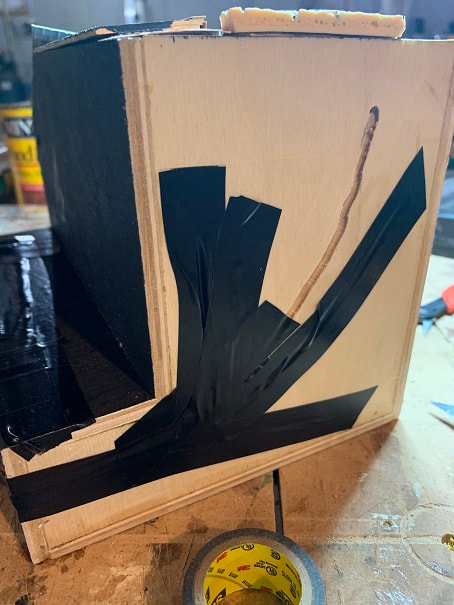
I don't want any exposed edges on the face of the book nook, so I carved the alleyway, so that when I put the cobblestones down, the edge of the plywood will not show.
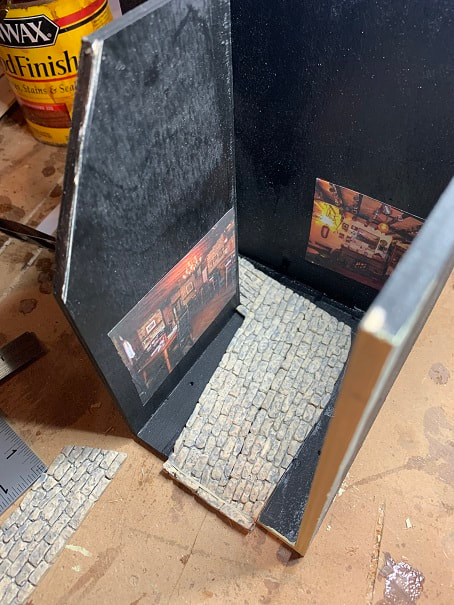
Laying down the cobblestone alley. I bought 1/4" thick very lifelike flexible rubber-like sheets pf cobblestone from the model shop.
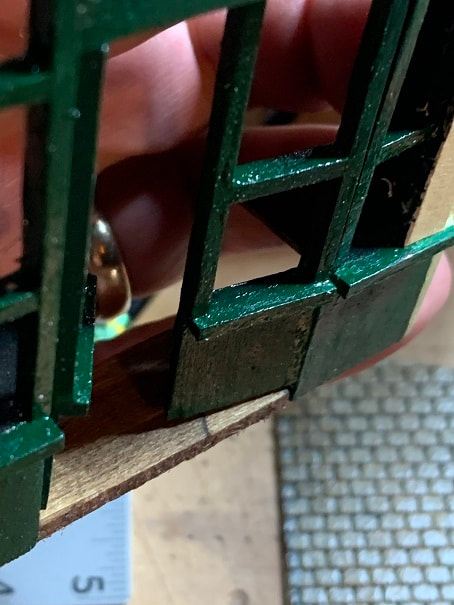
As I set the buildings in place, I saw that it would look better to have wooden floors in the buildings so I made wooden floors. Here is the floor for the Spouter Inn,

See the little bit of wood floor there under the door? Looks better than a 1/4" drop-off from the the cobblestone to the black floor of the model base.
Same wooden floor for the bookshop.
I will be attaching the buildings to the frame of the book nook with screws, so that I can remove the buildings if I ever need to access electrical components. I added reinforcing blocks such as this, to sink screws into, to hold the buildings to the model.

Here is the screw bracket , glued into the bookshop.
The buildings are held to the walls of the model frame using screws from the outside-in.
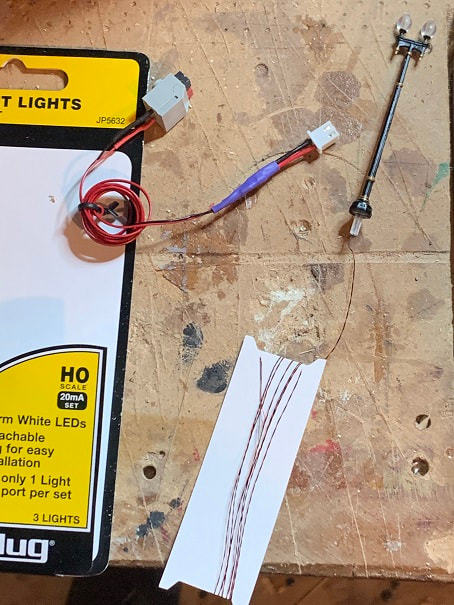
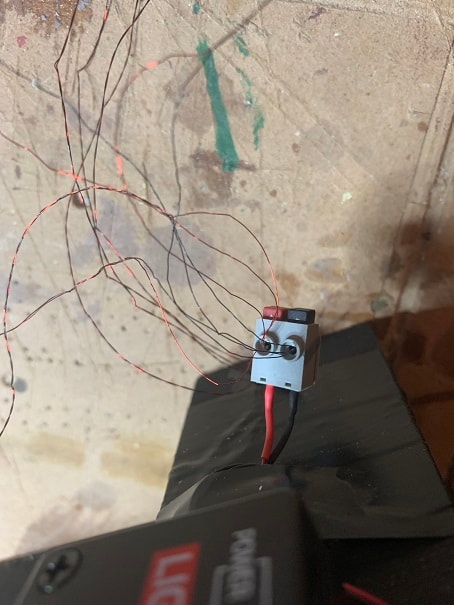
I used model railroad lights for this model. This was a lighting system with excellent connections and controls.
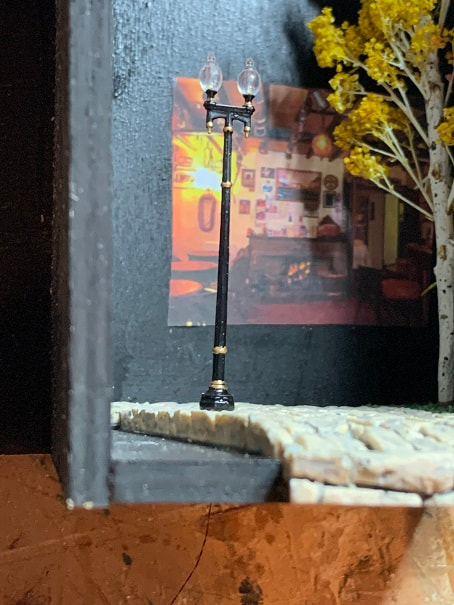
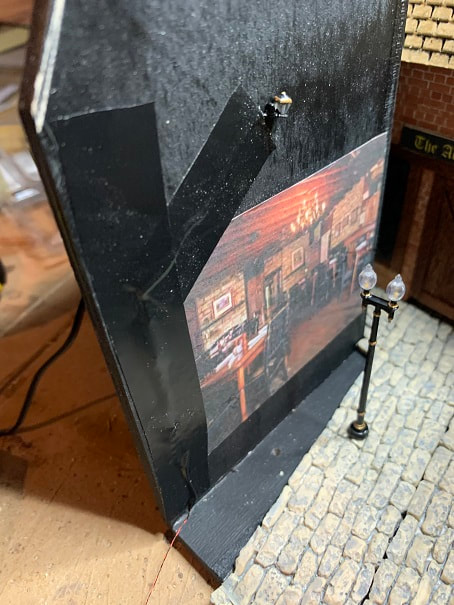
Streetlight installed. The wires are impressively small gauge.

With the model railroad lighting system that I selected, the connections are all very simple and use nice spring-loaded terminations in boxes such as this.
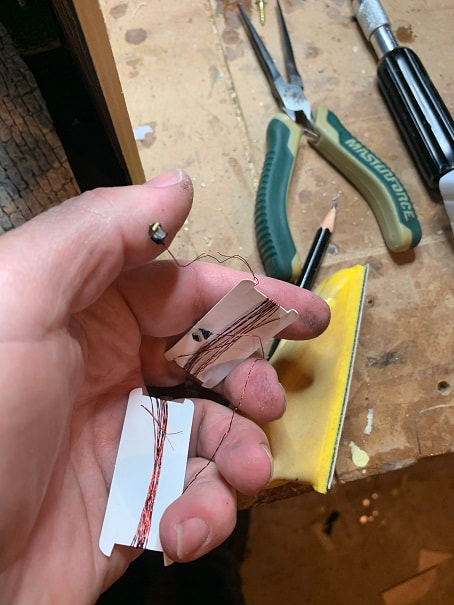
My book nook features two streetlights and from within the building will also be lit by tiny LED lights such as this little one seen on my thumb. These are from the same HO scale railroad model lighting system, and the wires will all terminate in the same hardware controlled by this nice system.
Interior light, held in place with electrical tape. I covered the wires with electrical tape also throughout this project.
Looking closely, one can see the two lights that will illuminate the interior of the 1st and 2nd floor of the bookshop.
The channels that I had cut earlier in the base of the model worked great for running the tiny wires from the lights. I covered the channels with tape after running the wires.
Terminating all the wall sconce lights into the junction box.

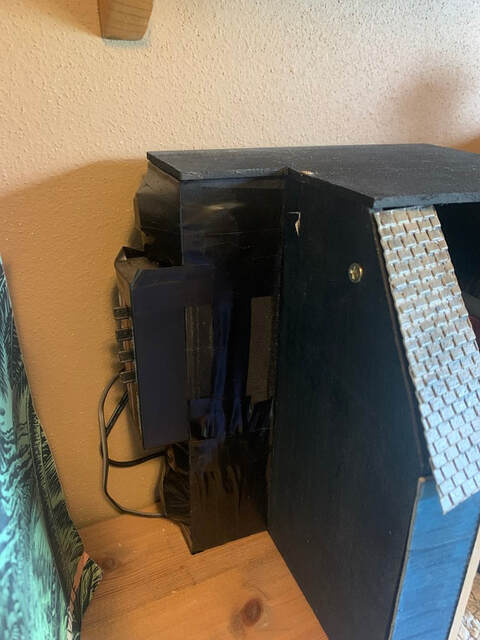
Here is the controller, which I mounted to the side of this model. Each light has an adjustable dimmer. Nice and easy system. I used electrical tape to cover and protect all the wires; nothing exposed.
With the wiring done, I screwed the buildings in place and glued the tree in place (I bought the tree from the railroad section of the model shop).
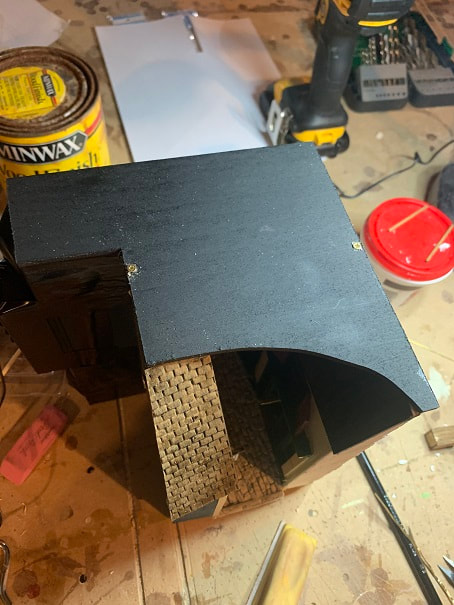
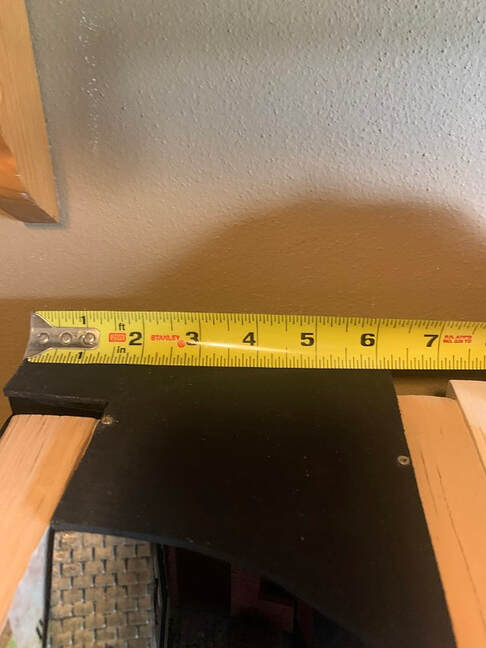
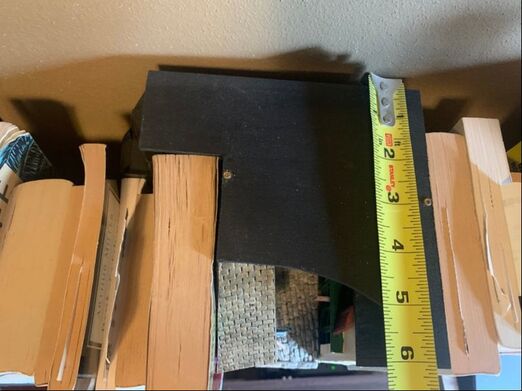
Made a top for the diorama, and painted it flat black. I held it in place with two screws. When this is installed on my bookshelf I will place a book over this, but this piece of plywood will help protect the model below.
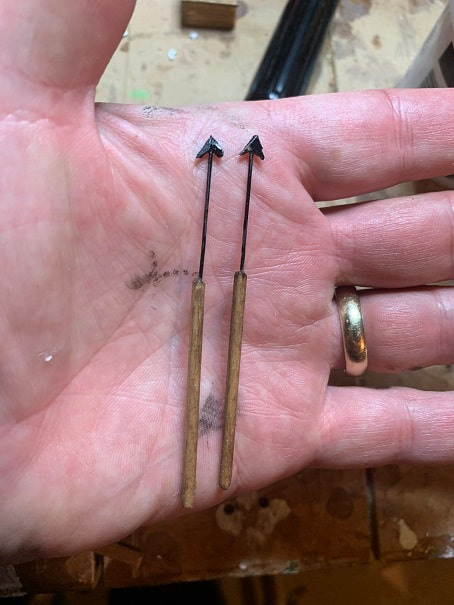
For a little detail, I made two double flue harpoons (When Melville was whaling the toggle-iron was not yet invented, so these double flue harpoons would have still been in use). I also built a treasure chest to sit in front of the Admiral Benbow.