The SCAMP Argo has a color scheme that consists of green, black, yellow, cream, white and Varnish. The painting took place in the stages below.
Materials:
- Epifanes Gloss Marine Varnish
- Pettit EZPrime Primer
- Pettit EZPoxy
- Pettit EZPoxy Performance Enhancer Additive 3021
- Pettit 120 Brush Thinner
- Pettit 9900 Skidless Compound
- Purdy XL Semi-Firm 2.5” angled brushes
- Box of clean cotton rags
Painting and Varnishing of SCAMP Argo:
Please note, this page does not include epoxy-coating or presanding of wood or fiberglass; this page covers painting and varnishing.
First, some information on equipment I used.
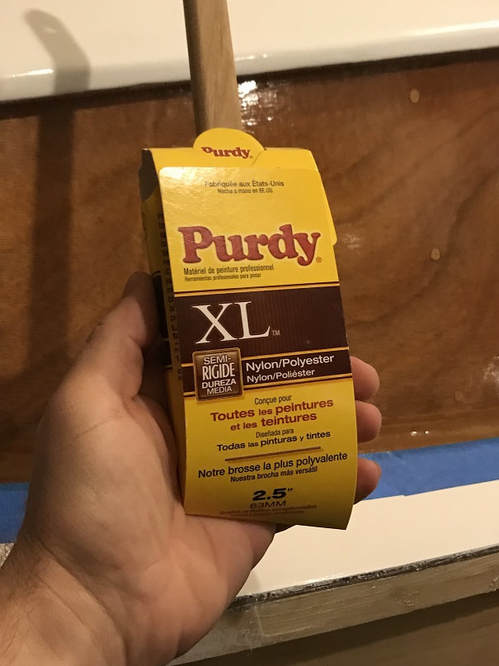
I am using Purdy 2.5" Semi-firm XL brushes on this project.
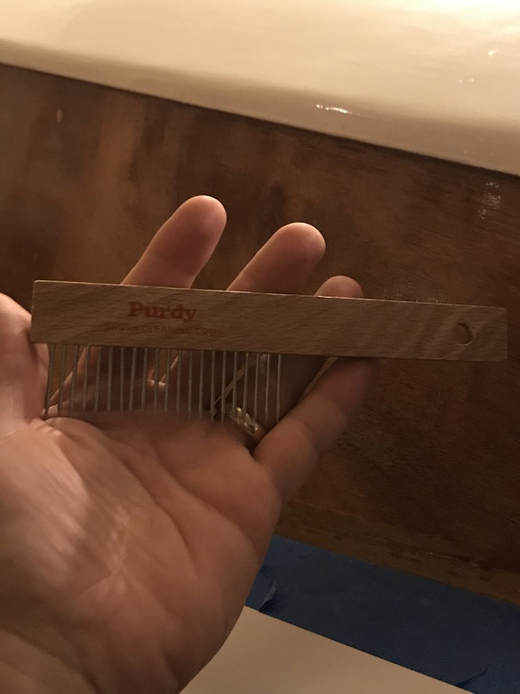
Purdy Brush dressing comb

I use a manual mechanical brush spinner and keep the brushes in their sleeves after cleaning. I am picky about brushes and don't want to have to buy them over and over again.....which would be pricey for nice brushes. I have ample cleaning thinner in stock, you don't want to run out.
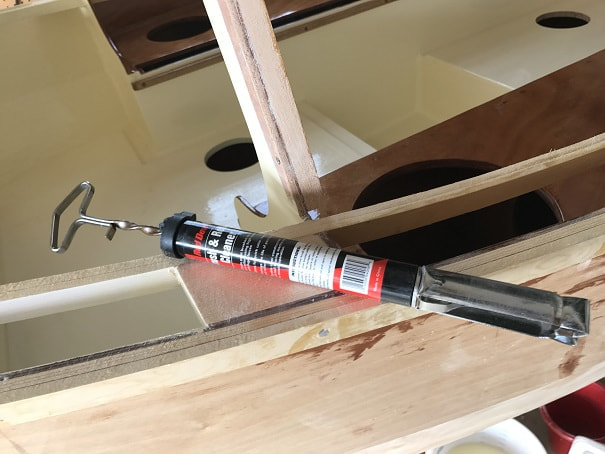
The brush is pressed into the jaws of this mechanical brush spinner, and the handle is pushed in and out which spins the brush at high rpm, which spins off the paint and thinner.
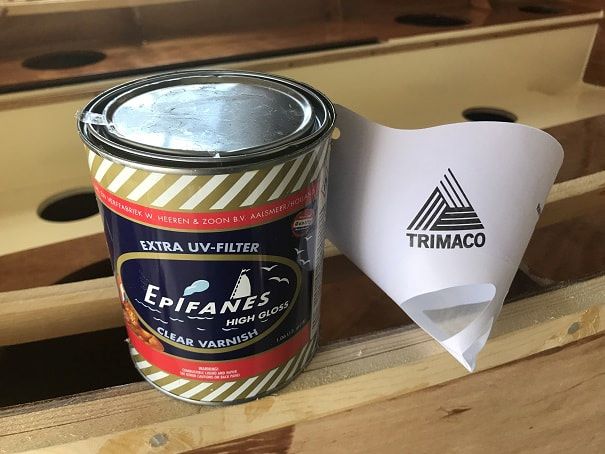
I recommend straining your varnish every time, before application, through a disposable paper cone filter such as shown here.
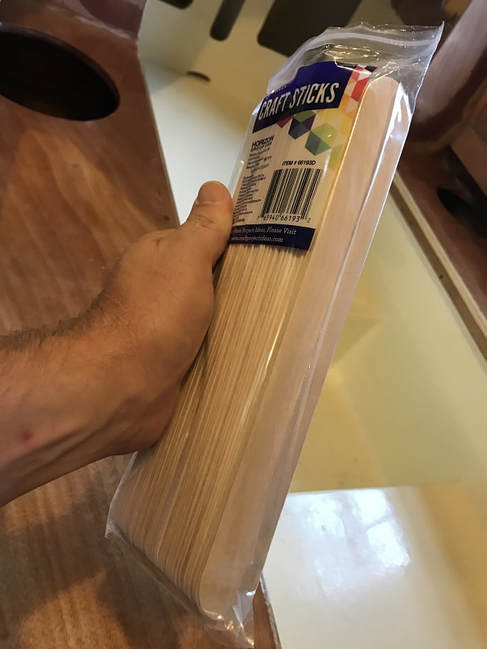
These extra large popsicle sticks are great for nice clean stir sticks. I also have a stack of 1 pint plastic containers for paint buckets.
General Painting and Varnishing Process
To avoid too much repetition below, I will share here the repeated sequence I used during the painting and varnishing process:
- Fairing and smoothing is not covered here, so starting with your faired and smooth surface, begin applying your finishes
- Vacuum the ground around the workspace, kicked up dust will stick to your boat finish when wet.
- After sanding, vacuum the surface
- Then I washed the sanded surface down with a solvent wash of Pettit 120 Brush Thinner on a a clean cotton rag.
- Let the thinner evaporate and apply the varnish or paint in a thin coat. Thick coats of paint, and especially varnish, will drip if they are applied to a vertical surface. I tip the finish smoothly using the brush to achieve a nice final brush stroke.
- After drying thoroughly, I sanded varnish with 120 grit, and paint with 220 grit, then repeat the vacuum, solvent wash, refinish steps above.
Painting and Varnishing the Cockpit Area
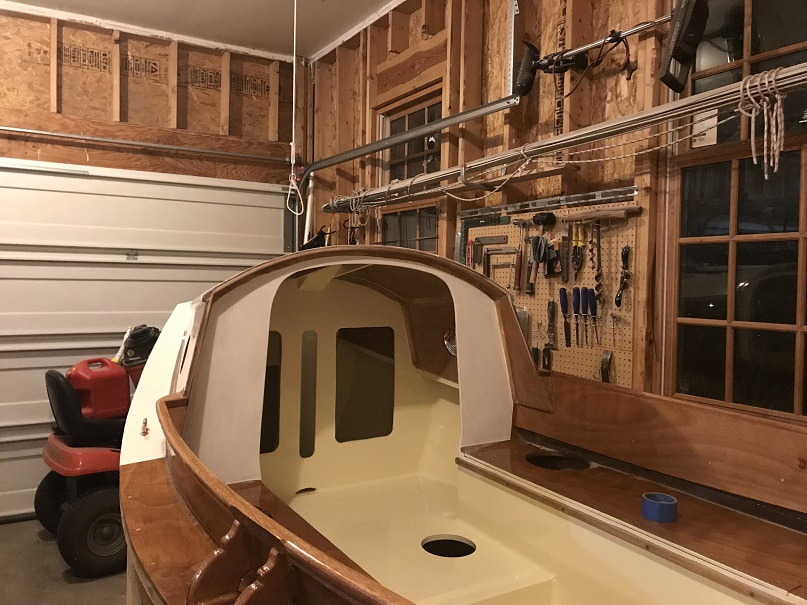
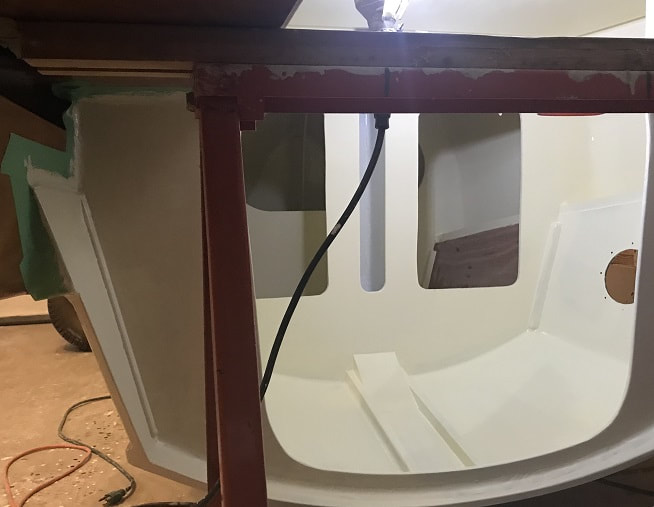
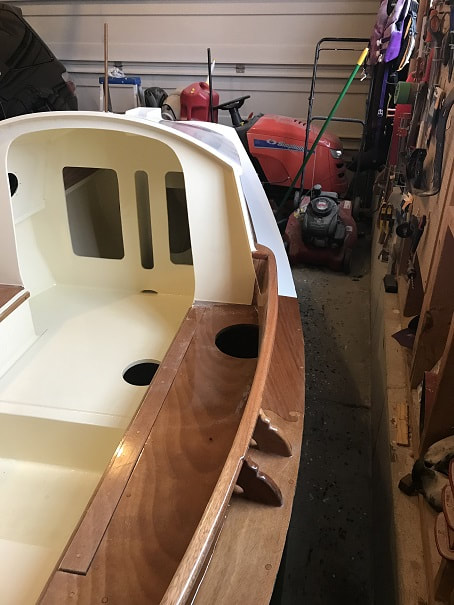
The first part of the boat I painted was the cockpit area, sole, and forward interior compartments. I did this work before the deck went on. Note: I did not paint the under-seat compartments, those are epoxied but not painted on the Argo.
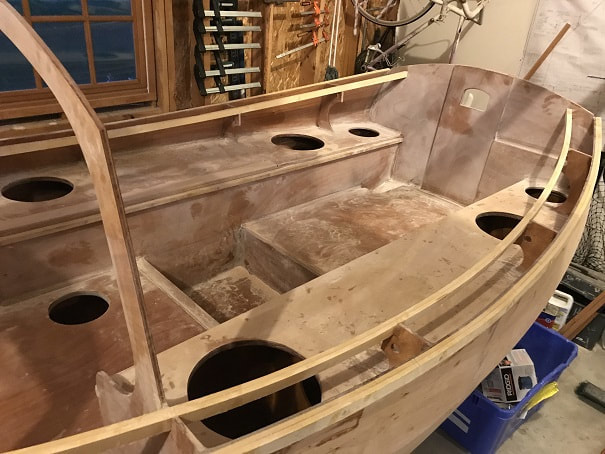
When the cockpit was at this stage, and fully epoxied and sanded, I began varnish and painting it, prior to attaching the deck.
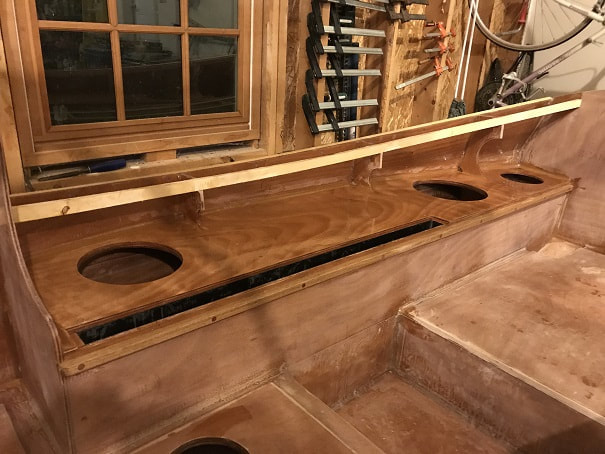
Then 3 coats of Epifanes varnish on the seat-tops (4th coat to follow later), and this over 2-3 coats epoxy..
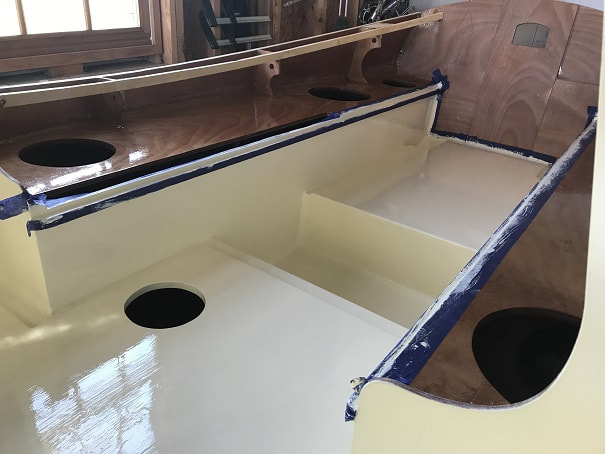
With cockpit varnishing done, I did 2 coats of EZPoxy primer followed by EZPOXY in the cockpit.
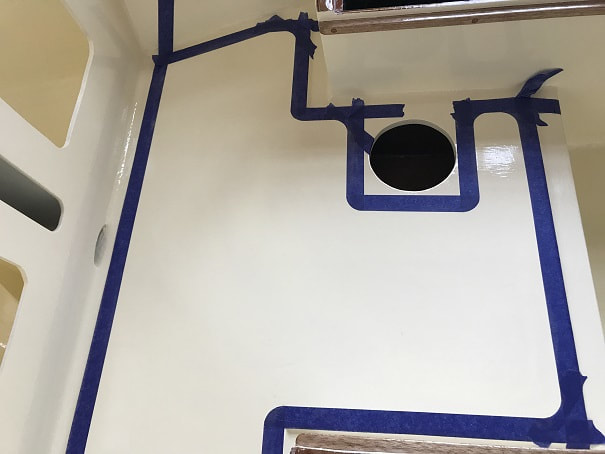
I then taped off the sole as seen here, to create an area for application of the non-skid gritty area.
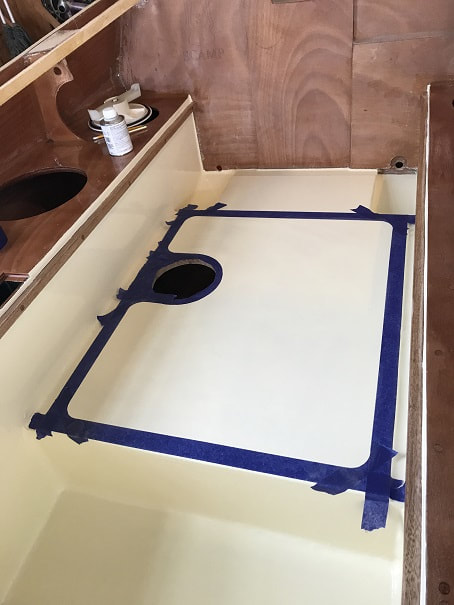
Sternmost sole, taped off for anti skid application
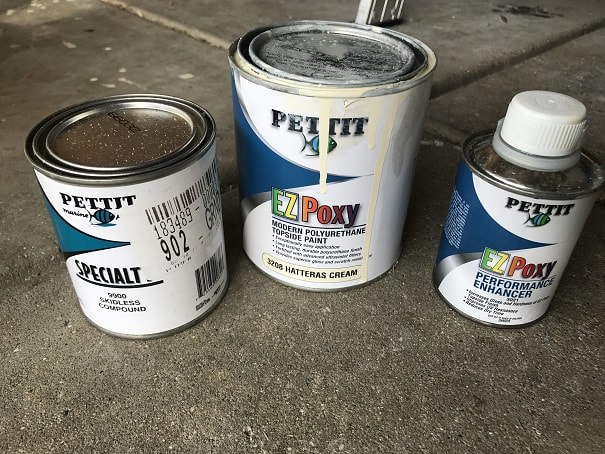
Ingredients for the Anti-Skid areas on SCAMP Argo's Sole
- After 3 coats of paint, over the primer, I applied two coats of the anti-skid-laden EZPoxy, worked great.
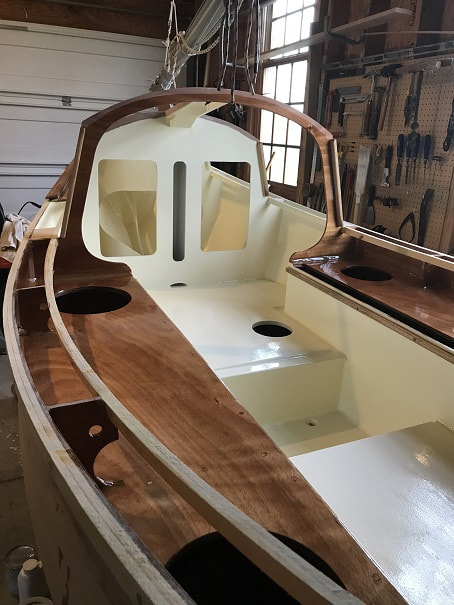
Painted and Varnished SCAMP Cockpit, prior to attachment of deck and cabin sides.
Painting SCAMP Deck, Roof, and Cabin Sides
- Then I attached the deck and cabin sides and roof, details of which can all be found here
- After attaching the deck, cabin sides, and roof, I painted and varnished them.
The deck was taped-off to create clean lines between the varnished areas abaft of the veranda and the white enameled areas fore of the veranda. This was of-course all done after the deck, roof, and veranda walls were installed.
Brightwork and enameled deck of the SCAMP Argo. This is after 2 coats EZPrime and 3 coats performance-enhanced EZPoxy.
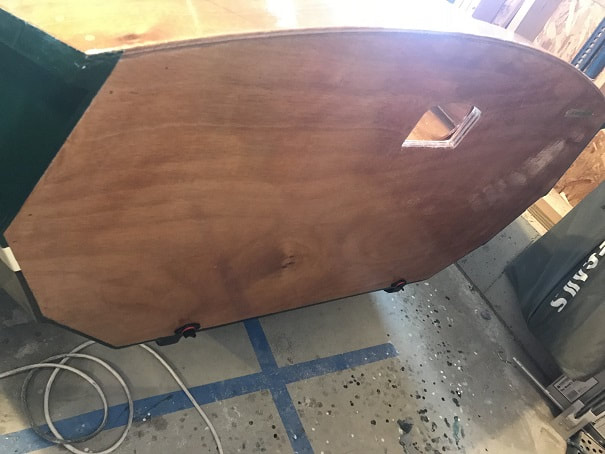
- After flipping the boat over, I got to finishing the exterior of the hill.
- Sanding and Fairing of the hull is covered on the Hull Page. The bottom and garboard are fiberglassed and the entire hull exterior has 3 coats of epoxy, followed by the finishes below.
- First, I applied six coats of Epifanes Gloss Marine Varnish to the bow and transom. Between varnish coats: Sanded with 120grit, vacuumed, Pettit 120 Brush Thinner wash with a clean tack cloth. Apply the coats very thin, especially as these are vertical surfaces. Any thick-spots will turn into drips. Prior to each coat, filter the varnish that you will use through a conical paper filter such as pictured below.
- Then I masking taped the bow and transom along the inboard edge of the planks, the end-grain of the planks on the bow and transom will be painted, not varnished.
- With the hull smooth and fair, I applied 3 coats of Pettit EZ Prime, sanding with 120grit between coats. Prior to application, I vacuumed the hull and did a solvent wash with Pettit 120 Brush Thinner
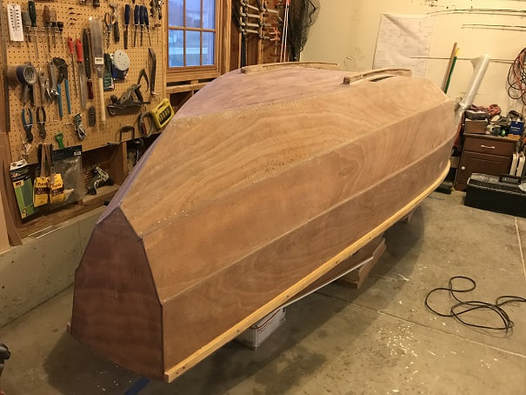
Smoothed and faired hull prior to painting.
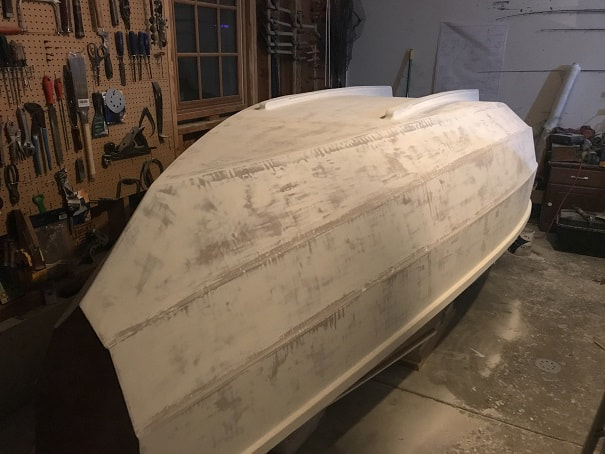
Primer coats and sanding in-process. The Pettit EZ Prime did a nice job of filling in any remaining minor surface inconsistencies. Very pleased.
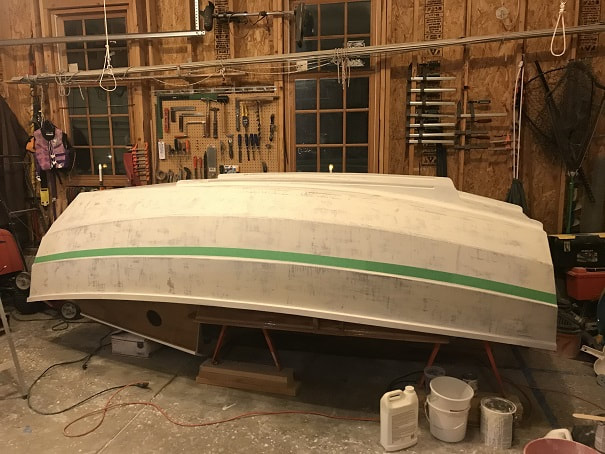
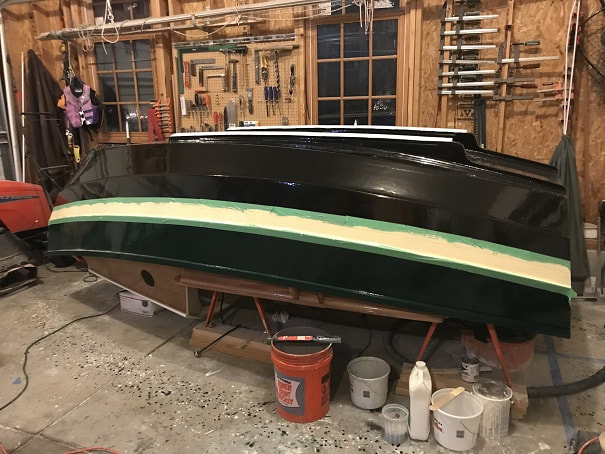
With primer coats finished and the surface looking great, I did a Pettit 120 Brushing Thinner solvent wash, and then applied a wide strip of masking tape just below the P1 to P2 fillet. This taped stripe will be painted yellow, but first I will paint P1 dark green and the bottom black.
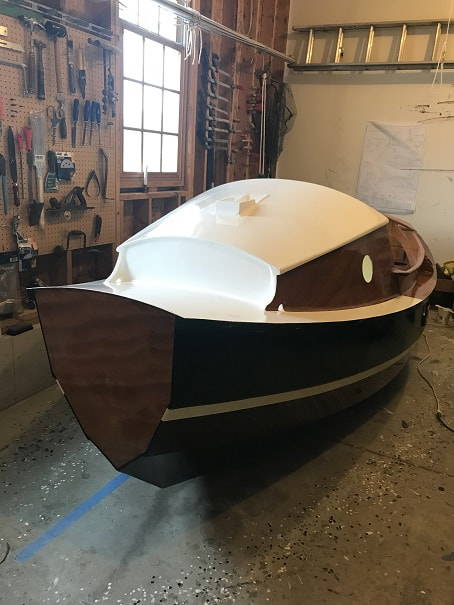
- With this prep work done, I was ready to apply paint. I have chosen to use Pettit EZPoxy to which I am adding Pettit 3021 Performance Enhancer (increases gloss and hardness, improves UV resistance, reduces dry time). I measured our the enhancer, stirred it in with the paint in a small paint pail, and applied with the Purdy XL semi-firm brush.
- It went on great, and I was very positively surprised with the color coverage of the first coat which I applied in a thin film thickness.
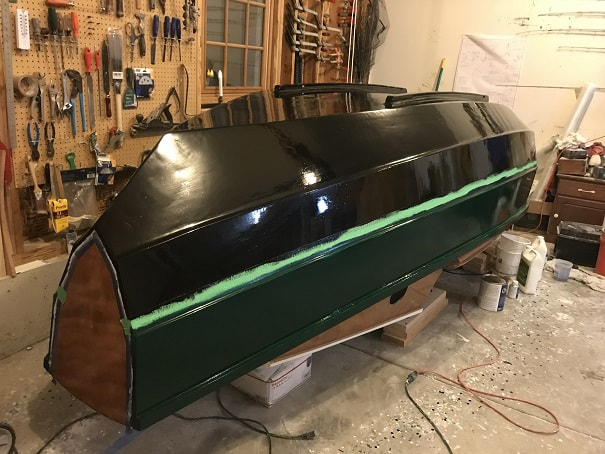
FIRST coat of paint. A big moment. I was curious to see if I would have to deal with additional coats, due to my choice to apply a dark paint over white primer, but I was very pleasantly surprised with the amazing coverage of this paint over white primer on the first coat. The varnished bow can be seen here also.
After first coat
With the boat flipped over, I painted the veranda and roof interior. 2 coats EZPrime, 3 coats Performance Enhanced EZPoxy.
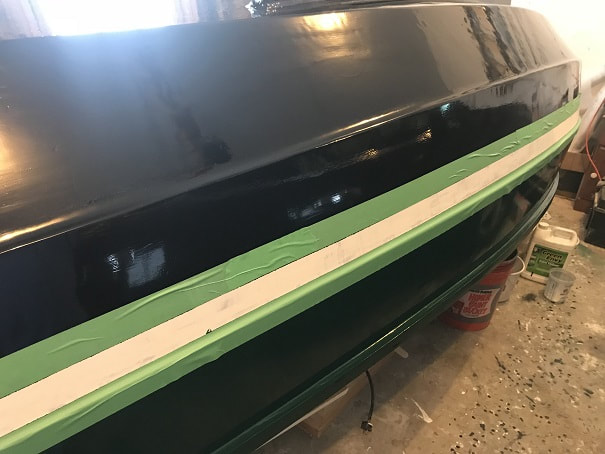
Carefully taped off the hull for the stripe.
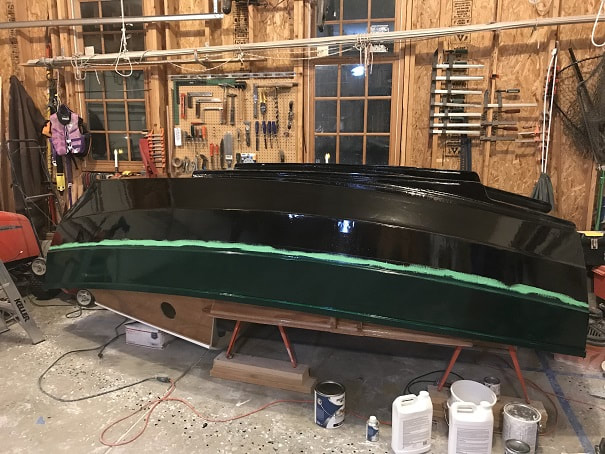
1st coat of Pettit EZPoxy with 3021 performance enhancer, painted on the stripe. Fightin Lady Yellow.
- Completed 3 coats of EZPoxy on stripe

Despite using high quality masking tape and doing my best to get a good seal, the radiused tape still had a couple creases, so I went back with a tiny art brush, and touched up the stripe.
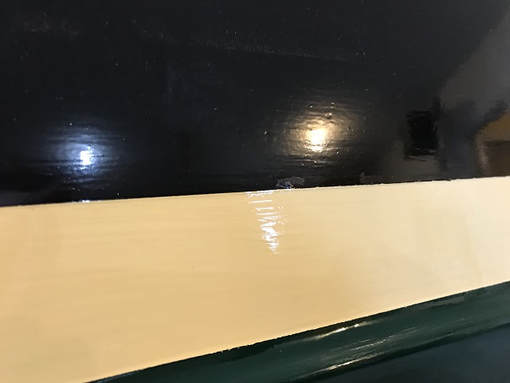
I was pleased with the stripe after final touch-up.
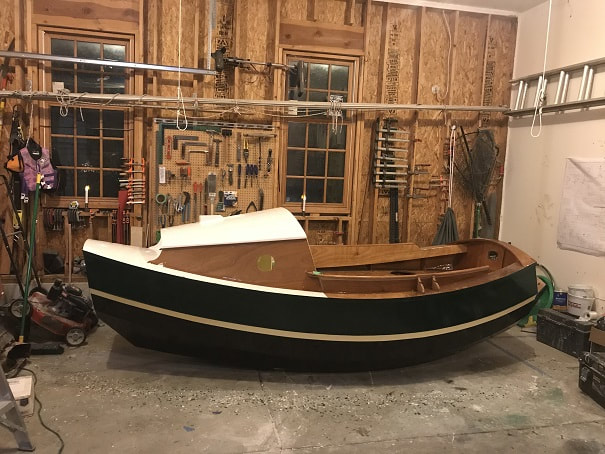
With the hull-painting done, I flipped the boat back upright.
With the boat flipped over, I sanded and touched up any drips that were on the deck that formed when I was painting the hull.
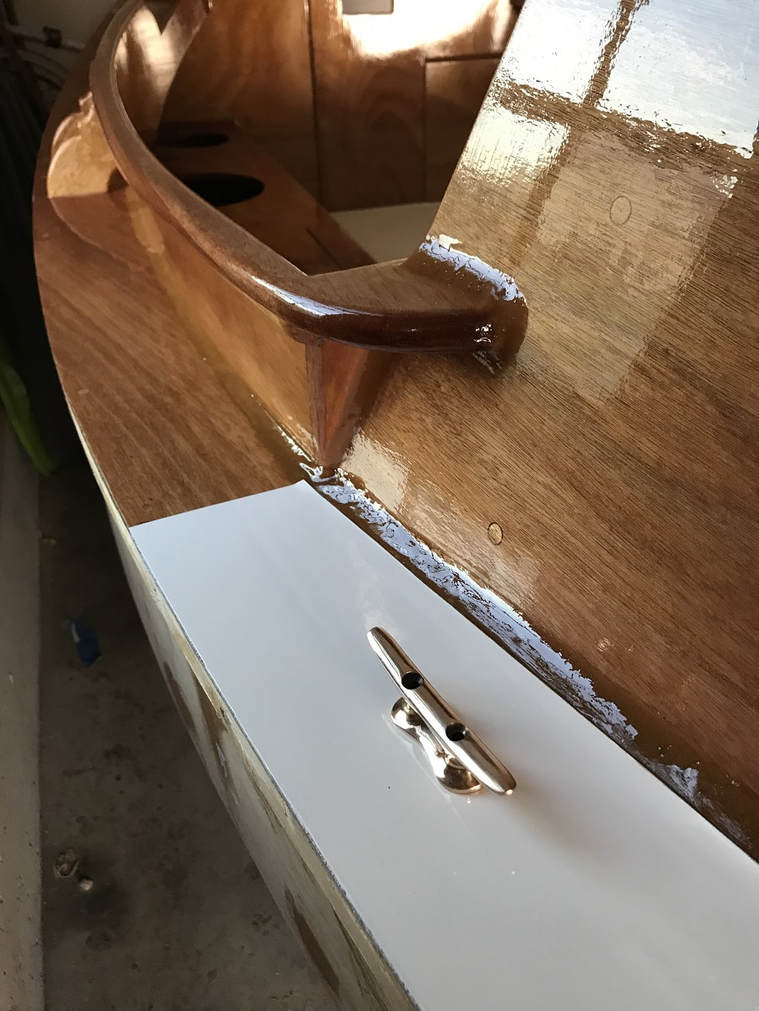
Ready to start attaching hardware!
Bow and stern are varnished. The HIN# plate is brass and is glued and screwed on, then coated over in varnish.
To see detail on how the boat letters and name were applied visit the Applying Boat Name page
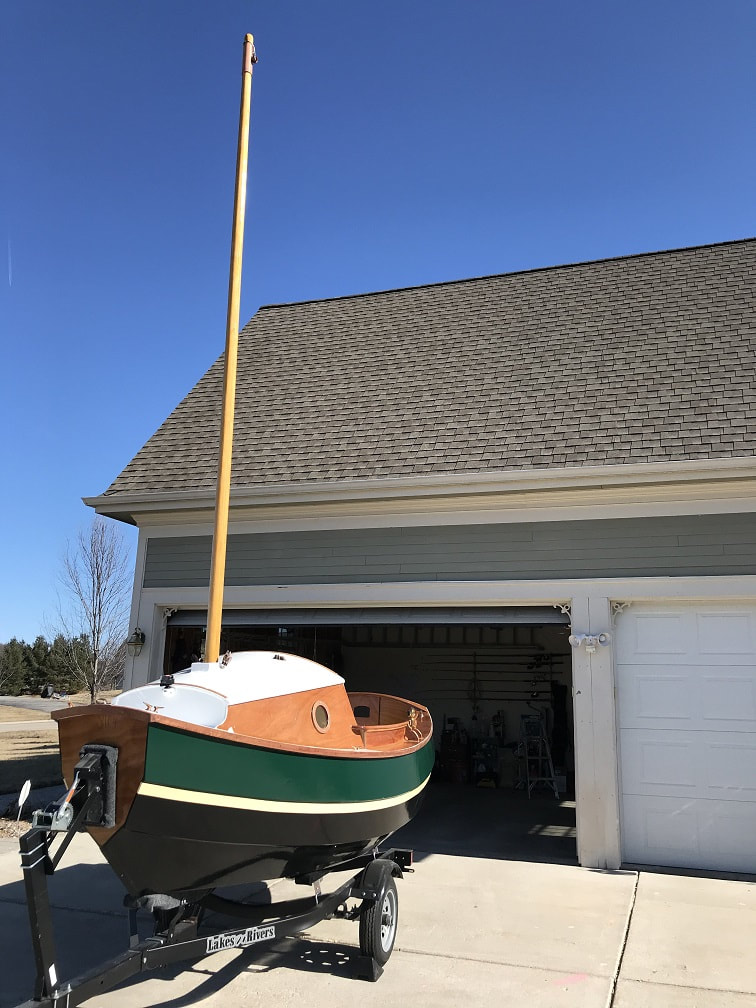
Here is the boat with the paint in the natural sunlight. I am pleased with the color choices.