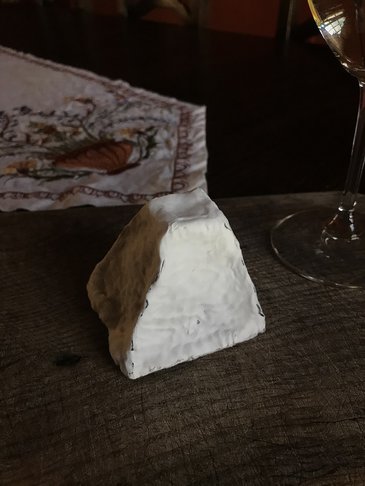
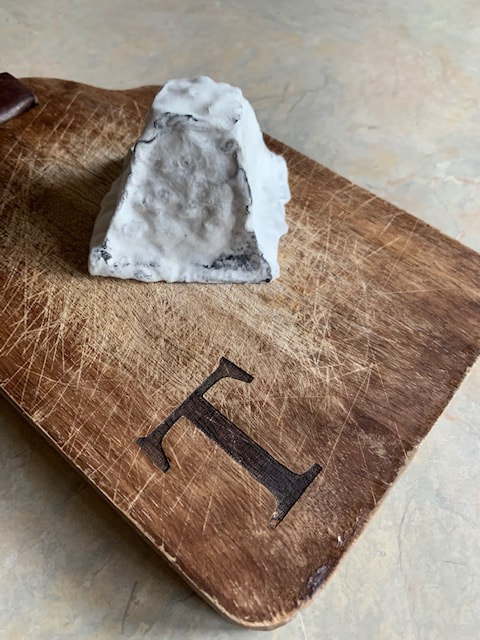
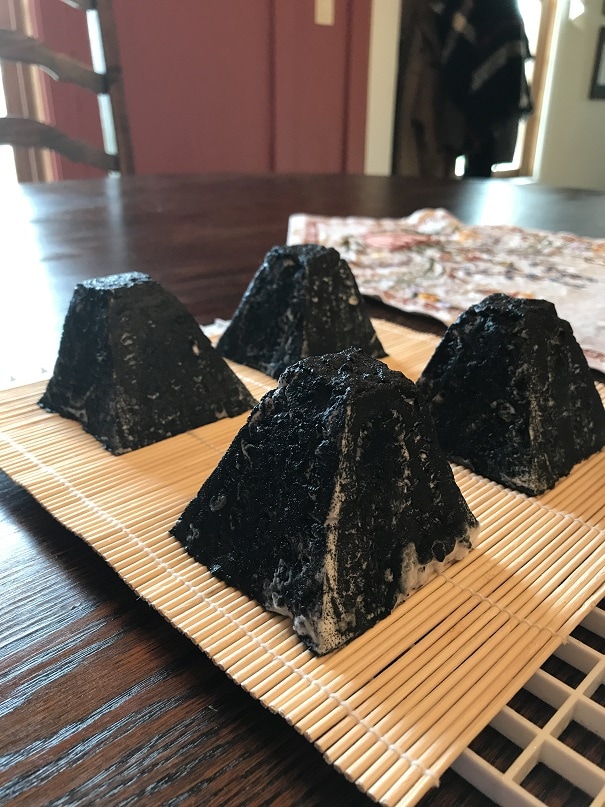
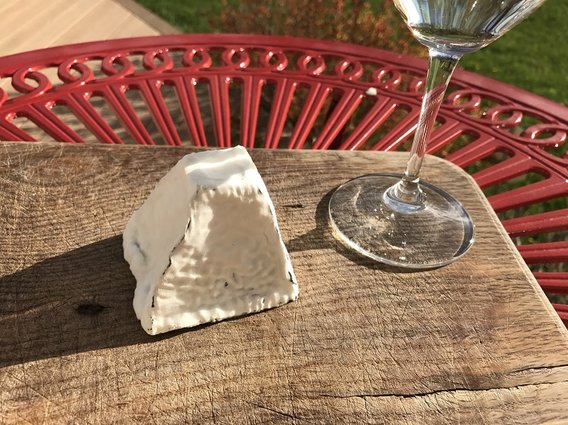
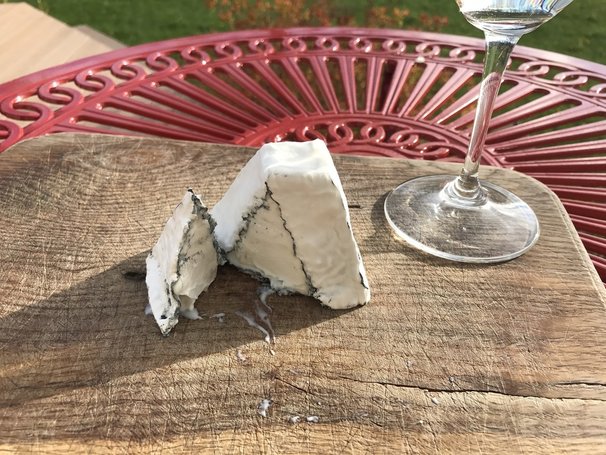
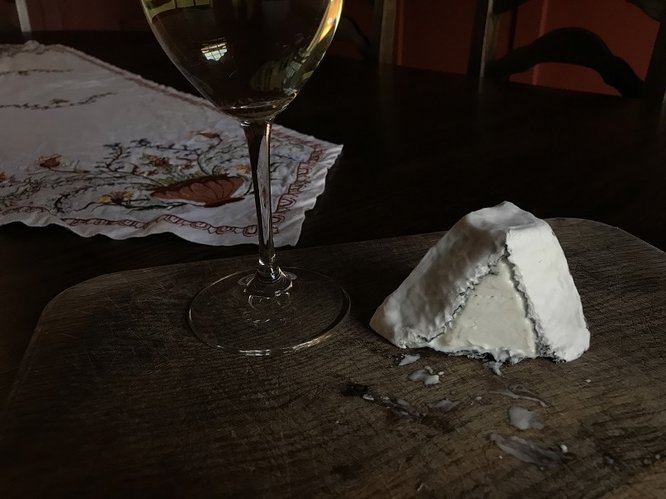
Valençay is an elegant, flavorful, complex, and extremely yummy French goat cheese. It is difficult to find for sale in many areas, fairly complicated to make, but can be done reliably at home with the right equipment. It is a soft cheese, coated in ash, which is then overcome by white gray mold, and it is in the shape of a pyramid with the top cut off. This cheese was originally made in the shape of a pyramid. When Napoleon returned defeated from the Egyptian campaign, the sight of the mocking pyramidical cheese reminded him bitterly of his defeat, and with his sword, he sliced off the top of the Valencay.....the pyramid-top has been cut off ever since.....
The recipe below draws from Mary Carlin's information found in her book "Artisan Cheese Making At Home" , along with information from numerous online sources, and finally, my own trial and error especially regarding the aging process. I procure any special cheese making ingredients or equipment from www.thecheesemaker.com.
STEP ONE: Gather up required ingredients and equipment.
- Pot to warm the milk in
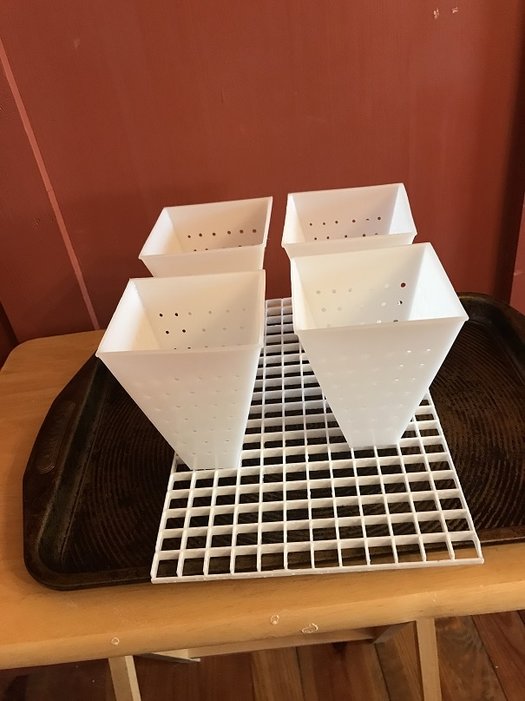
- "Truncated pyramid" molds, these are pyramid shaped molds with the tops of the pyramid cut off, they are made of plastic and have holes on all sides.
- A good thermometer that reads accurately in the required temp range (in this case, 72degF), measuring spoons, cups, whisks, and a supportive rack to set the cheeses on
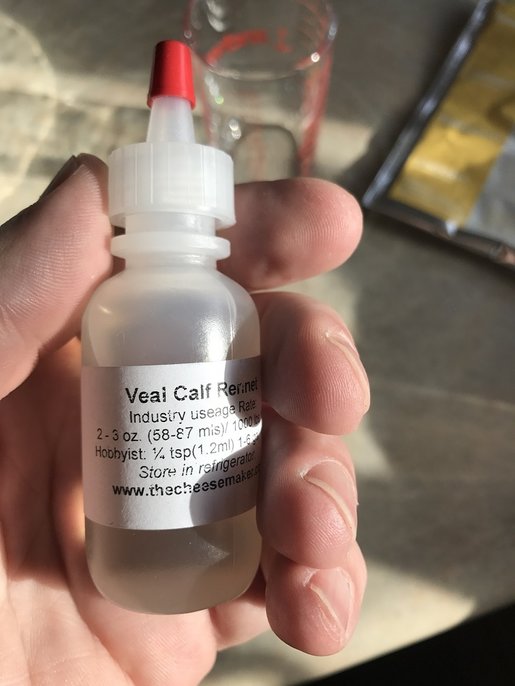
- Liquid rennet
- Cheese salt
- Liquid calcium chloride
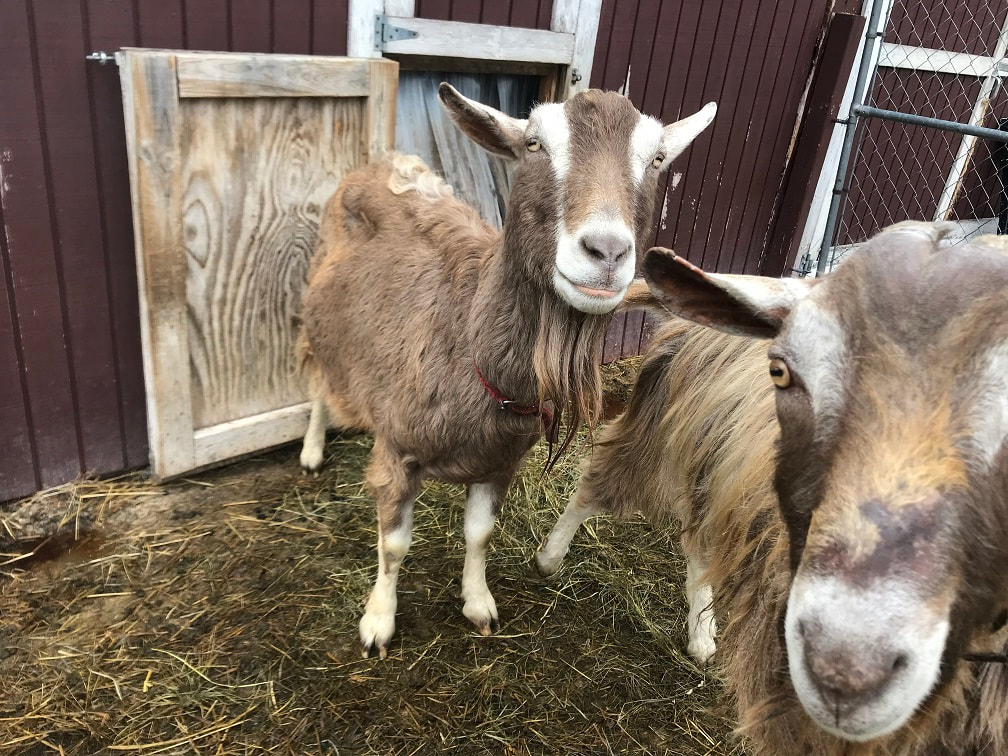
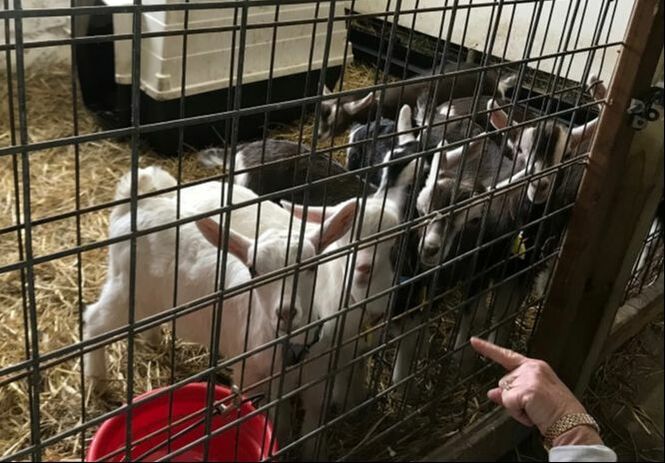
- 1 gallon pasteurized, non-homogenized goat milk
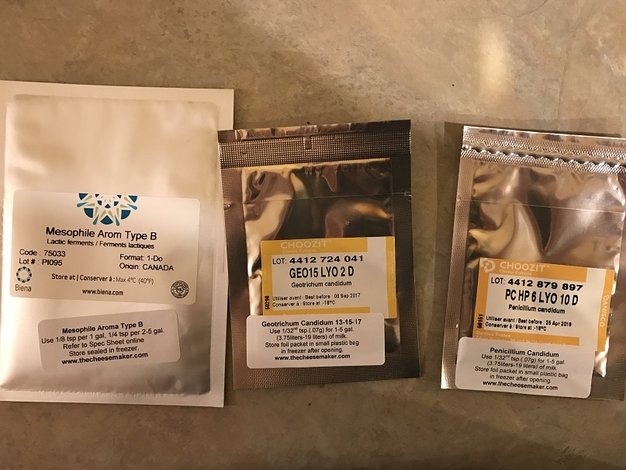
- Aroma B Mesolithic starter culture
- Penicillium Candidum mold powder
- Geotrichum Candidum mold powder
- Ripening box which can provide 50-55degF temperature and 80-85% humidity
STEP TWO: CLEAN AND STERILIZE EVERYTHING THAT WILL COME INTO CONTACT WITH THE CHEESE, INGREDIENTS, This includes countertops, hands, all utensils, pots, cups and measuring spoons. I used starsan. The most important part of making any food is to be a good janitor so no one get sick.
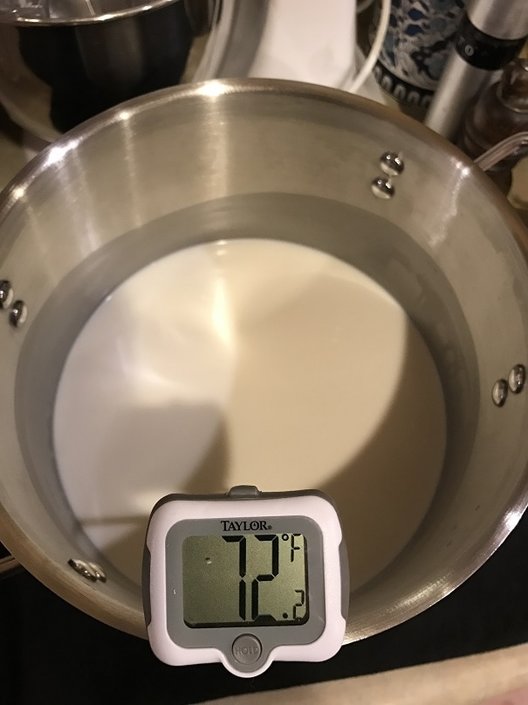
STEP THREE: Warm up one gallon of goat milk to 72 degrees F. You're supposed to do this with a water-bath, but I just heat it up on the stove. Heat it slowly and watch it like a hawk, when it get to the upper 60's and 70degF slow down the heat, the heating takes on a "momentum" and you will overshoot you're desired temperature if you try to heat too fast.
STEP THREE: Warm up one gallon of goat milk to 72 degrees F. You're supposed to do this with a water-bath, but I just heat it up on the stove. Heat it slowly and watch it like a hawk, when it get to the upper 60's and 70degF slow down the heat, the heating takes on a "momentum" and you will overshoot you're desired temperature if you try to heat too fast.
STEP FOUR: Remove from heat. Dissolve a 1/4tsp of calcium chloride in a 1/4 cup of sterile water, then stir this into the milk. When adding ingredients such as this, or rennet, or mold powders, I use a large stainless steel spoon with holes in it.
STEP FIVE: Sprinkle an 1/8tsp of Pennicilium Candidum on the surface of the milk, Sprinkle 1/4 teaspoon of Mesothilic B starter on the surface of the milk, Spinkle a pinch of Geotrichum Candidum on the surface of the milk. Sprinkle them loosely, not clumped, over the surface of the milk and let them rest for 5 minutes then stir them in with a wisk or large holed spoon vertically, ensuring full dispersion, maybe 20-30 up an d down strokes all over the pot.
STEP SIX: Dissolve 1/4 tsp of liquid rennet in clean water. Mix this into the milk, similarly with a large slotted or holed spoon, up and down, all over, 20 times.
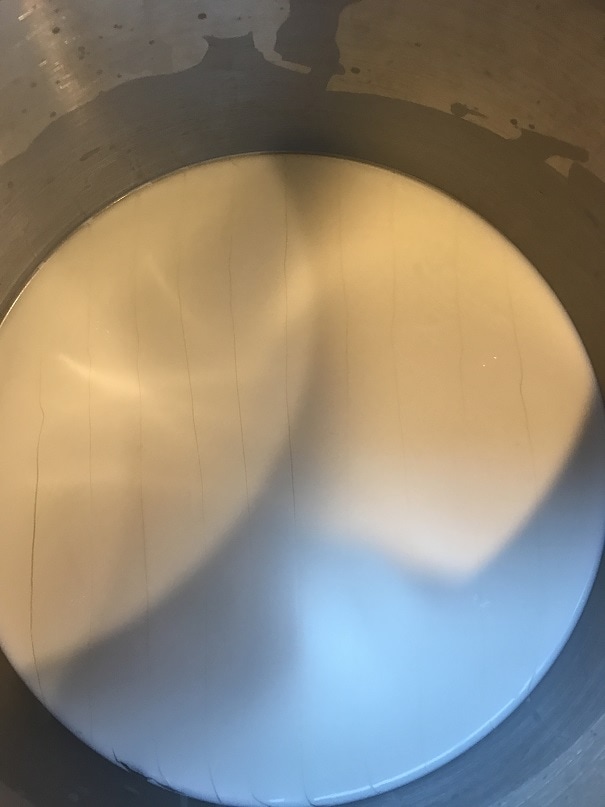
STEP SEVEN: Let the whole thing sit, under a clean paper-towel lid, for 12 hours. After twelve hours. The milk should have curdled into curds and whey. With a long clean, sterilized, sharp knife, cut the curd mass into approximately 1/2" thick vertical sheets. See photo below.
STEP EIGHT: Stir with a sterilized clean spatula around the perimeter of this pot and around the perimeter of the sliced cheese curd slabs, gently, for 5 minutes to separate and draw out the whey from the curd slabs.
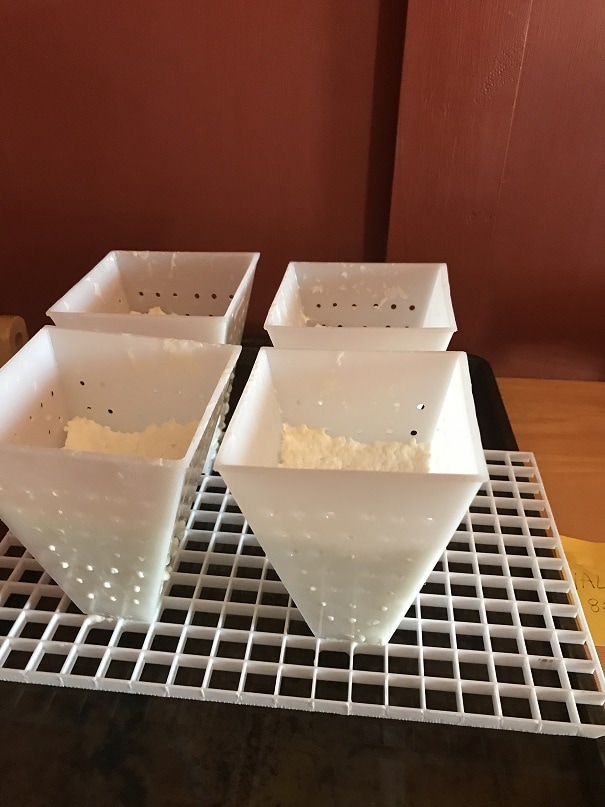
STEP NINE: Carefully set out FOUR truncated pyramid cheese molds over a sterile cheese draining rack, over a tray to catch the draining whey, at room temperature. Be careful as the truncated molds are tippy. Carefully use a ladle and fill these molds with the curds from your pot. Based on starting with 1 gallon of milk, my guess is that you should not need more than 4 truncated pyramid molds. Fill them up with the curd, and as the whey drains out, you will be able to keep filling them up to the top with remaining curd. This cheese is pressed by gravity and the whey will drip out of the holes in the mold. I continually fill the mold as the contents sink, and even then, the final solid cheese is half of the mold height. LET SIT FOR 48 HOURS from when you first start filling the molds, and drain, you may need to empty the whey from the catch-tray, to keep from making a mess.
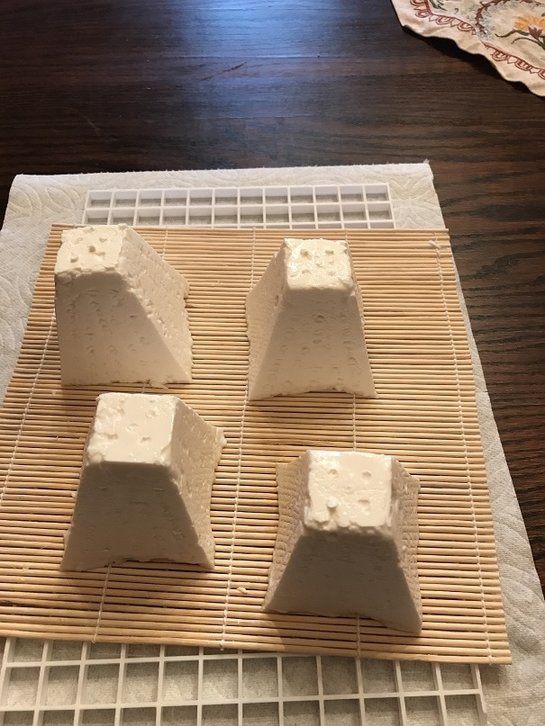
STEP TEN: After 48 hours, the cheese should be done draining whey frok the molds, and the solids should be around half the height of the mold. Turn the molds upside down and give them a couple gentle taps and the cheese should fall down out of the mold in the shape of a pyramid with its top cut off!
STEP ELEVEN: Flip the cheeses every day onto another side other than the bottom, at room temp (hopefully around 70degF) , for TWO days. Keep them under a cardboard box or something to prevent bugs or kids , or people from touching them.
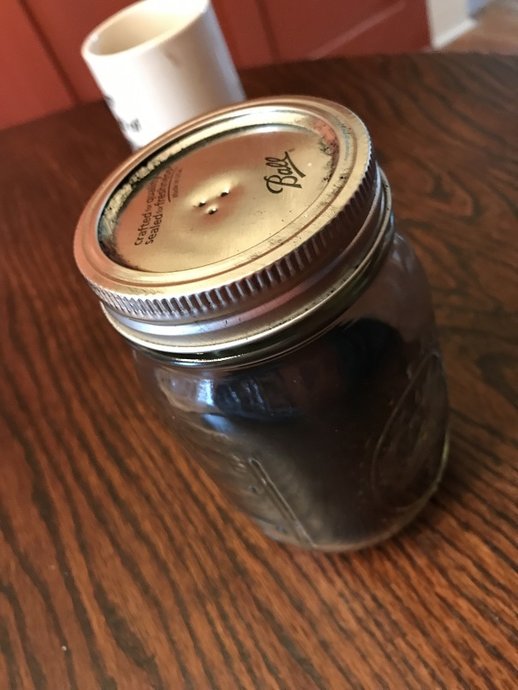
STEP TWELVE: After 48 Hours, sprinkle vegetable ash over the top, sides, and bottom of the cheese. Vegetable ash is an EXTREMELY finely ground substance. It likely be purchased in a bag, but I recommend immediately putting into a salt and pepper shaker or a glass container that you put a couple holes in the top from which you can shake out the ash. This stuff is fine, and messy; be carfeful. I put mine into a Mason jar and punched some small holes in the top. Then, when not in use, I put a piece of tape over the holes. Also sprinkle 2tsp of cheese salt evenly over all 4 pyramids of cheese.
STEP TWELVE: After 48 Hours, sprinkle vegetable ash over the top, sides, and bottom of the cheese. Vegetable ash is an EXTREMELY finely ground substance. It likely be purchased in a bag, but I recommend immediately putting into a salt and pepper shaker or a glass container that you put a couple holes in the top from which you can shake out the ash. This stuff is fine, and messy; be carfeful. I put mine into a Mason jar and punched some small holes in the top. Then, when not in use, I put a piece of tape over the holes. Also sprinkle 2tsp of cheese salt evenly over all 4 pyramids of cheese.
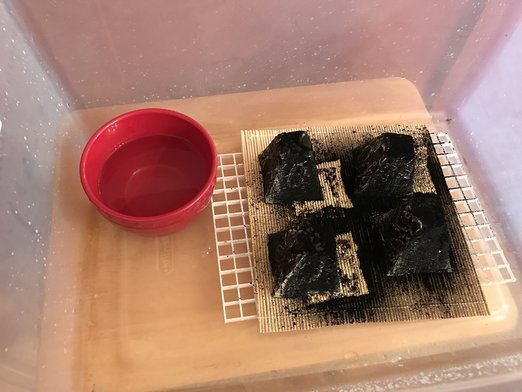
STEP THIRTEEN: After coating with ash, set in a rubbermaid, with a bowl of water also in the rubbermaid, with the top slightly open, for 24 hours.
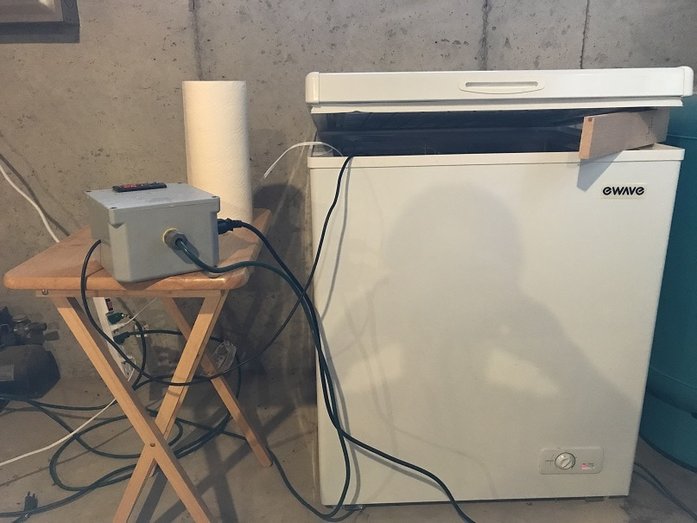
STEP FOURTEEN: Transfer cheeses onto a fresh cheese mat in my ice chest which I built a digital temperature controller for and which I put a small adjustable automatic humidifier in. I set the temperature for 52degF +/- 2 deg. and set the humidity to 80%, IMPORTANT was to leave the lid of the chest cracked 2". Note that I had failed Valencays at higher humidity, maybe just me. Also I think that previous Valencay failures in my aging chest were due to the lid being closed, thus my new policy to leave it held open with a block of wood, 2-3". I found 90% humidity to be too high, at least using my setup.
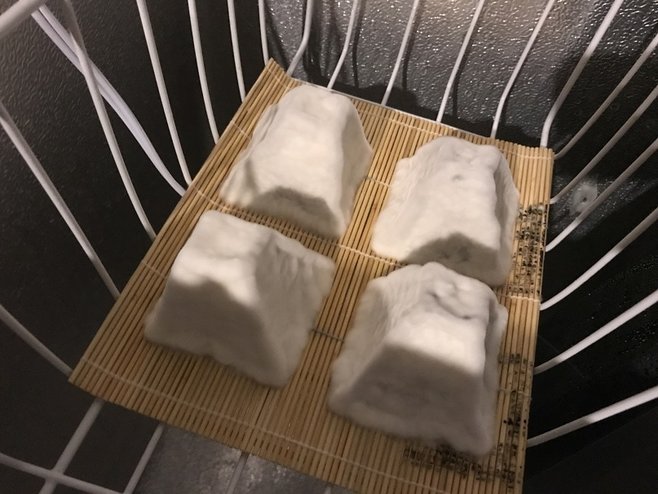
STEP FIFTEEN: Ripen/Age the Valencay in this ripening box for 2 weeks. Flip the cheeses on various sides and bottom every other day to allow air to get at the different sides and to prevent any side from sticking to the box or shelf surface. After a couple days a bright white mold should begin to form on the black ash. Soon the white mold should overtake ash completely.
STEP SIXTEEN: After 2 weeks of ripening, I have found that the cheeses may be ready to begin eating. Some recipes advise to continue ripening the cheese for 4 weeks, and I believe that those are also correct; but all I would say is watch the cheese, make sure the ventilation is sufficient to keep the cheese from getting slimy , and when it looks right, you can begin eating it. I make 4 at a time and start eating them after 2-3 weeks and continue aging the remaining cheeses from there to taste the development of the cheese during aging. After 4 weeks from the start of any aging, I would wrap the cheese in cheese paper and age form there on in the fridge. Experiment, see what you like. Do not ripen the cheese in a closed container, doing that was a disaster for me. I now have a system where I can produce lovely creamy Valencay cheeses. This is a cheese that if you make well, you can call yourself an artisan. The smell and taste is worth the effort. Good luck.
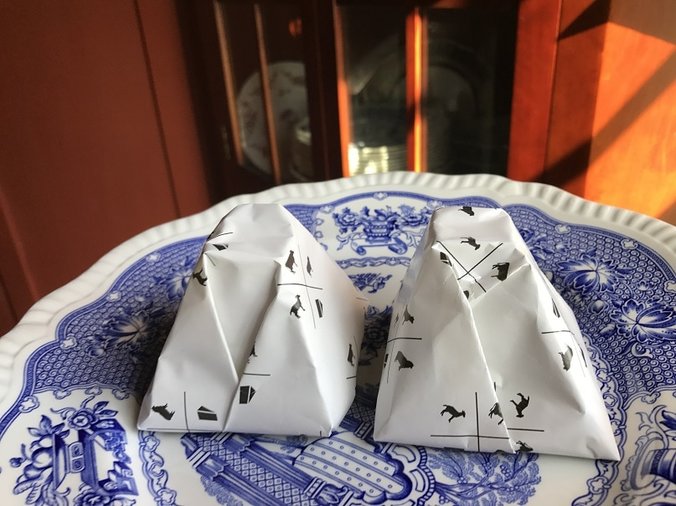
STEP SEVENTEEN: When the cheese is ripened to your liking, wrap it in cheese paper and store in the refrigerator for eating fresh. I use Formaticum Cheese Paper of Brooklyn NY, which has the paper made in France.
